Mechanical Installation Manual (450, 525, 600)
8.1. Trace Template Outline
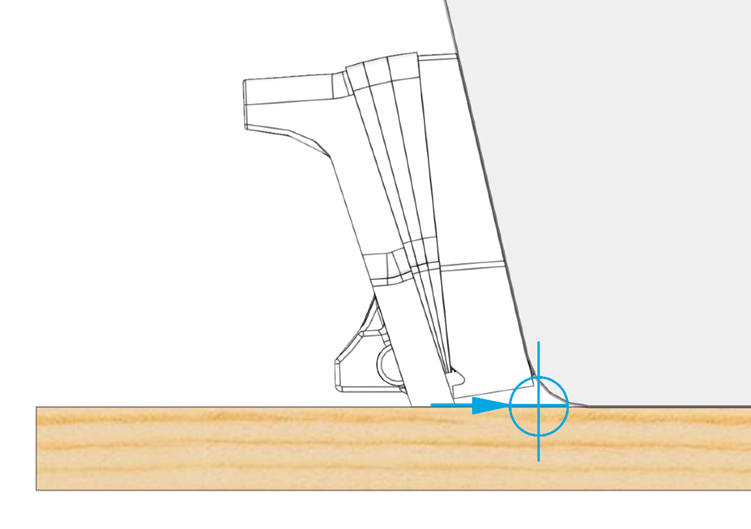
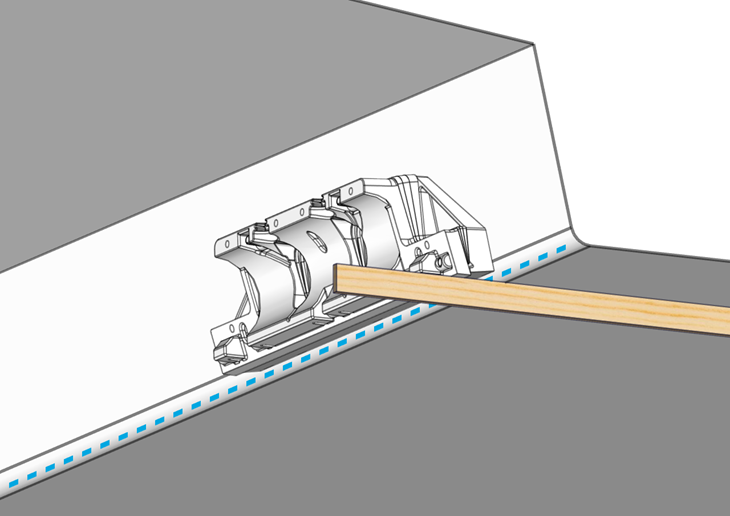
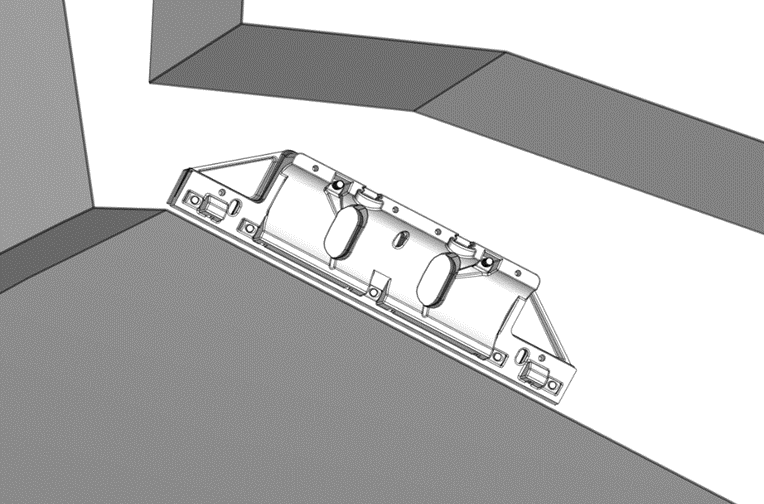
Figure 36 – Wedge Pack Assembly in Line with RRL and Hull Bottom
Based on the selection criteria from Section 5 for mounting location, hold the Wedge Pack to the transom in the designated location. Use a straight edge to align the Actuator Plate with the RRL (shown in blue above) and the bottom of the hull. Two people should be available for this section to make holding and tracing easier and more consistent.
Note: Use of the Seakeeper Ride Controller Locator Tool will aid in tracing the area to be ground down to glass and for the correct position of the transom plate positioning screws. This tool will allow for one person to get exact measurements. See the Seakeeper Ride | Controller Locator Tool Manual for further instruction on use.
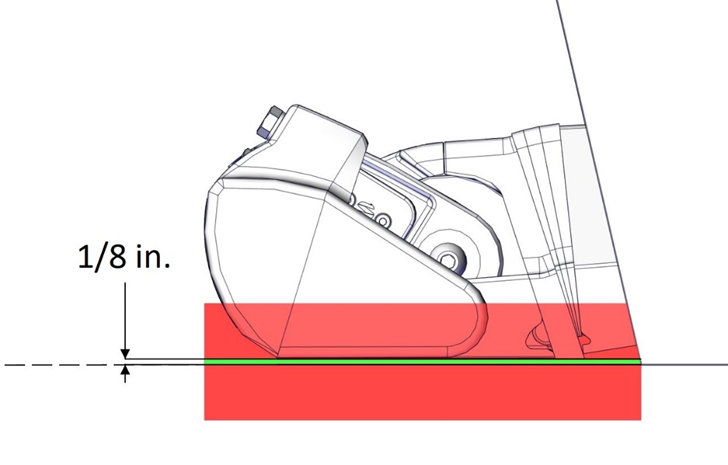
For optimal Seakeeper Ride performance, the Seal Plate must be between the RRL and 1/8in. up above the RRL. DO NOT mount the Seal Plate below the RRL at all.
- Using a marker or pencil, trace the outline of the Transom Plate on the transom.
- Trace three (3) mounting hole (keyhole) locations while the Transom Plate is in place.
- Trace out cable entry oval holes.