Mechanical Installation Manual (450, 525, 600)
11.5. Confirm Location
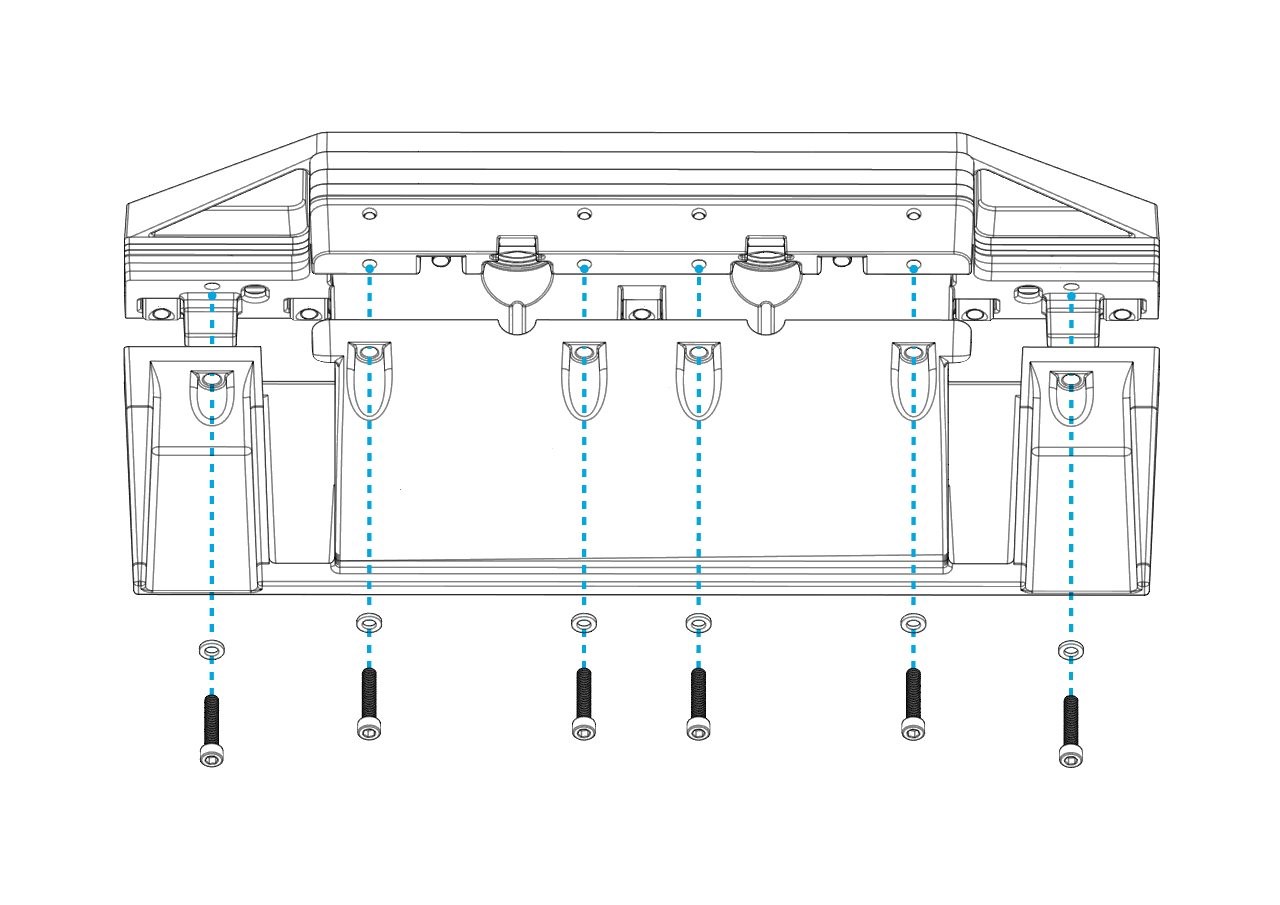
- Add the Seal Plate to the assembly to check its position as indicated in Section 9. Insert the six (6) M6-1.0 x 30 mm bolts and washers to hold the Seal Plate, as shown below. (600 mm Controllers will have eight [8] bolts and washers.) Note: Apply threadlocker, but do not apply the final torque during this step.
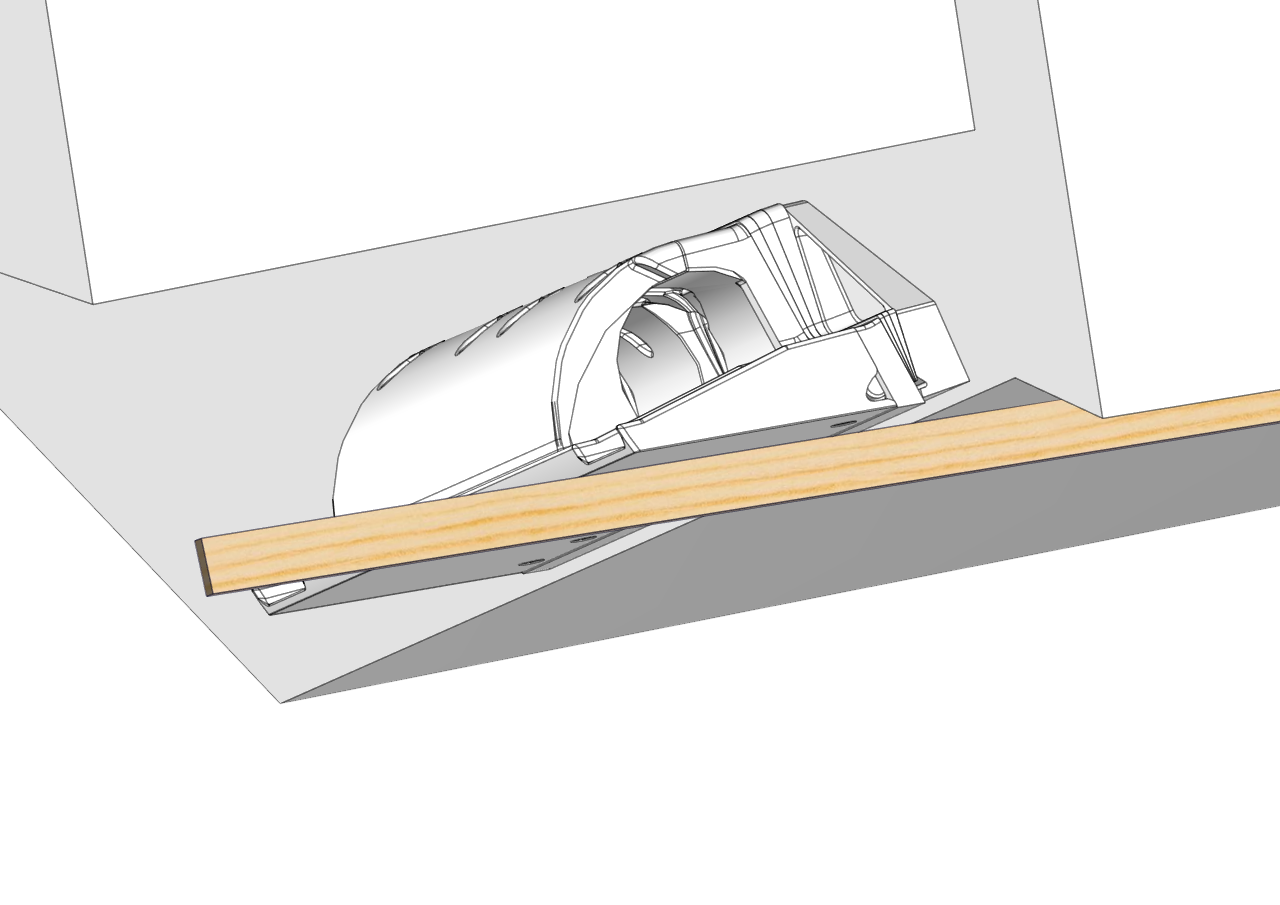
- Using a straight edge, verify the Wedge Pack is flush with the hull bottom in the desired location as determined in Section 5. Be sure location requirements previously called out are met. Due to different hull shapes and features, the Seal Plate may not be flush with the hull bottom across its full span.
- Once the position is confirmed, remove the Seal Plate, and tighten the positioning screws with a Phillips head screwdriver. The screws must be tight enough to press out excess adhesive and keep the assembly from sagging, but do not overtighten or the transom plate may crack.
Note: In the uncommon case that the measured transom angles for the inboard and outboard sides of a Controller location (found in Section 6.1) are greater than 2 degrees apart, tighten beginning on the side with the larger transom angle pulling it tight to the transom. On the side with the smaller transom angle, gently advance the screws but do not tighten it all the way to the transom. If the screws on the side of the smaller transom angle are overtightened, the Wedge Pack will warp and cause issues.