Mechanical Installation Manual (450, 525, 600)
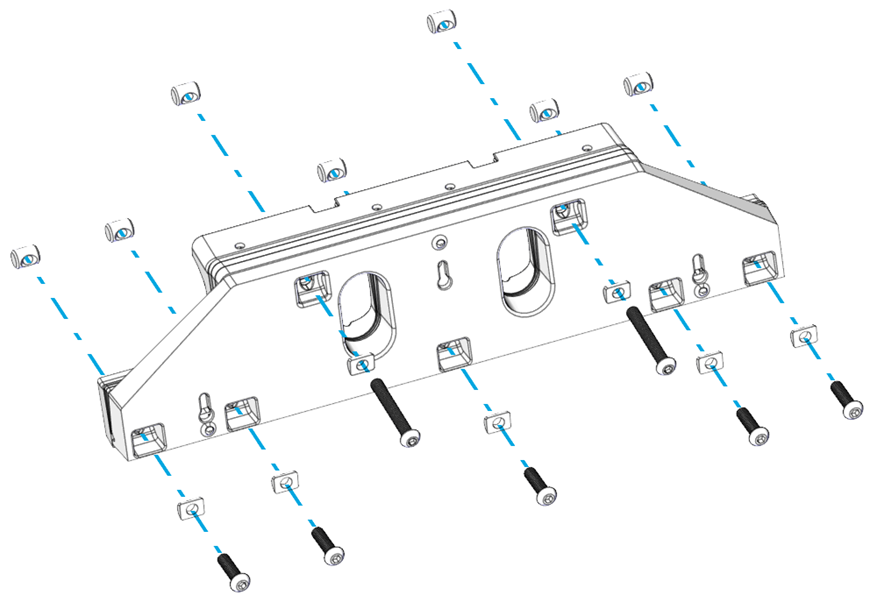
7.2. Bolt Parts Together

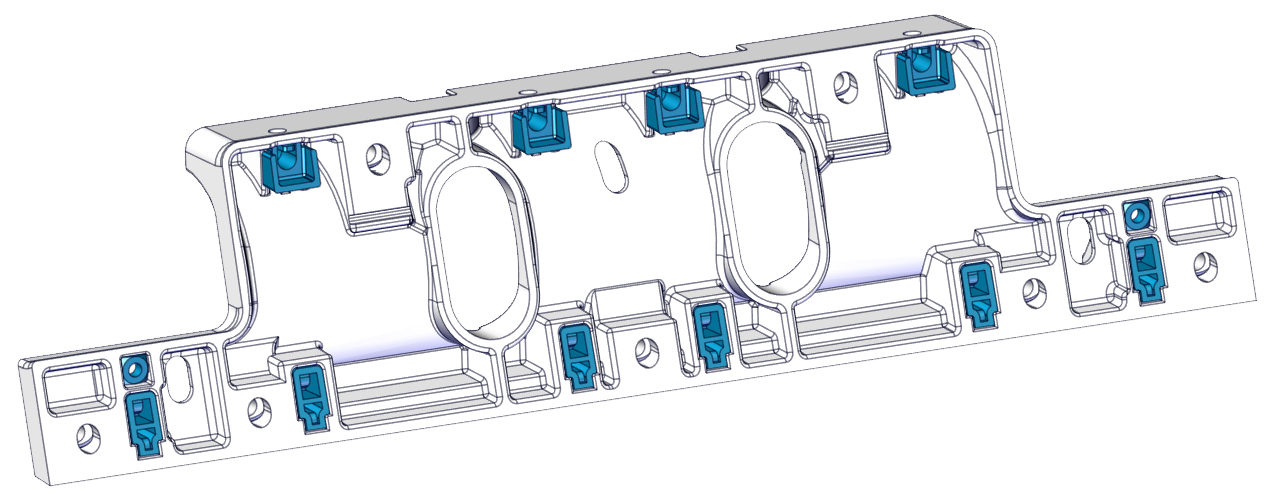
Note: Before bolting parts together, check to make sure that none of the hardware on the back side of the Actuator Plate has fallen out during shipping or handling (highlighted below in blue).
- Place a cylindrical washer on each bolt, with the flat side on the head of the bolt.
- Install the five (5) M8 x 30 mm bolts in the bottom of the Transom Plate, as shown below (The 600 mm Controllers will have seven [7] bolts.)
- The top two (2) M8 bolts must be selected based upon the total Wedge Plates in use. See Table 2 to determine if the 50 mm or 60 mm bolts must be used.
Note: Be sure to use the correct bolt length. Incorrect bolt length may result in insufficient thread engagement or the inability to attach the Seal Plate in later steps.
Note: Insert the bolts from the Transom Plate side NOT the Actuator Plate side. Incorrect bolt direction will likely cause interference when placing the Wedge Pack on the transom.
4. Place cylindrical nuts over the ends of the bolts on the Actuator Plate and torque to 75 in-lbs (8.5 N-m) in an alternating pattern.