Seakeeper 5 / 6 Installation Manual (90402-5) 6/5-233-5847 to Current
2.5.5 Bonding Saddles to Hull
Note: If using Plexus MA590 adhesive, the Seakeeper saddles should be installed when PC-120 is confirmed dry.
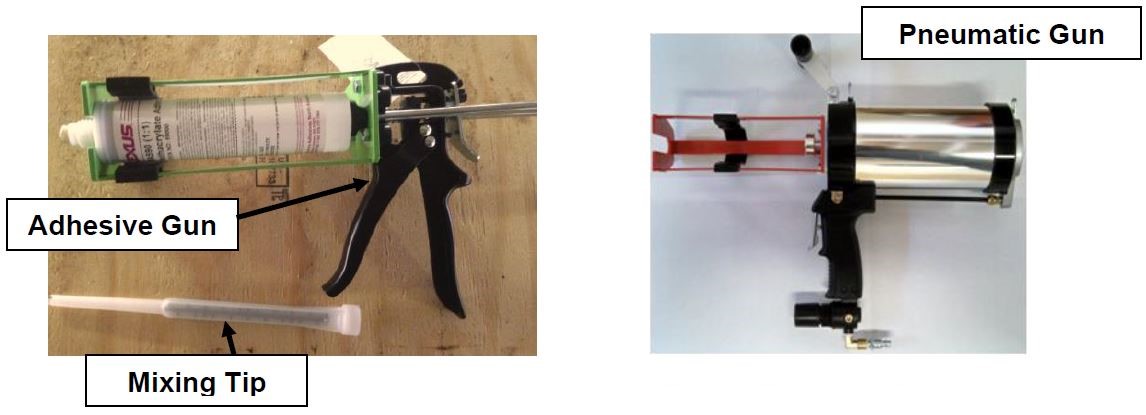
- Assemble Plexus cartridge into either the manual or pneumatic gun as shown. Remove cap on cartridge and attach mixing tip. For pneumatic gun, start with low air pressure and increase until desired flow rate is achieved.
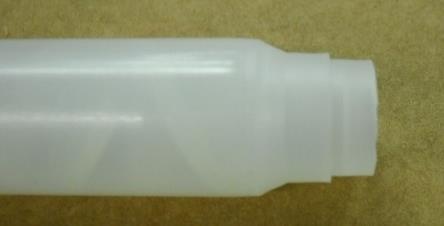
- Cut tip of mixing wand as shown in photo below.
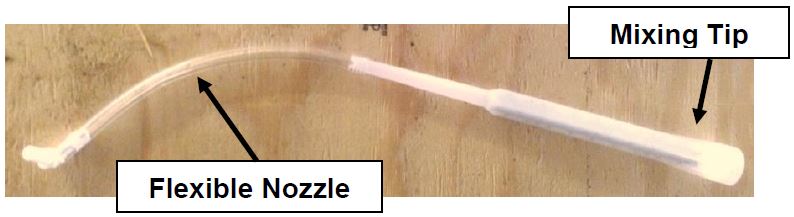
- Prepare a second mixing wand as shown in photo below by attaching the simple flexible nozzle to the end of the mixing tip. Set aside for now as this will be used to inject adhesive into the sides of each saddle after the fixture / saddles are in position.
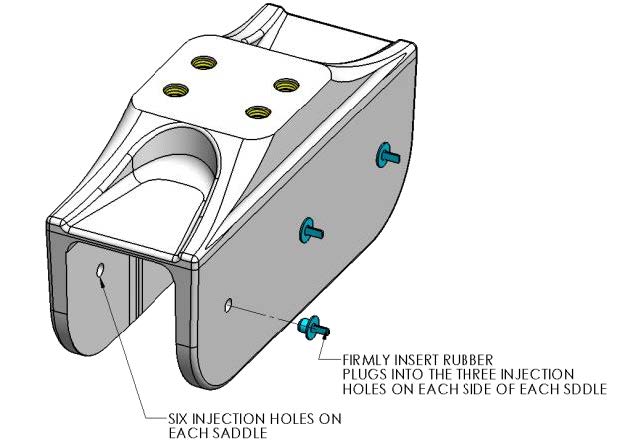
- Install provided rubber plugs in six holes of each saddle. The plugs will limit the adhesive being forced out of the injection holes in step 6 below.
- Apply large bead of Plexus adhesive to the hull structure as shown in the image below. Apply approximately 1/3 to 1/2 of a cartridge (150 – 200 mL) at each of the four locations. Work deliberate and fast as it takes some time to apply the adhesive to the structure. MA590 has a 90-minute working time at room temperature (73°F / 23°C). This working time can reduce to 40-50 minutes at elevated temperatures. Two workers should apply the adhesive at the same time to finish the installation before the adhesive starts to cure.
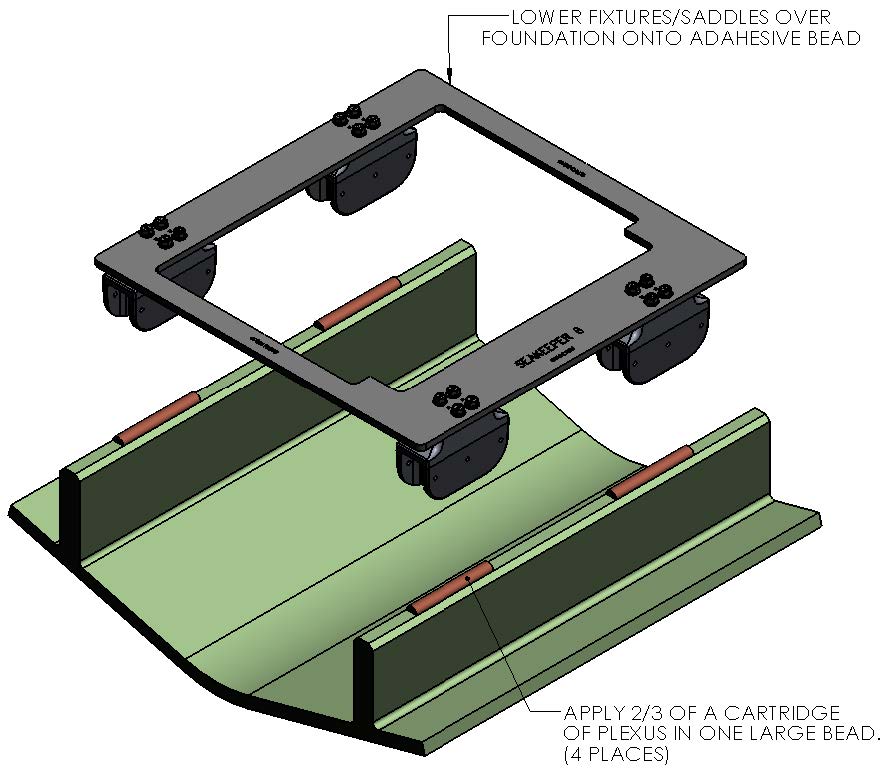
- Lower fixture and saddles over the hull structure and apply light downward pressure to each of the four saddles until the two nylon screws rest on the hull structure (see Figure 12). The adhesive will be forced towards the forward and aft ends of each saddle and partially down the sides of the foundation beams.
- Insert full adhesive cartridge along with mixing wand / nozzle assembled in Step 3 above into gun.
- Begin to inject adhesive into the six holes provided on each side of each of the four saddles. Follow the numbered sequence shown until the adhesive pushes out the edges of the saddle perimeter. The intent is to pump in the adhesive working from the top down and from the middle to the ends to fill the gaps and displace any air.

A complete bond is required – excess adhesive will be needed to make sure all bond gaps are filled.
- Repeat above steps on both sides of all four saddles.
- When gaps have been completely filled, clean off excess adhesive, remove plugs, and remove masking tape.
- Allow adhesive to cure per manufacturer’s recommendations. Follow adhesive guidelines for curing time versus temperature prior to removing the fixture.
- Bonding of Seakeeper saddles onto the hull is now complete. Remove installation fixture.