Seakeeper 9 Operation Manual (90223-10); S/N 9-233-4900 to Current
3.1 ConnectBox and Display Screens: Overview
Introduction
The Seakeeper 9 requires the ConnectBox and connection to either a Seakeeper 5” Touch Display or, preferably, a compatible MFD. The Seakeeper 5” Touch Display and compatible MFD will show the same Seakeeper Application outlined in this section.
When 24 VDC power is applied to the Seakeeper, the ConnectBox will illuminate and the Seakeeper Application on the MFD or 5” Touch Display will initialize. If connecting the ConnectBox to an MFD, and the Seakeeper App does not appear on the MFD, please refer to appropriate Technical Bulletin to troubleshoot, at www.seakeeper.com/technical-library/ and filter for the Seakeeper 9:
- TB-90478 – Garmin and Seakeeper Compatibility
- TB-90479 – Raymarine and Seakeeper Compatibility
- TB-90480 – NAVICO (Simrad/Lowrance/B&G) and Seakeeper Compatibility
- TB-90598 – Furuno and Seakeeper Compatibility
ConnectBox and Home Screen
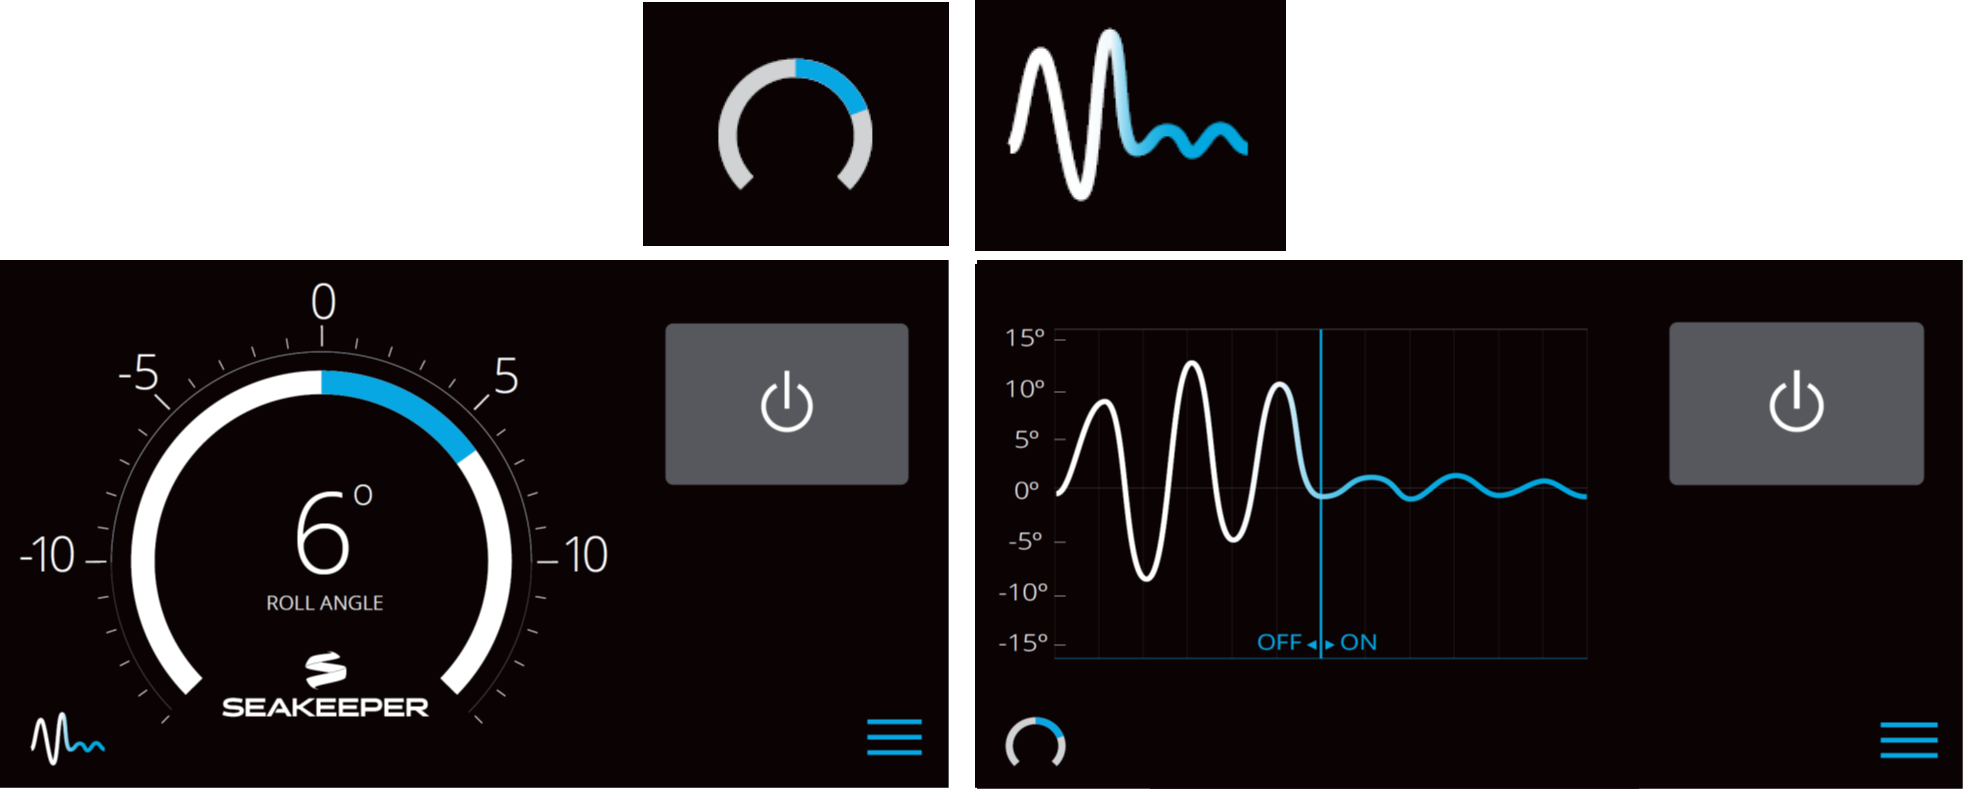
- After the Seakeeper ConnectBox and Application have initialized, the ConnectBox and Application Home Screen will be displayed as shown below.
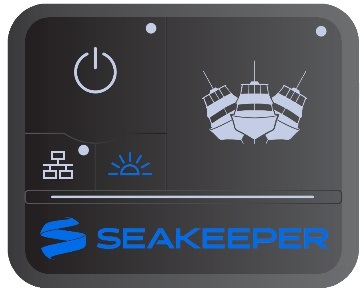
- The Seakeeper can be controlled by either the ConnectBox (shown in images on left) or the Application on the Seakeeper 5” Touch Display or compatible MFD (shown in images on right). Seakeeper POWER button: when pressed, the button will change from grey (Seakeeper Off) to blue (Seakeeper On).

- Seakeeper STABILIZE button: when pressed, the button will change from grey (Stabilize Off) to blue (Stabilize On).
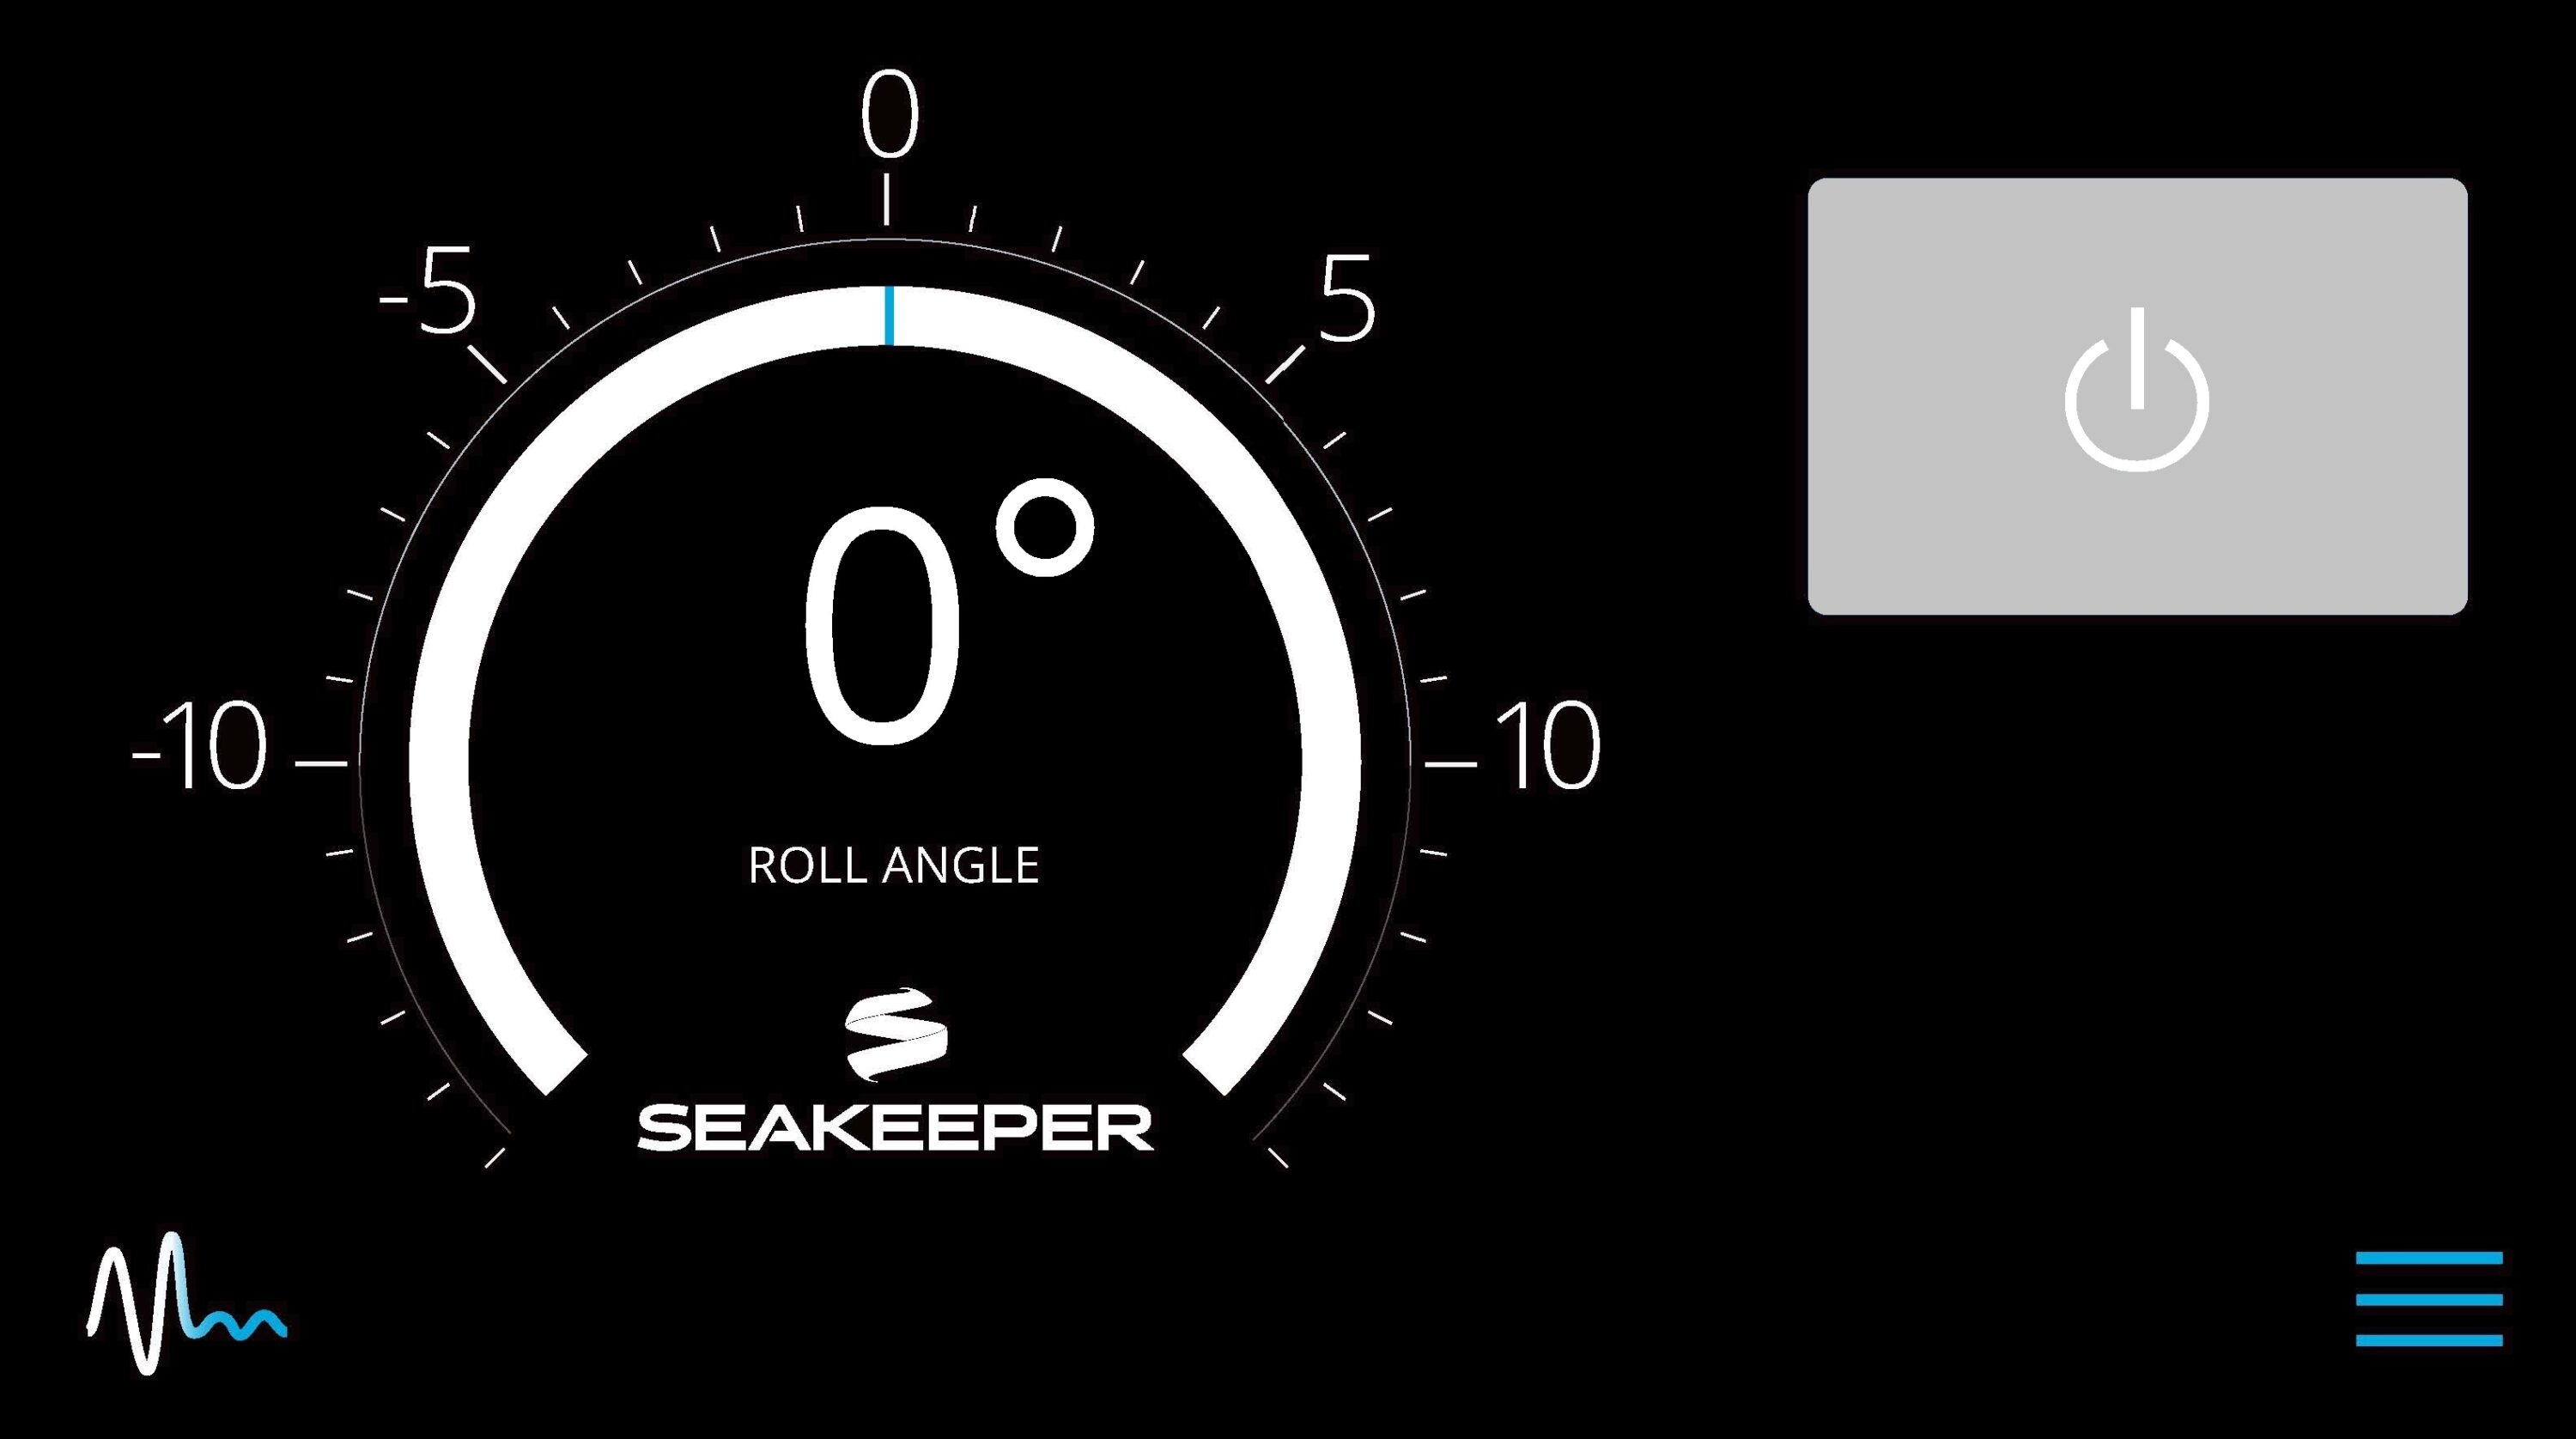
- On the MFD or 5″ Touch Display Application Home Screen view, these buttons can be pressed to toggle Home Screen views between the Roll Angle Gauge and the Roll Angle Graph as shown below.
- When the MENU button is pressed,
 the Menu Bar will appear or disappear at the bottom of the screen.
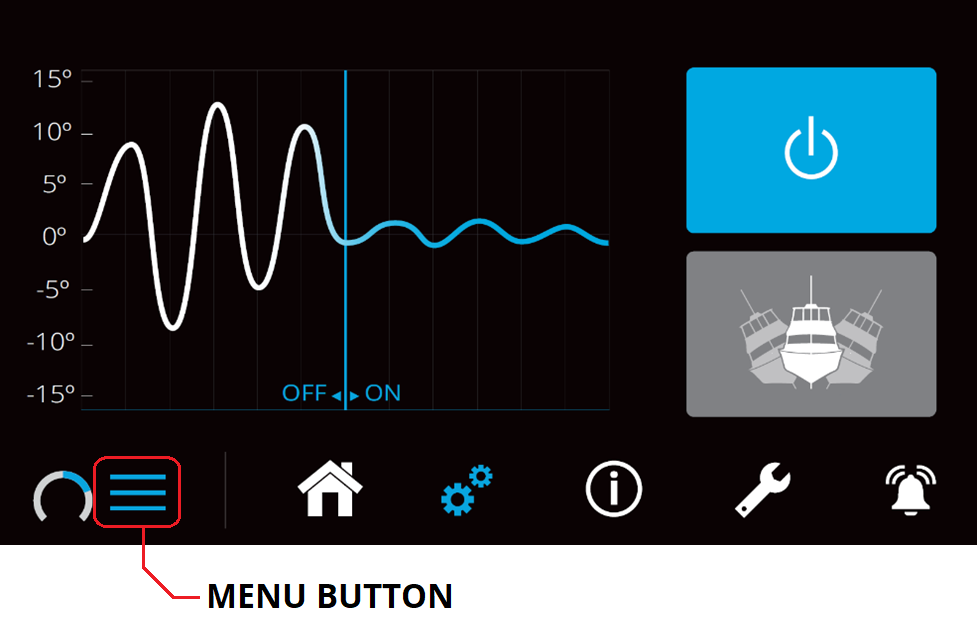
- The Menu Bar is used to navigate between pages. From left to right, the available pages are Home, Settings, Information, Service, and Alarm History. The selected page is highlighted in blue on the Menu Bar.

Settings Page
The Settings Page allows the user to adjust their preferences for the display. It can be accessed by pressing the gears ![]() in the menu bar. Settings screen shown below is an example and may appear differently on the installed Seakeeper.
in the menu bar. Settings screen shown below is an example and may appear differently on the installed Seakeeper.
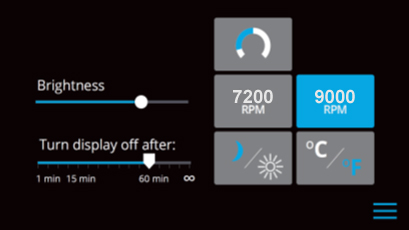
- To increase or decrease the brightness of the display, slide the white dot left to decrease brightness and right to increase brightness on the brightness bar, pictured below on the Settings Page.

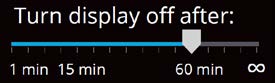
- Adjust the sleep timer from 1 minutes to 60 minutes or on all of the time using sleep time slider. Touching the screen will wake the display up after it has gone to sleep.
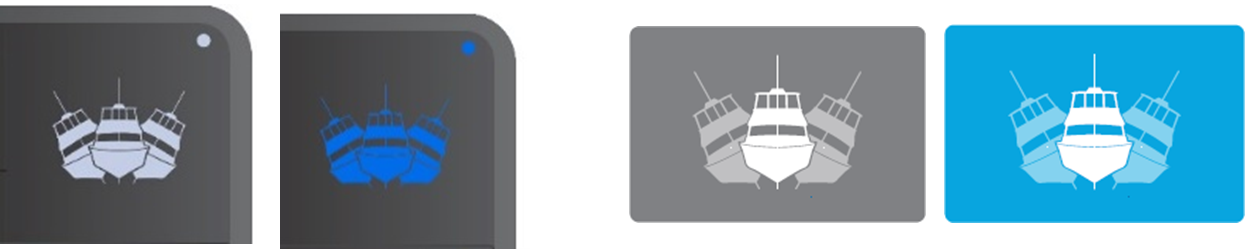
- Change the sign of the roll angle value displayed in the roll angle gauge so the gauge matches the motion of the boat. This will depend on installation orientation and will only need to be adjusted once. If the Seakeeper is facing the bow of the vessel, the Roll Angle Gauge should show the blue on the left (pictured left). If the Seakeeper is facing the stern of the vessel, you should select the Roll Angle Gauge with the blue on the right (pictured right). A positive roll angle should be displayed when the vessel rolls to starboard.

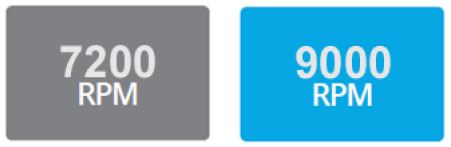
- Change the speed of the Seakeeper between normal operation and low power operation. Low power mode consumes less power and should generate less noise. The selected speed is colored blue. When power is cycled (or Seakeeper turned Off), this speed will default back to the normal operating speed. Speed selection buttons shown below are examples and may not match operating speed of installed Seakeeper.
- Change the display between day and night mode. The selected mode is colored blue and to change between day and night mode, press the button.

- Change the units of the temperatures displayed on the Service Page between degrees Celsius and degrees Fahrenheit. The selected units are colored blue and to change between Celsius and Fahrenheit, press the button.

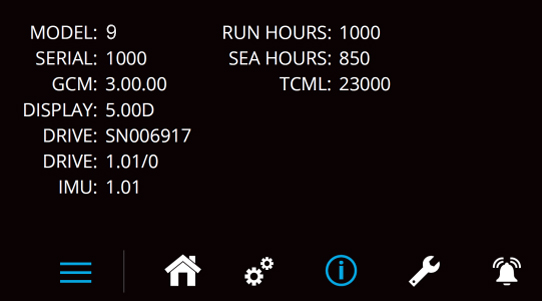
Information Page
- The Information Page
 displays the Seakeeper Model, Serial Number, Software Versions, Run Hours, Sea Hours, and other information. The image below is an example and may not match information details of installed Seakeeper.
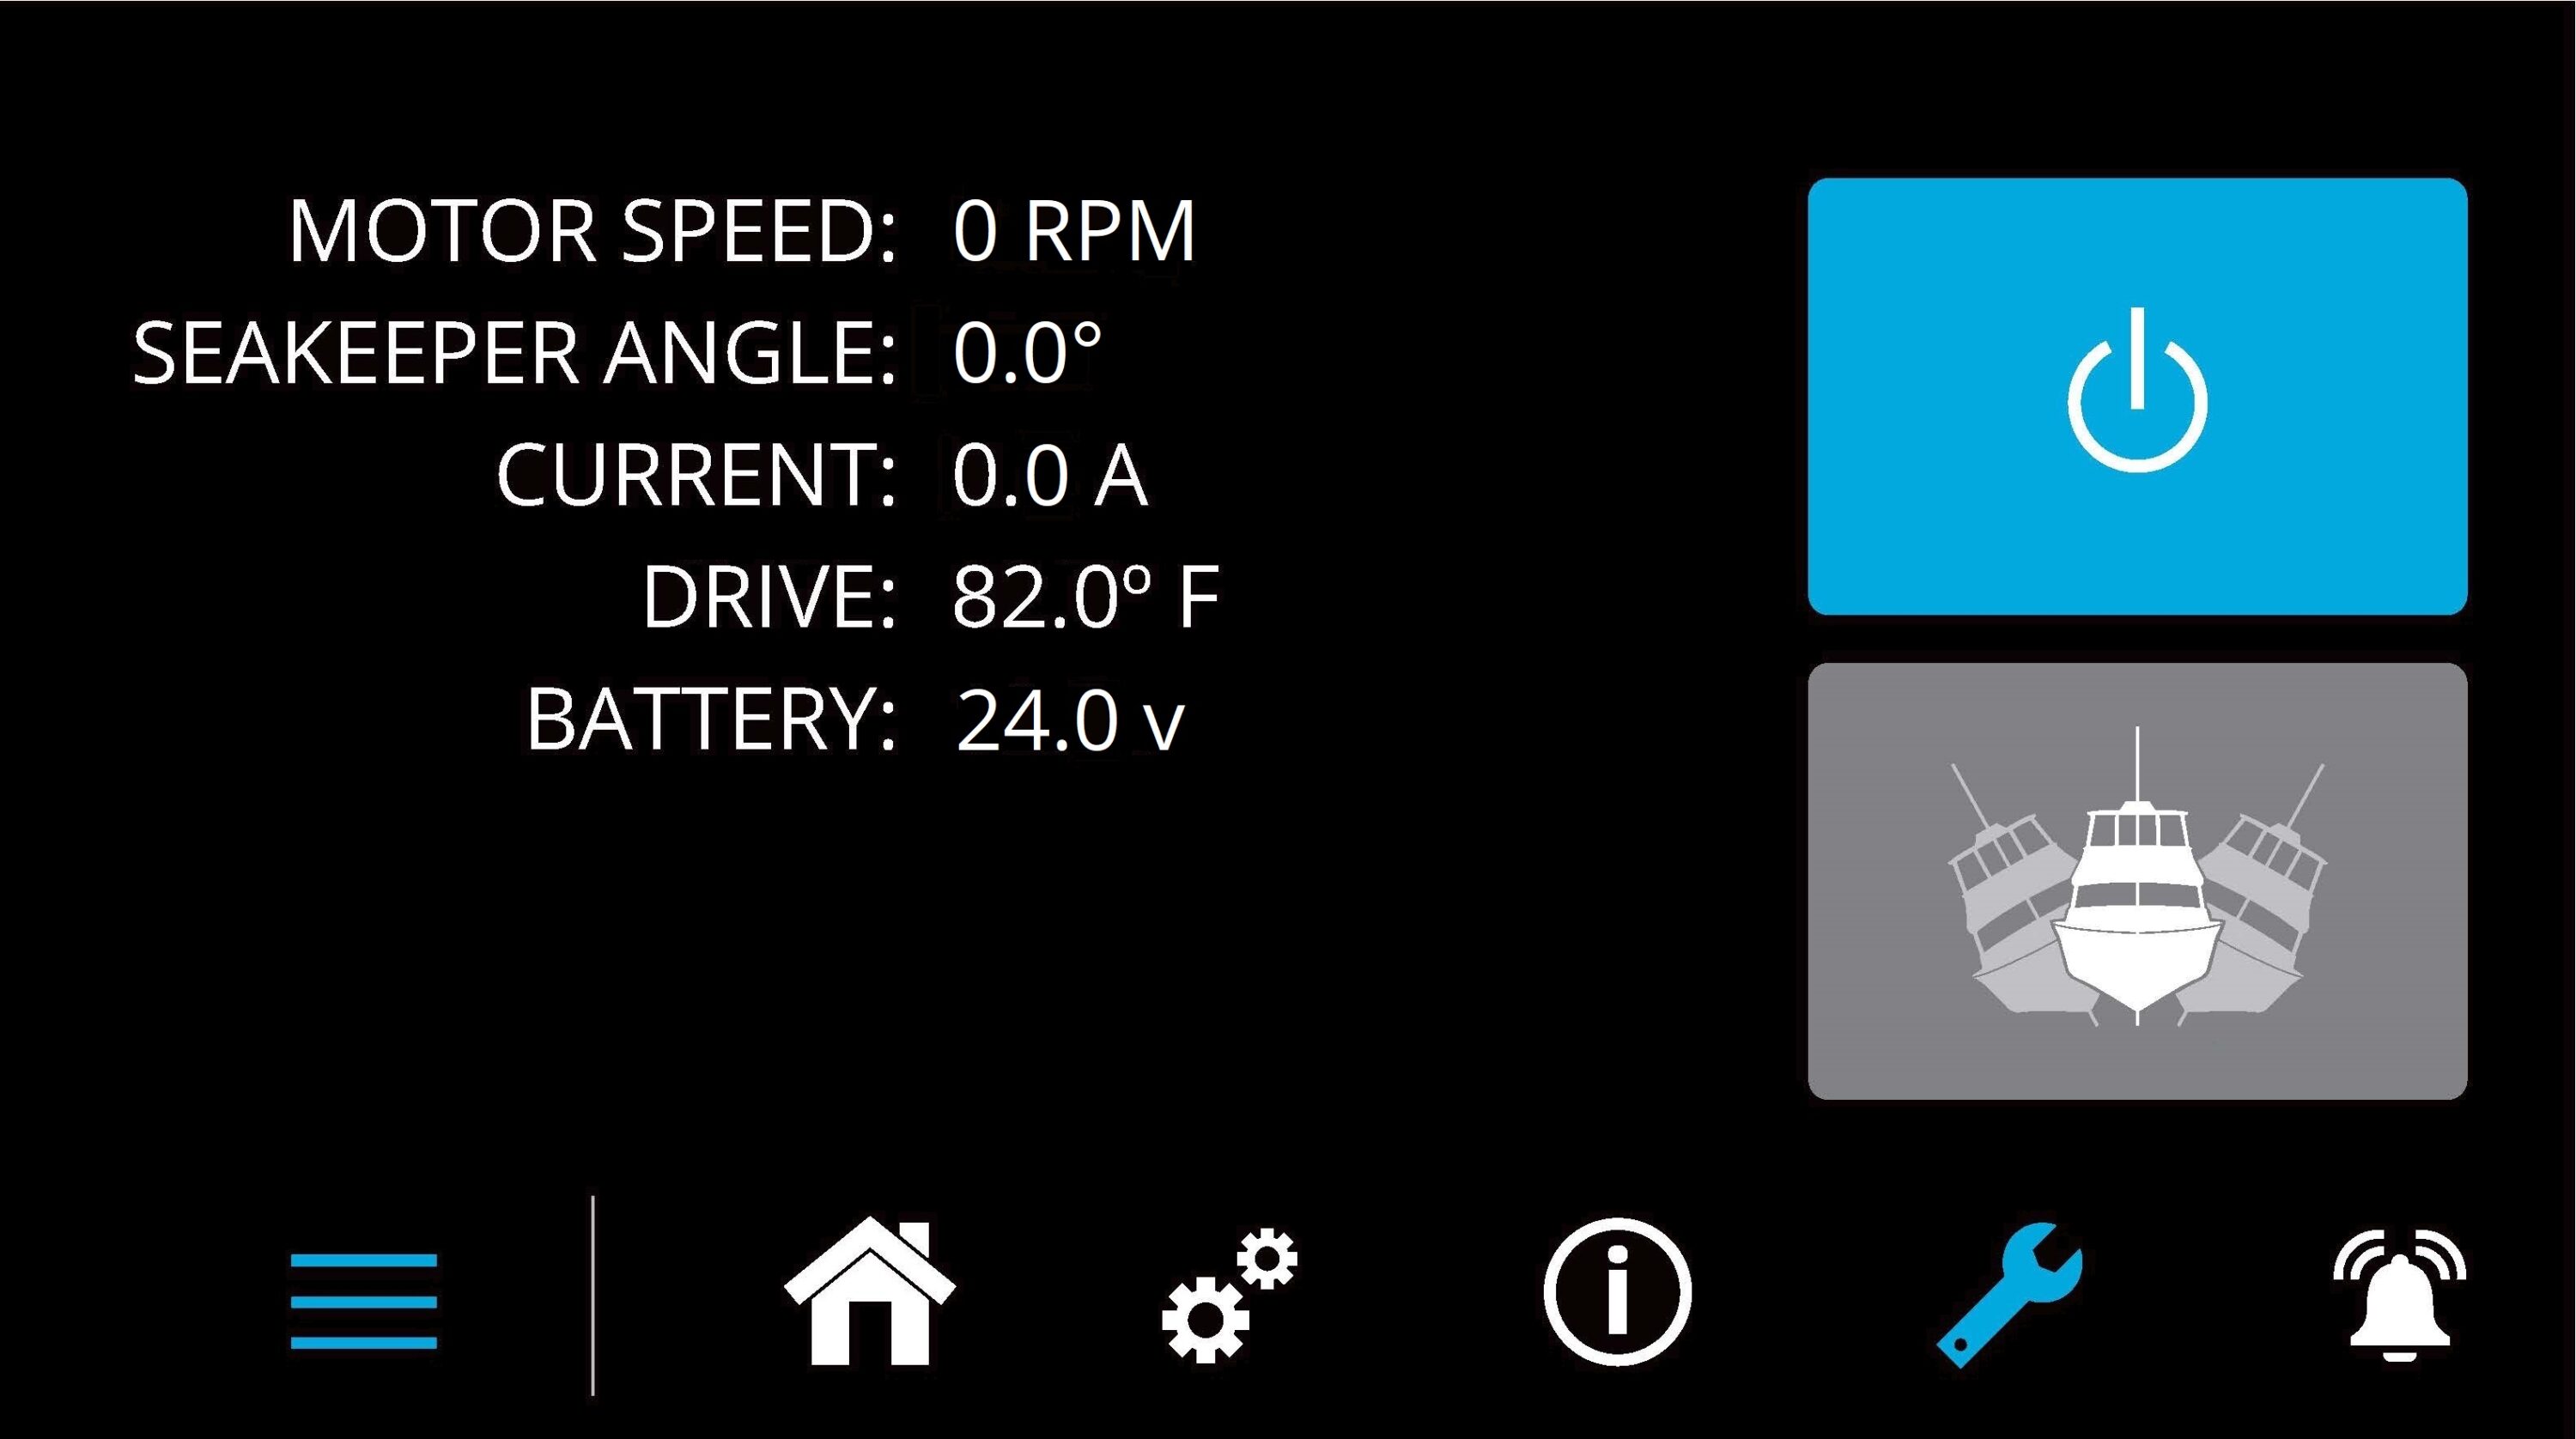
Service Page
- The Service Page
 displays Seakeeper operating information.
Alarm History Page
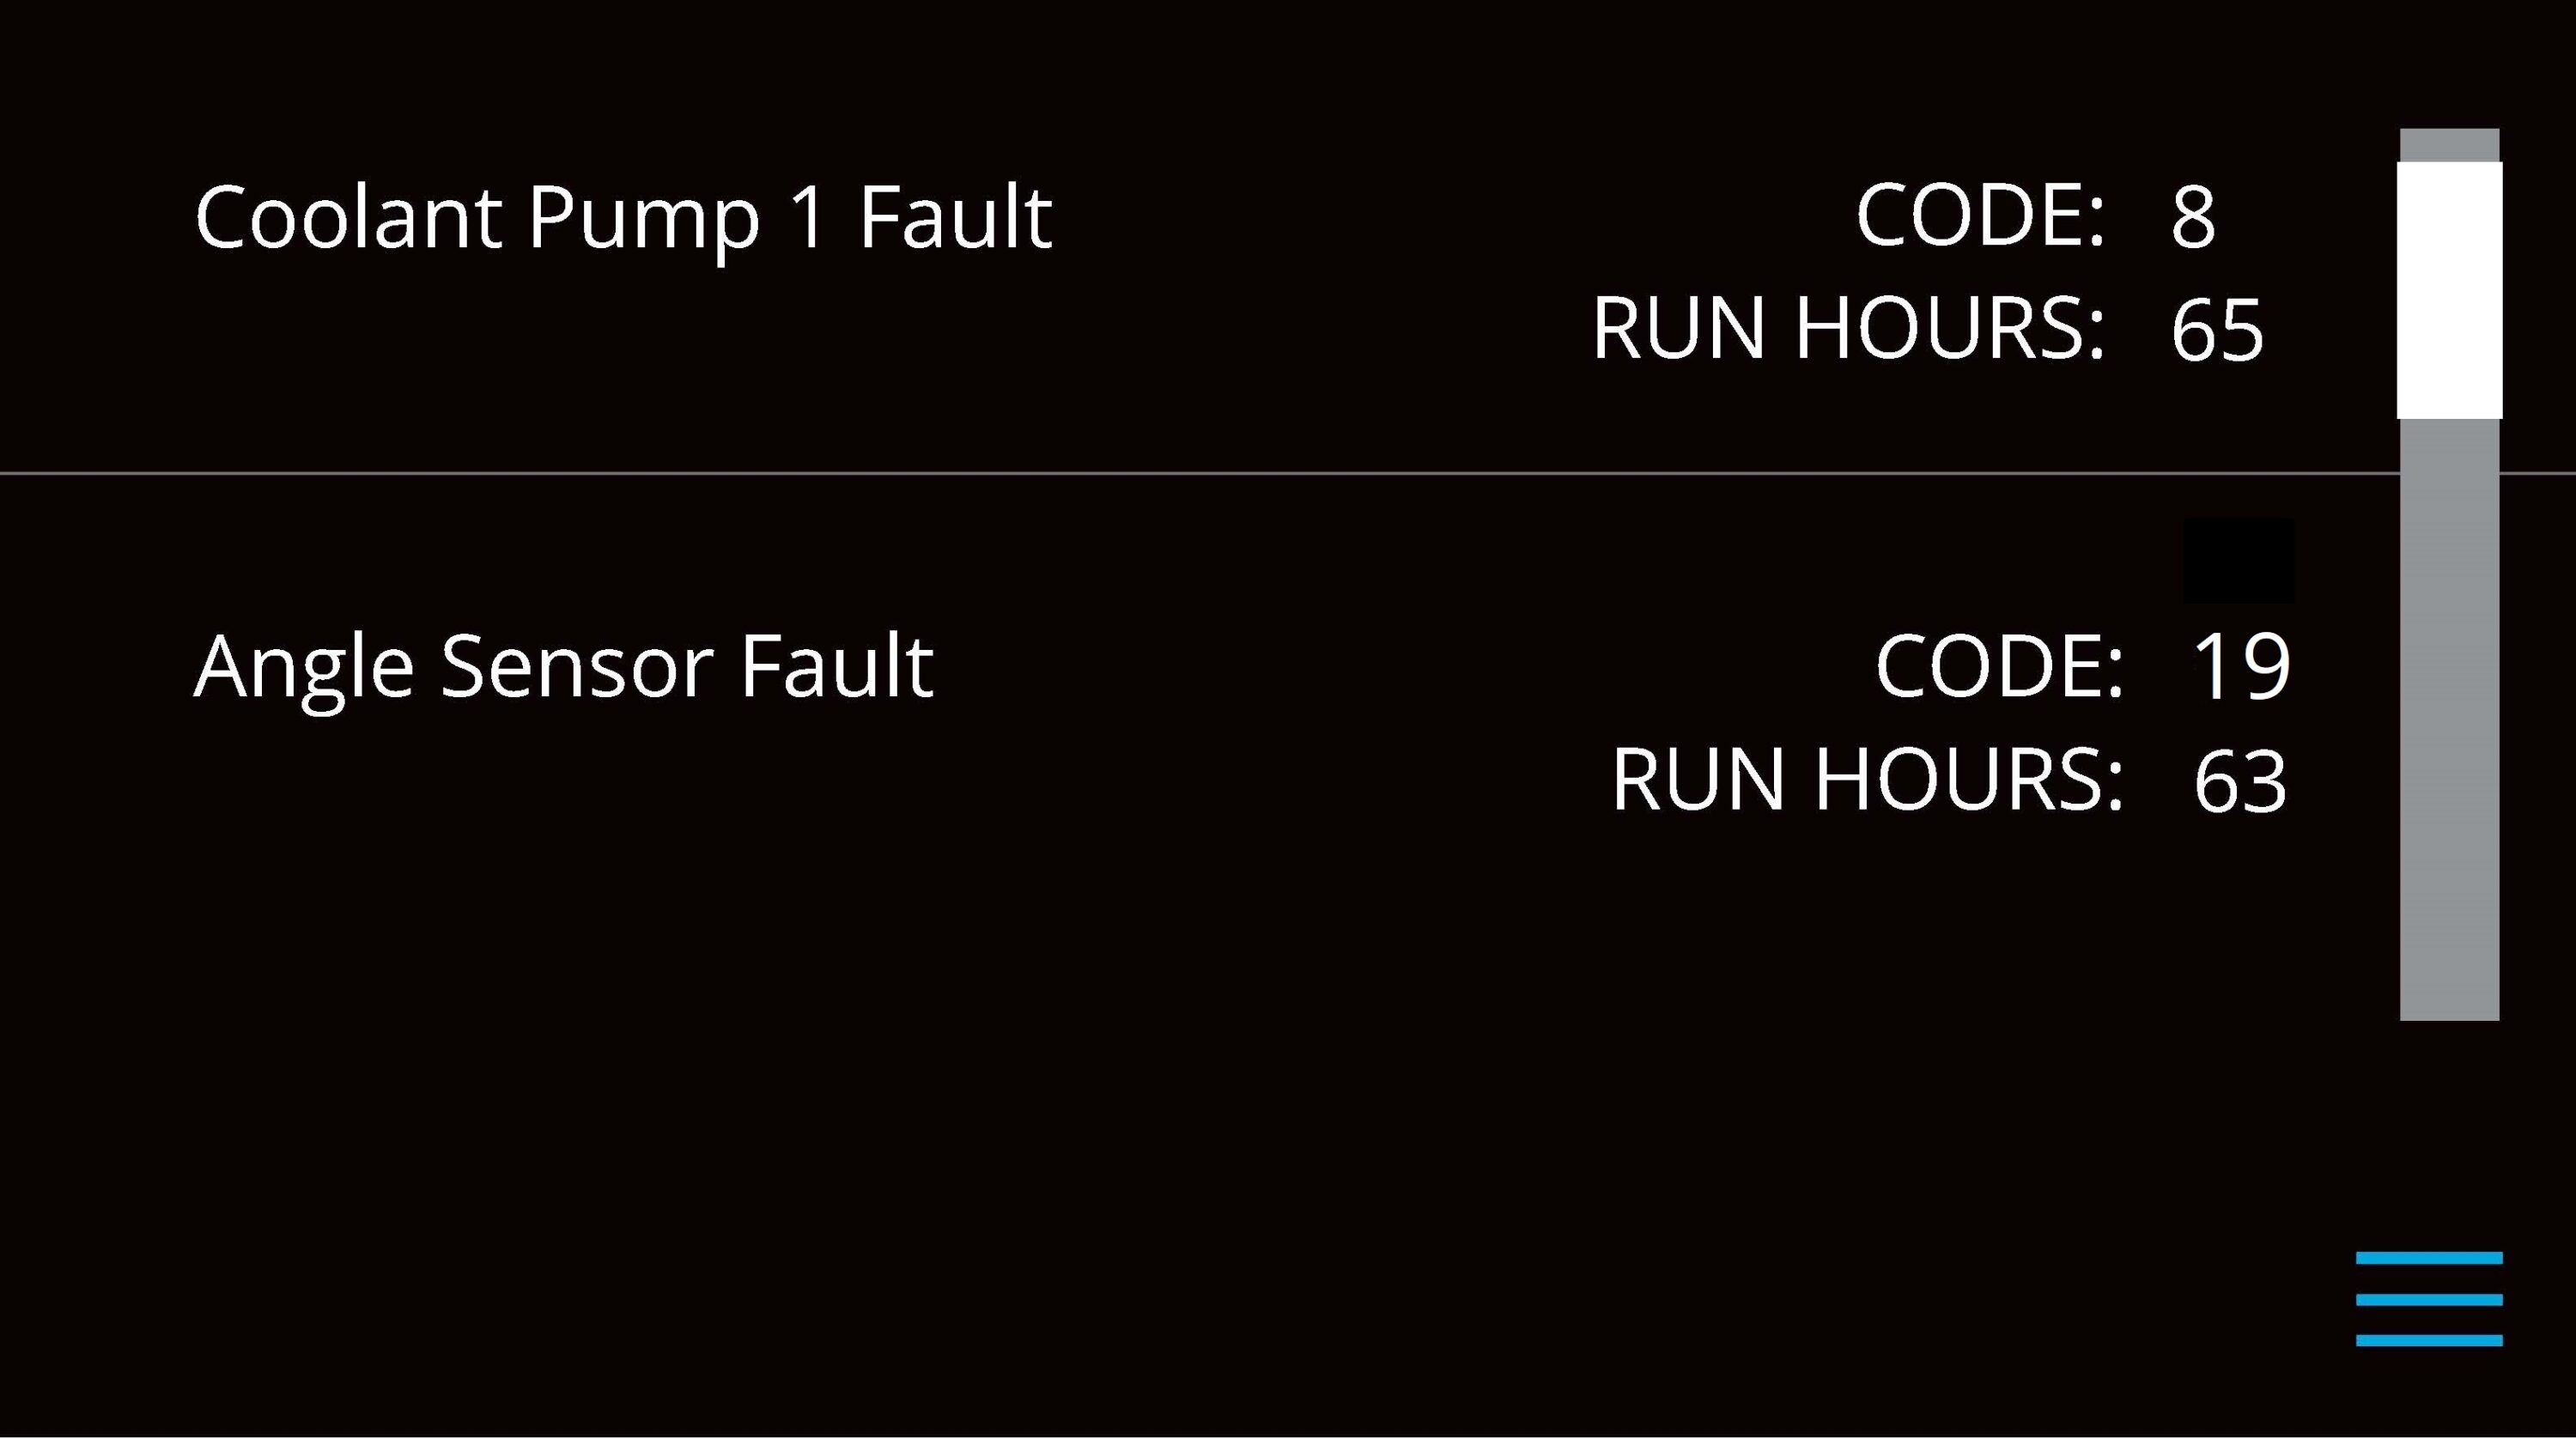
- The Alarm History Page
 shows alarms and warnings that have occurred in the past and their associated run hours. The scroll bar on the right is used to move up and down through the list.