Seakeeper Ride | Commissioning Instructions
8. Controller Configuration
Controller Configuration will program the Software Module to determine three (3) critical items:
- The side of the boat the Controller is on
- The fully retracted position
- The direction the Controller should move
Note: Both options must be selected before choosing the option you want in order for the system to recognize your selection.
Follow these steps to complete the Controller Configuration:
- Unplug both Controllers from the Distribution Module.
- Plug in the port side Controller to the Distribution Module in either of the Ampseal ports.
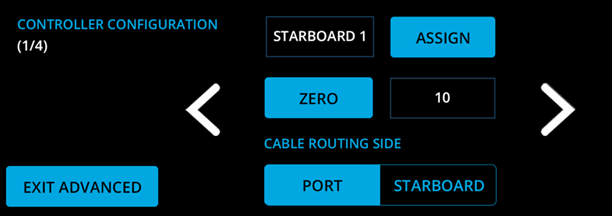
- Select Assign.
- In the pop-up window, select Port 1.
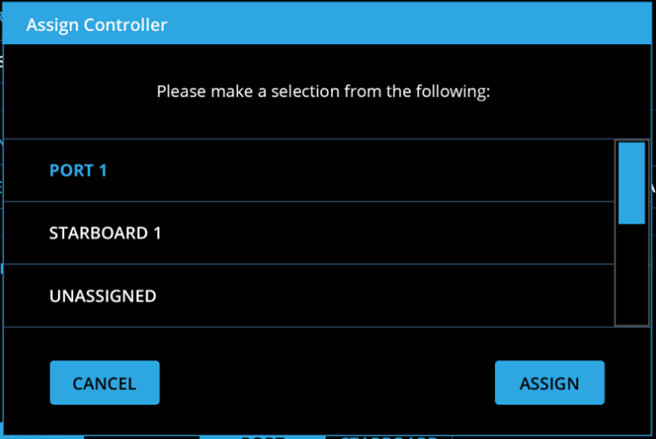
- Select Assign.
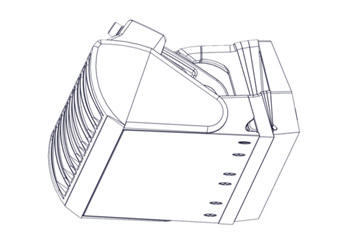
- Move the Blade such that it is flush with the Seal Plate (right).
- Select Zero.
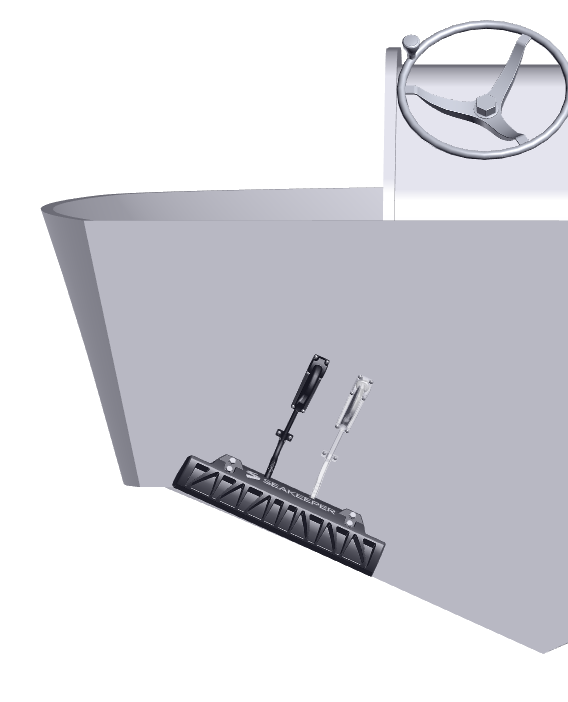
- Select the Cable Routing Side based on if the Actuator Cable is on the port or starboard side of the Controller.
Example: The port side Controller is shown in the figure. The black cable is routed on the port Cable Routing Side. If the position of the white cable was used, the correct selection would be starboard for the Cable Routing Side.
- Unplug the port side Controller from the Distribution Module.
- Repeat steps 2-9 for the starboard Controller. Use the arrows on the screen to alternate between port and starboard after plugging in the Controllers.
- Plug both Controllers into the Distribution Module. To ensure the Controllers are properly connected, gently pull on the cables after plugging them in.
- Once complete, allow 30 seconds for the system to save all data.