Configuration Instructions
3. First Installation
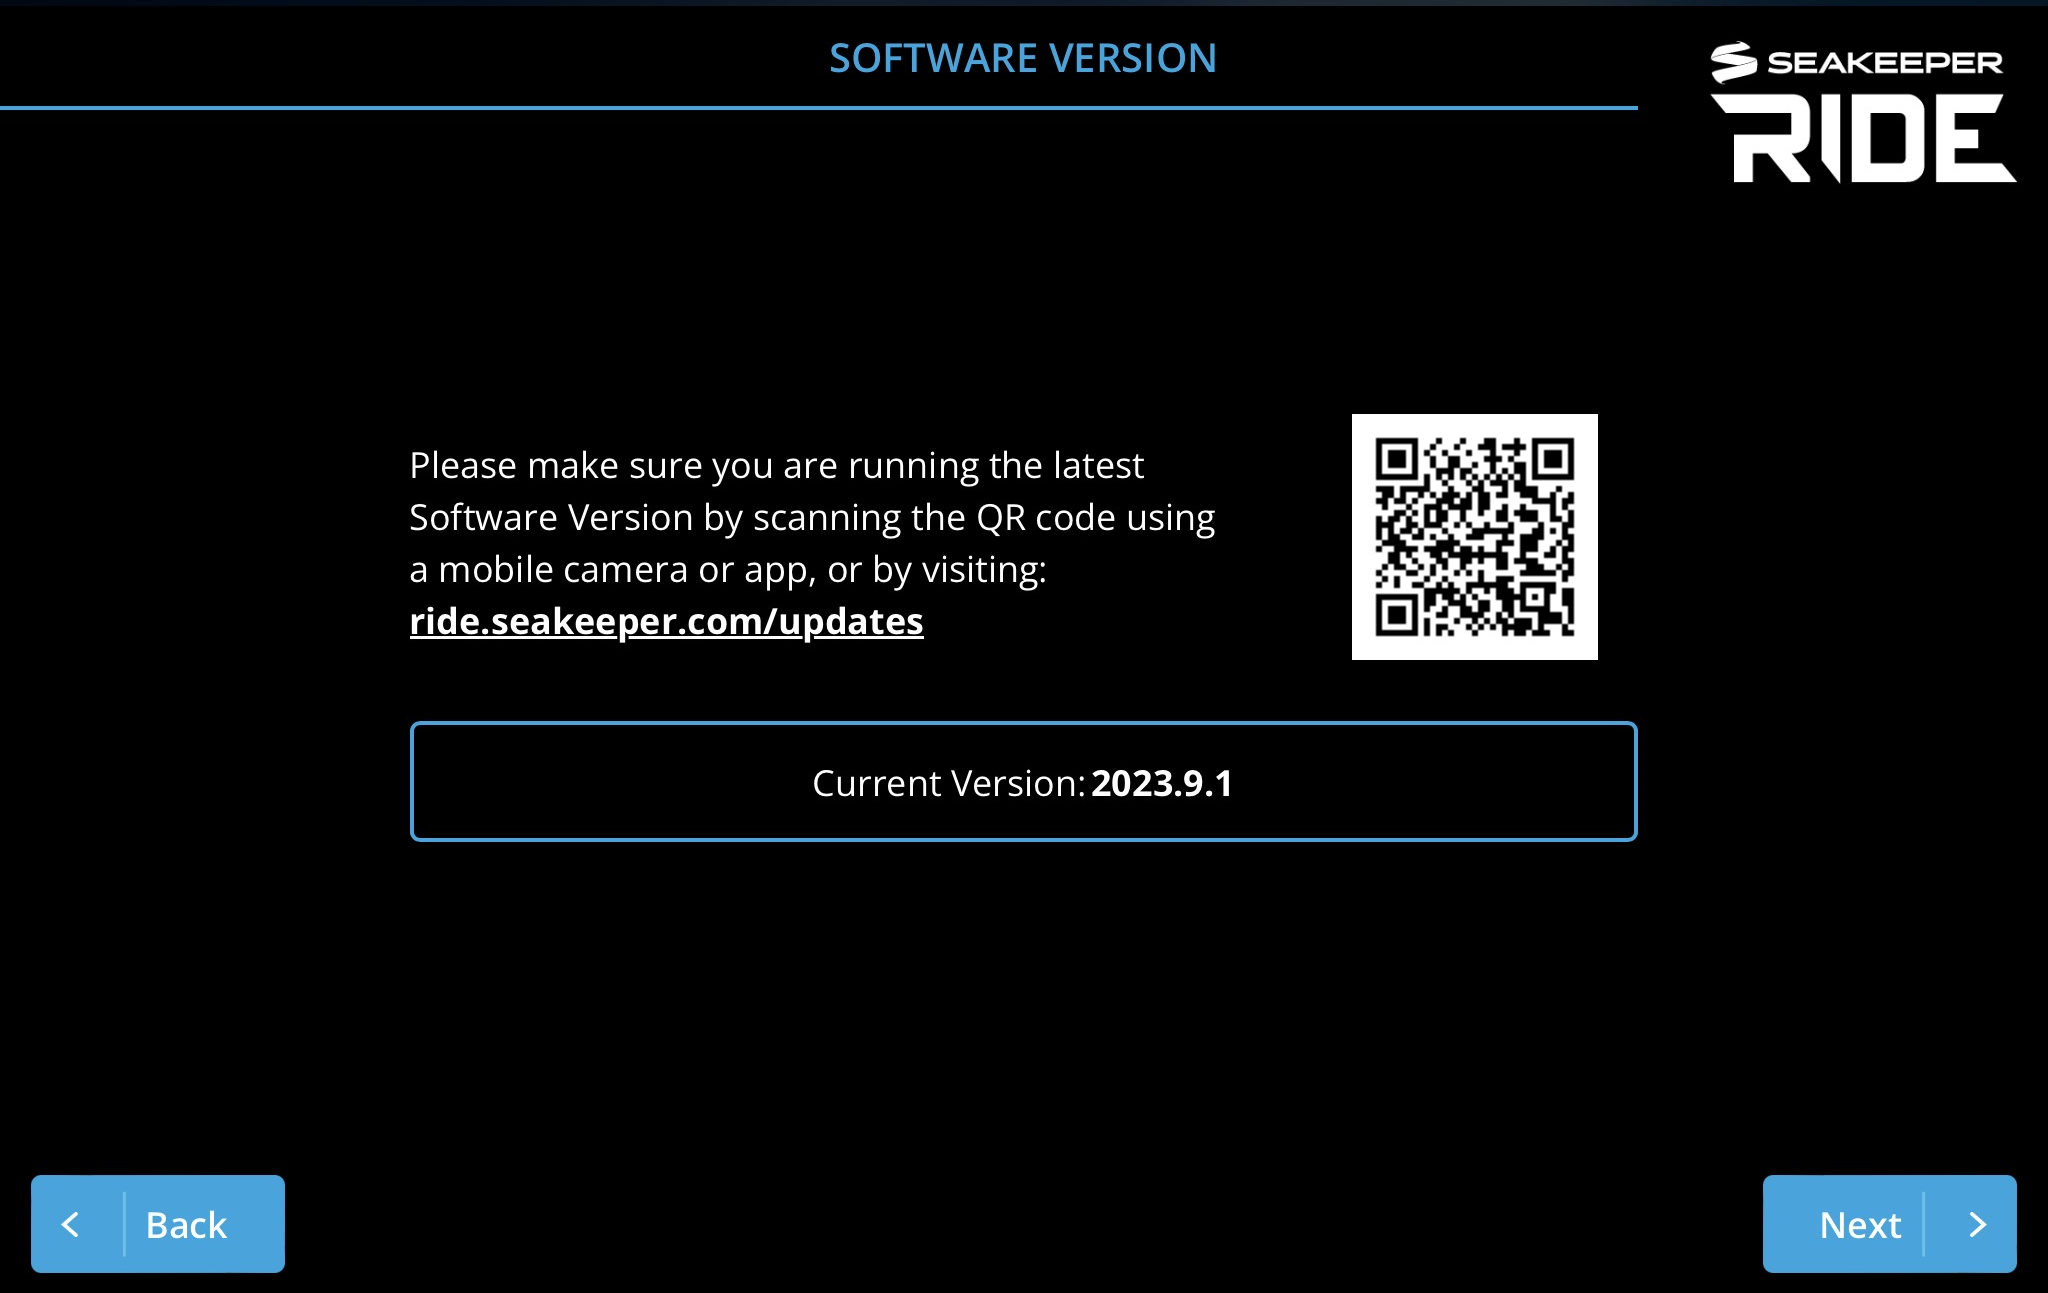
The following instructions are for Software Version 2023.9.1 and newer. If you have older Software, please update as soon as possible by downloading and following instructions here. https://ride.seakeeper.com/support/software-updates/
If you cannot update your software, please go to Legacy Configuration Procedure for step-by-step instructions on Configuring older Software.
These settings all must be entered and completed in preparation for using Seakeeper Ride. The following information details each system status screen item, what they mean and how they affect the Seakeeper Ride system.
If this is the first time operating the Ride system and you are not presented with the welcome screen to match this guide, you must select Menu, Service, Factory Reset to follow this instruction and complete the installation.

ATTENTION! Changing these critical settings can render the system nonfunctional and create an unsafe operating condition. Please proceed only if you have read and understand this manual in full.
Please read the prompts in each screen and follow the instructions presented on your MFD within the Seakeeper Ride app.
Welcome
Software Version
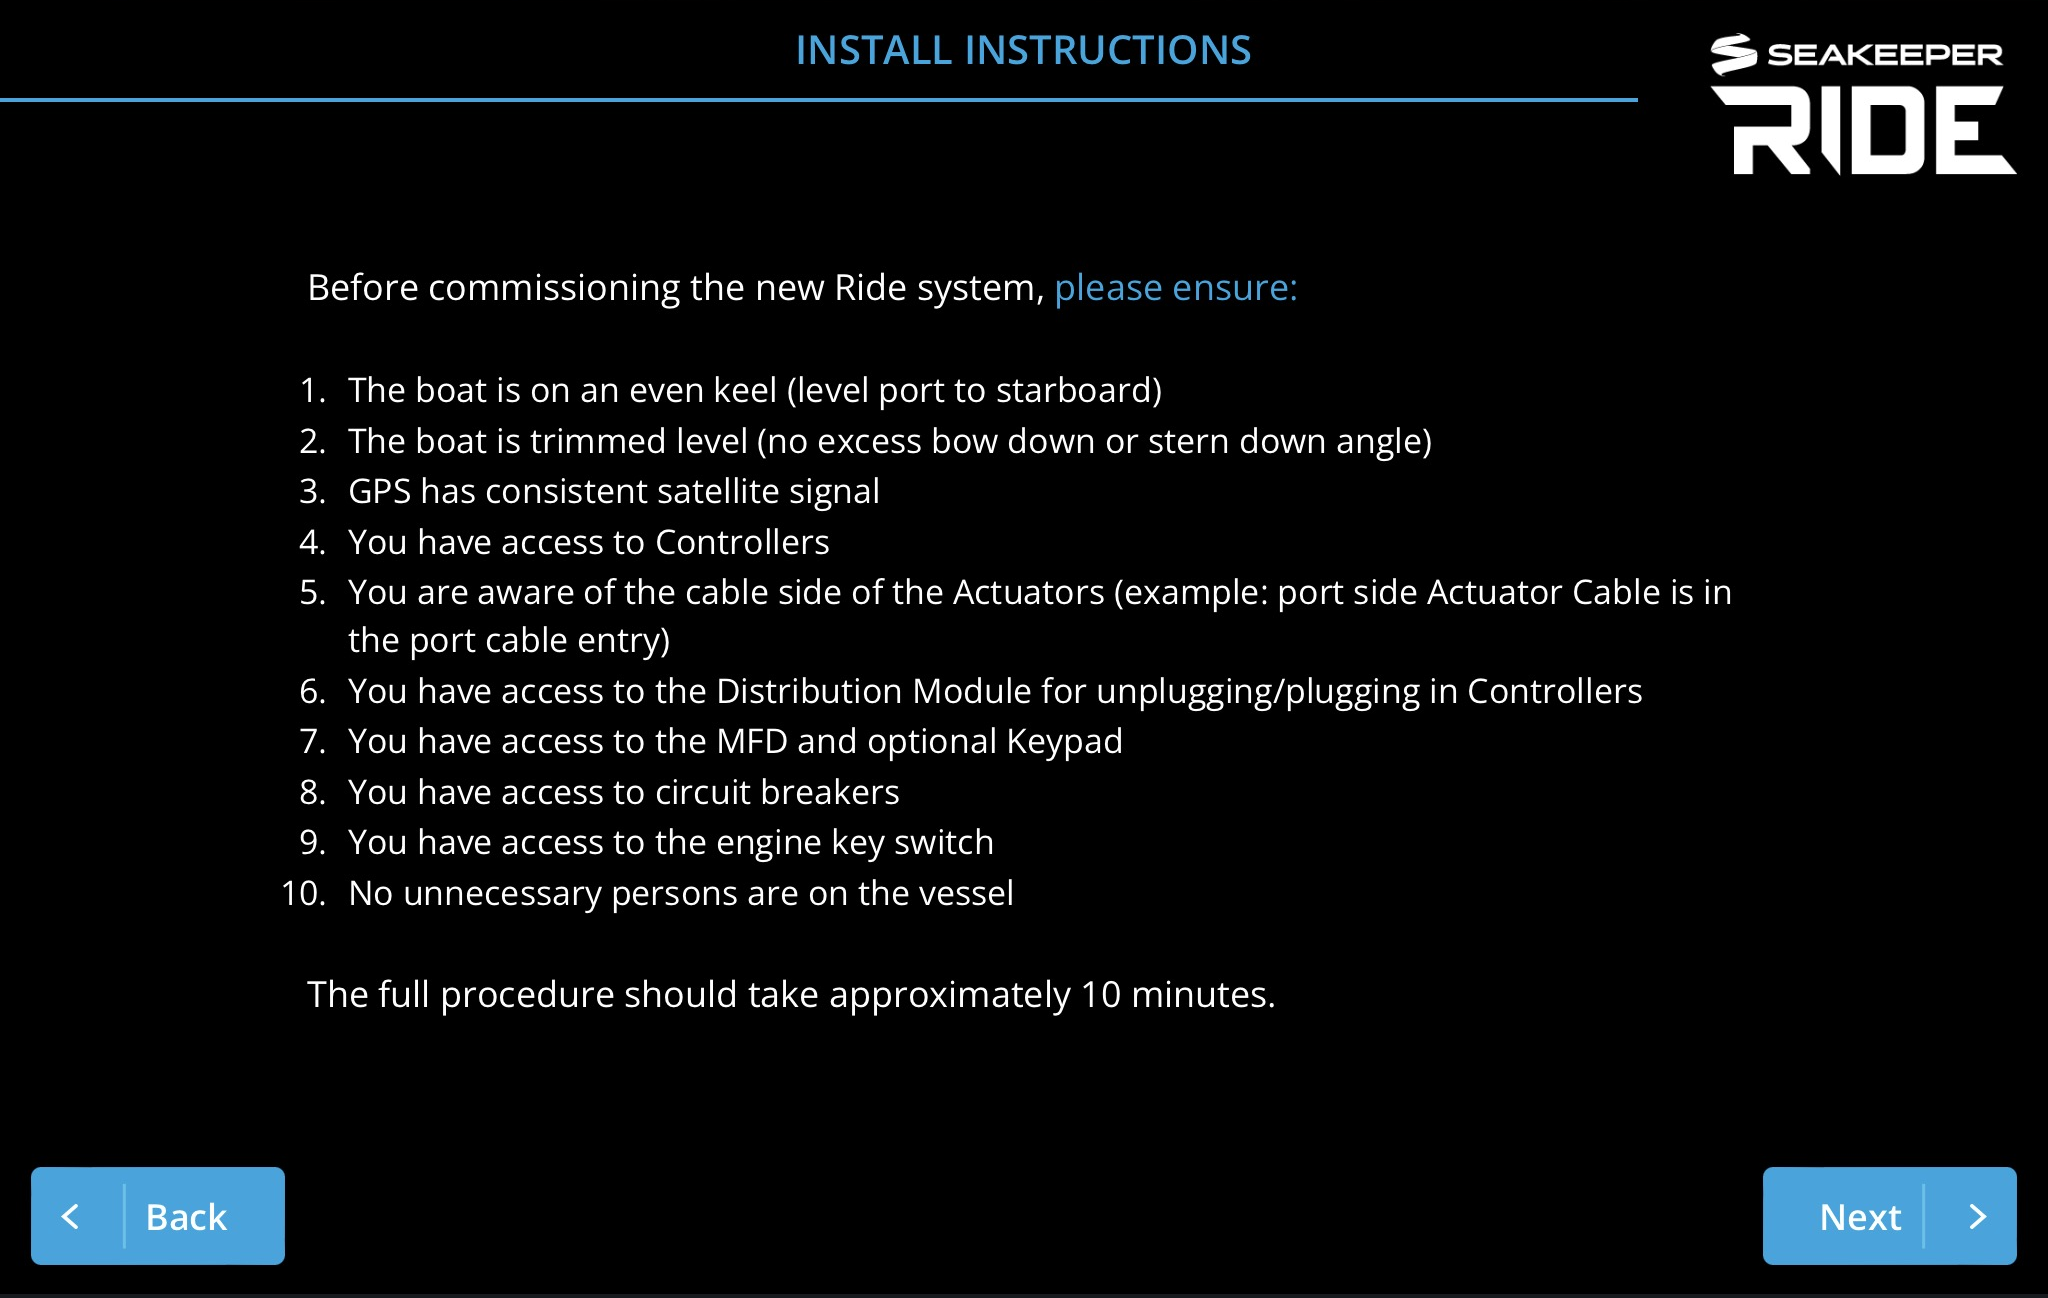
Install Instructions
Note: Boat must be stopped when performing install instructions.
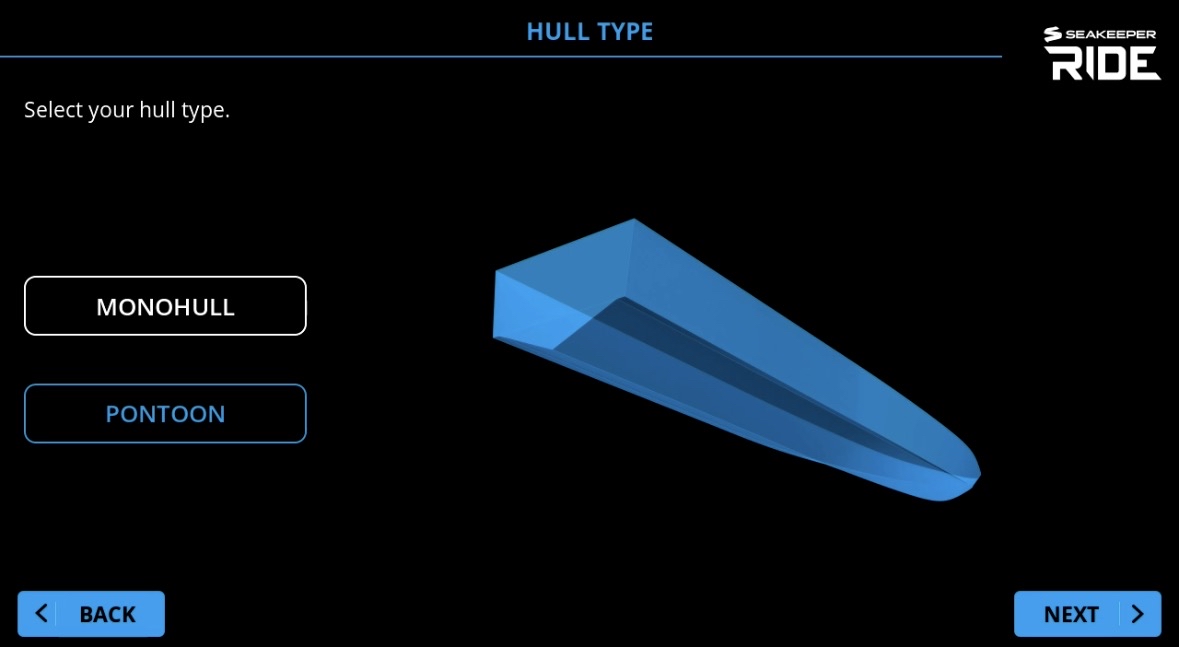
Hull Type: SMC Systems
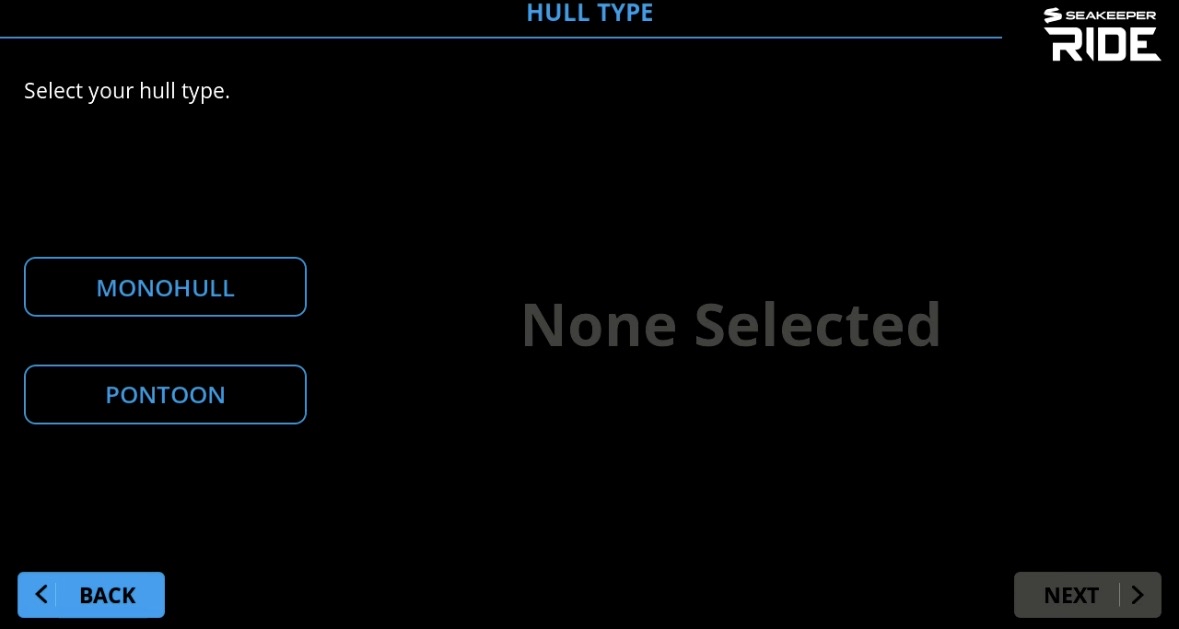
Note: Seakeeper Ride system size determines the option screen during Configuration. Seakeeper Ride 450, 525, and 600 sized systems will have the selection choices of ‘Monohull’ and ‘Pontoon.’

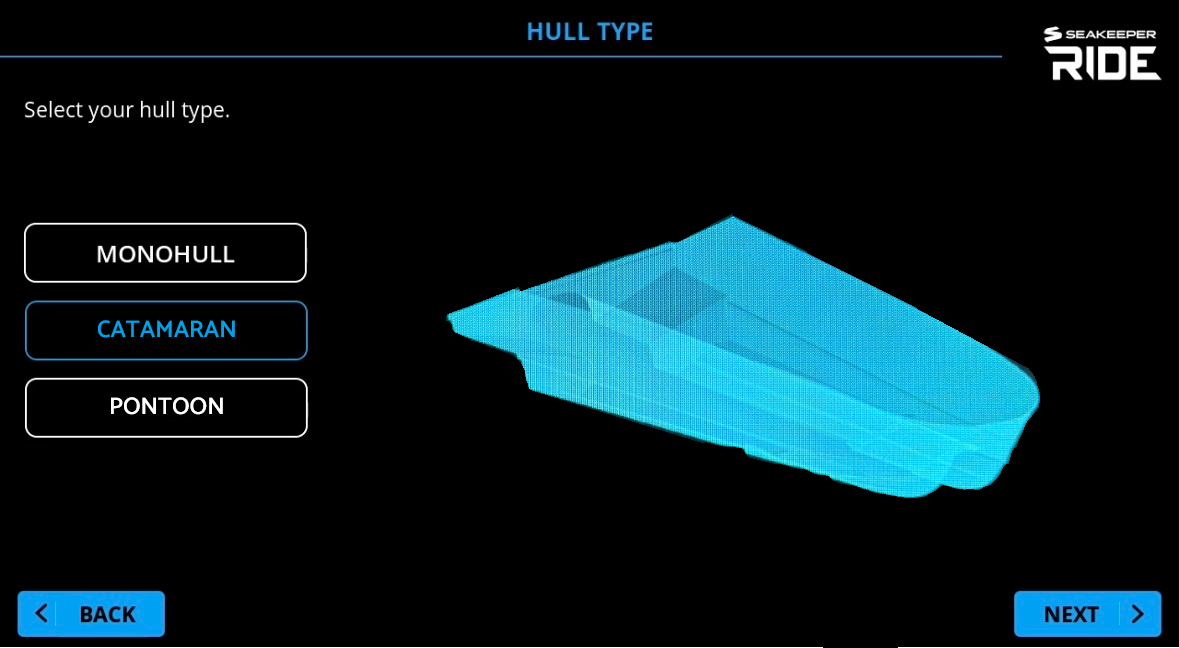
Hull Type: Aluminum Systems
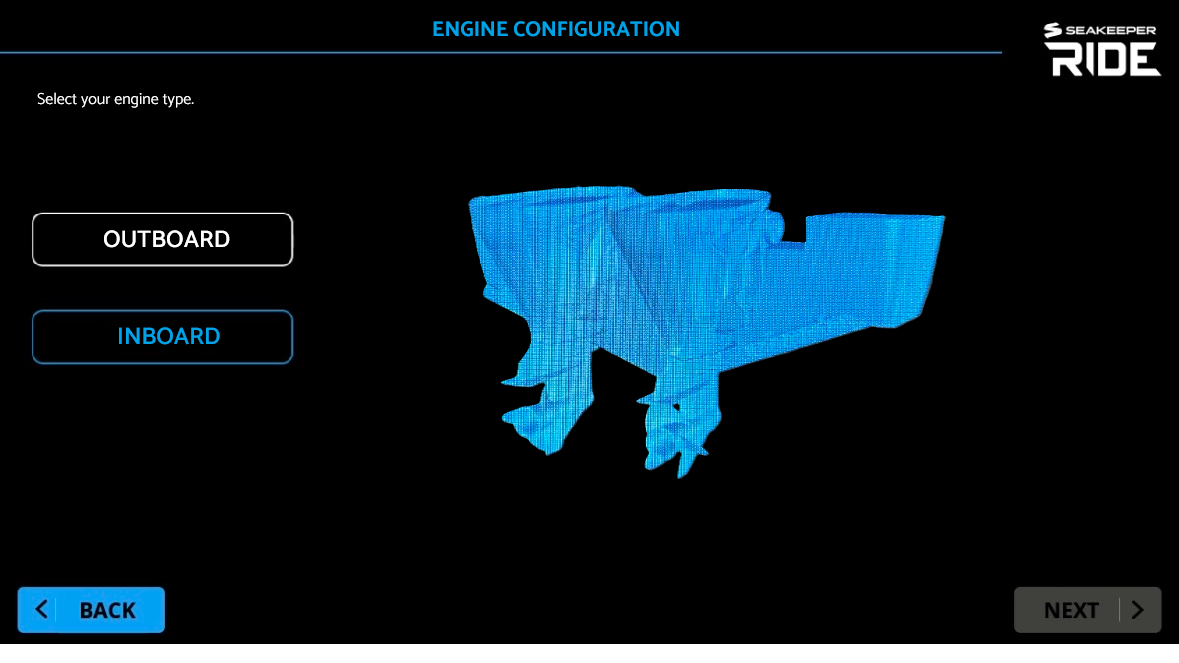
Engine Configuration: Inboard/Outboard
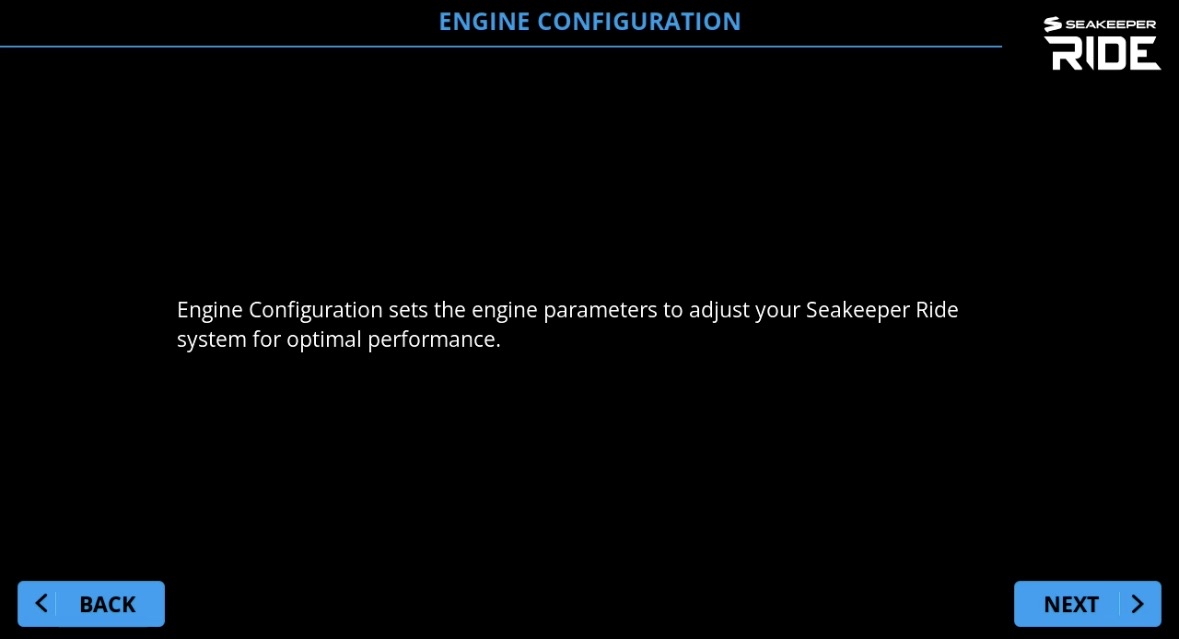
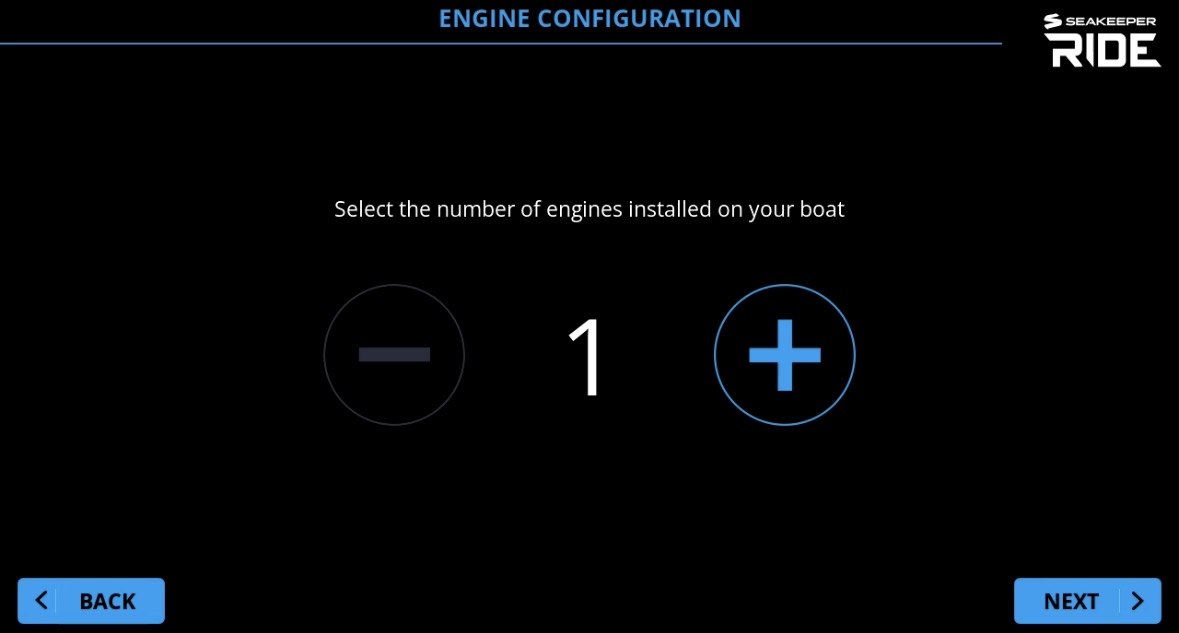
Note: Outboard and Inboard selection screens will ONLY show during the Configuration of an Aluminum Seakeeper Ride system. Example: 375A, 525A, 750 Quad, and 750-1500.

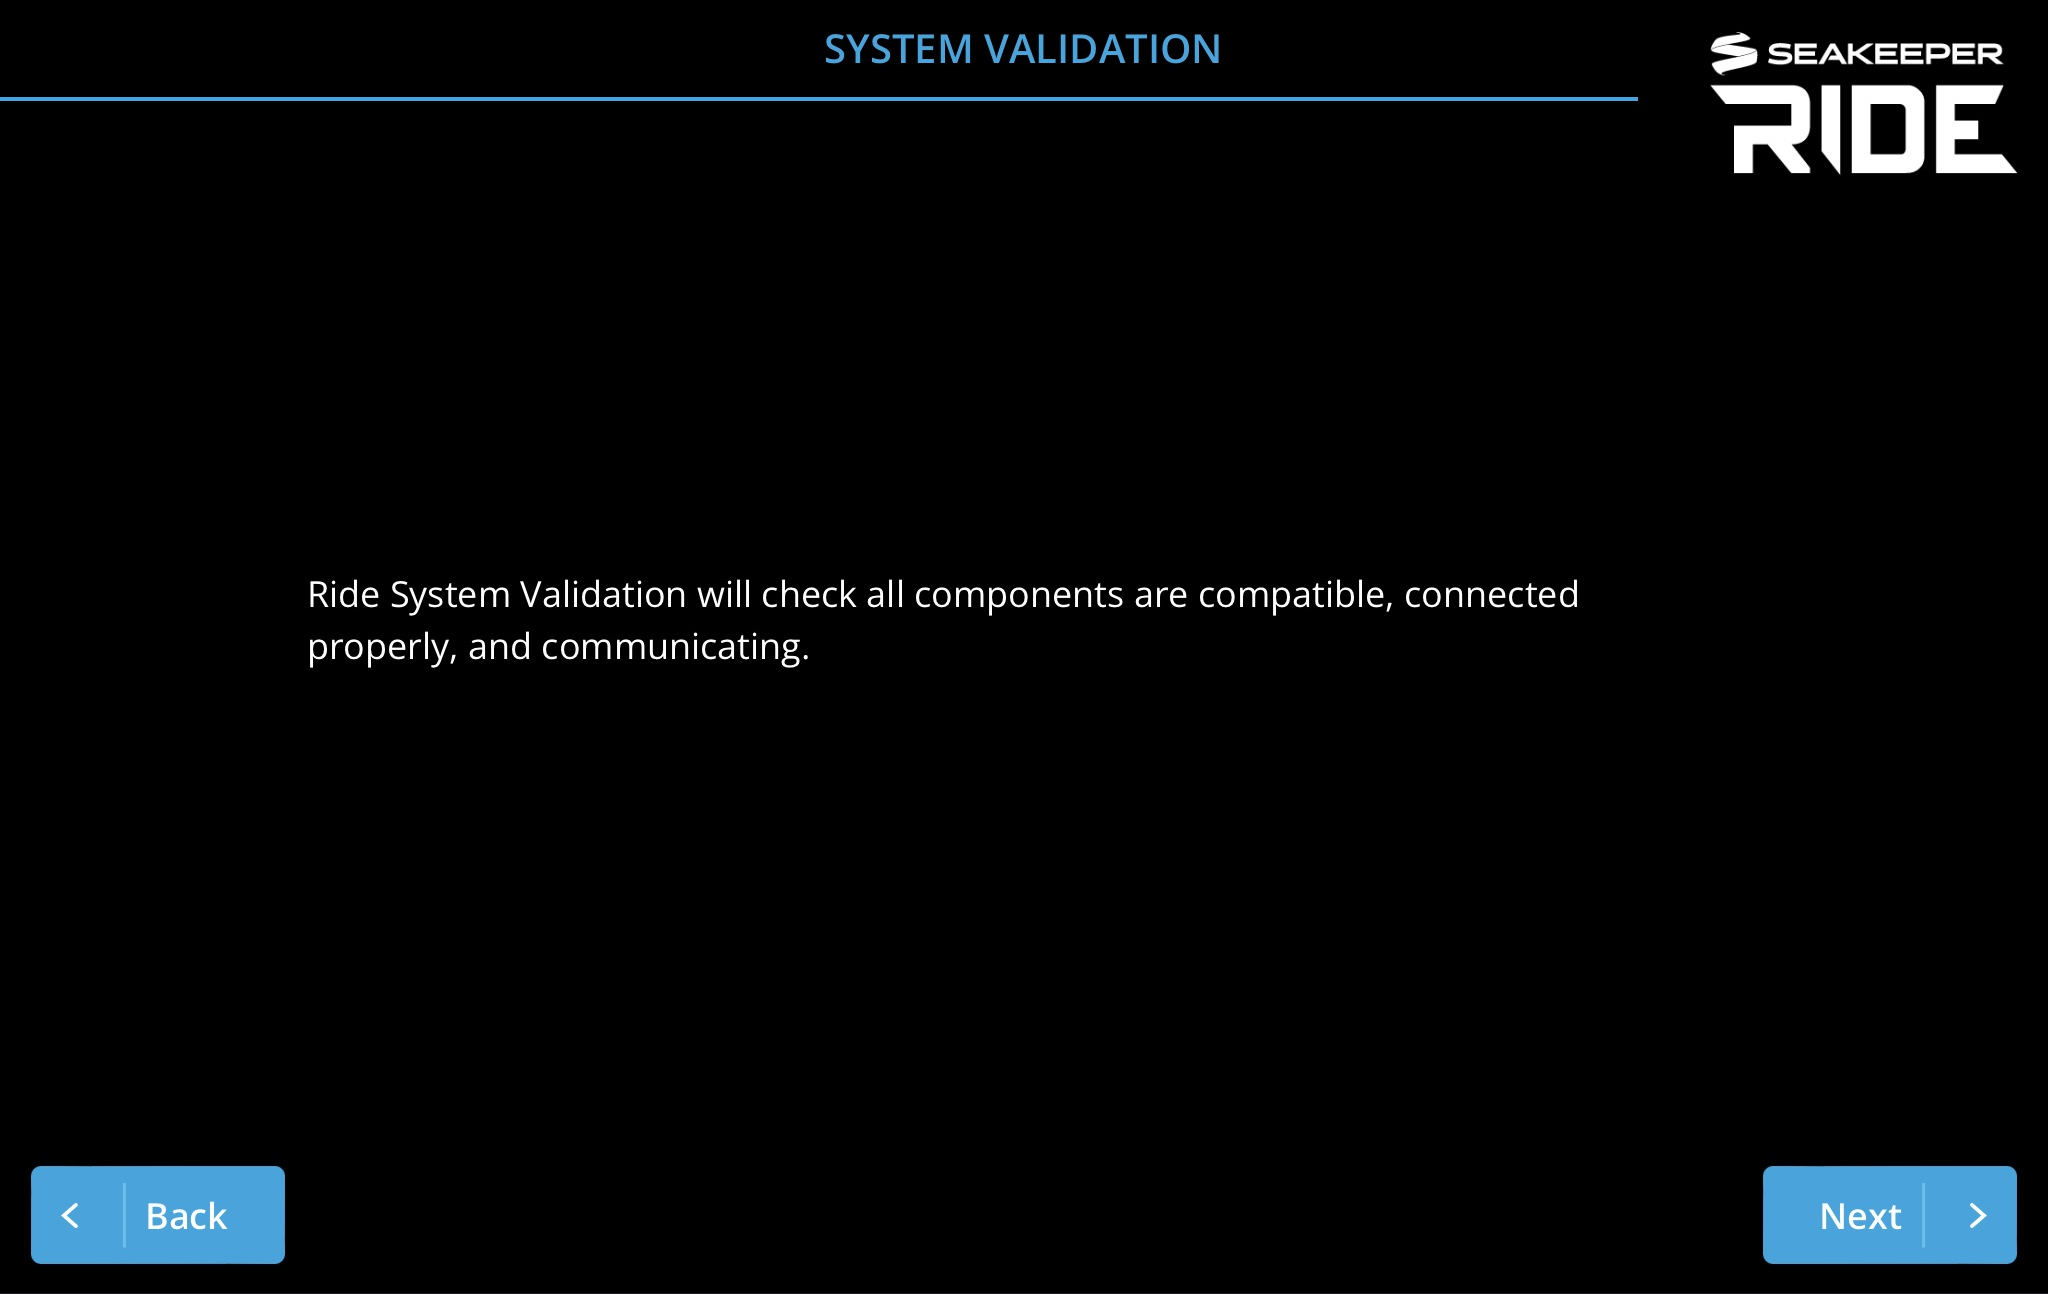
System Validation
This step ensures all components are updated to the latest software and may take a few minutes.
Software Module Orientation

WARNING: Software Module Orientation mounting position and selection is critical to safe operation of your boat. Incorrect mounting and orientation selection may result in unsafe boat handling. If you have any doubts or questions regarding this step, contact Seakeeper Ride Customer Support.
The Software Module Orientation allows the user will choose between the two possible mounting positions “STERN” or “BOW.” The Software Module senses the boats motions and is a critical piece of the installation. This selection will align the boat motion with the Seakeeper Ride components and correctly control your boat’s attitude. Visual confirmation of the Software Module’s location on board should be done at this step to ensure correct positioning on the boat.
Note: Please review the Electrical Installation Manual (Seakeeper Ride | Electrical Installation Manual) and BILT App QR code (below) for precise details on the Software Module location for best performance.

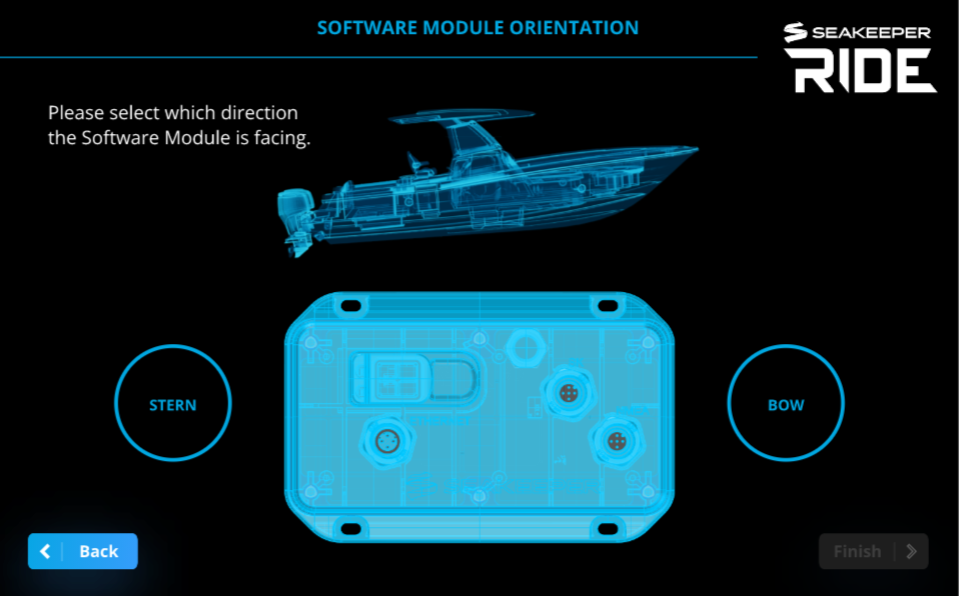
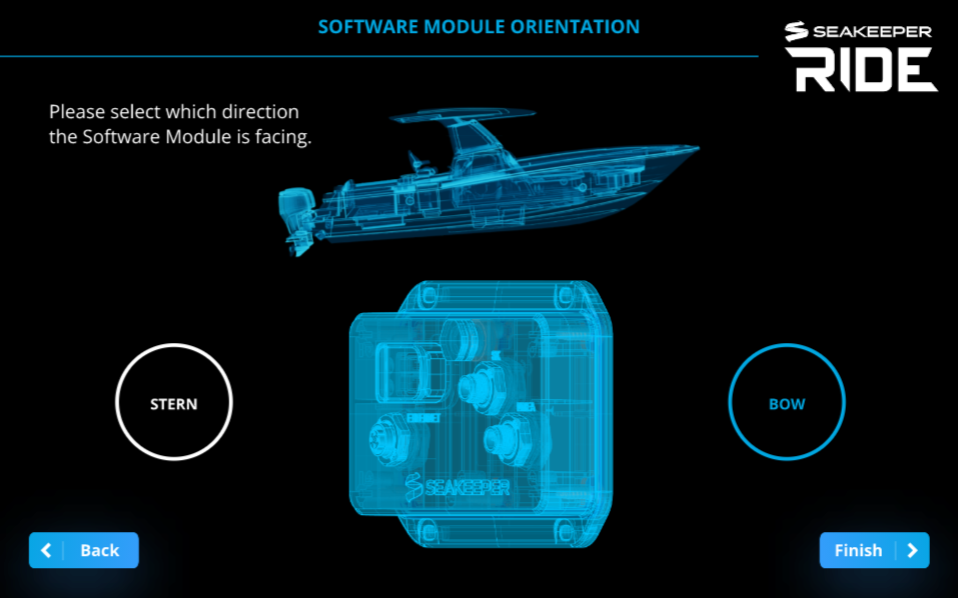
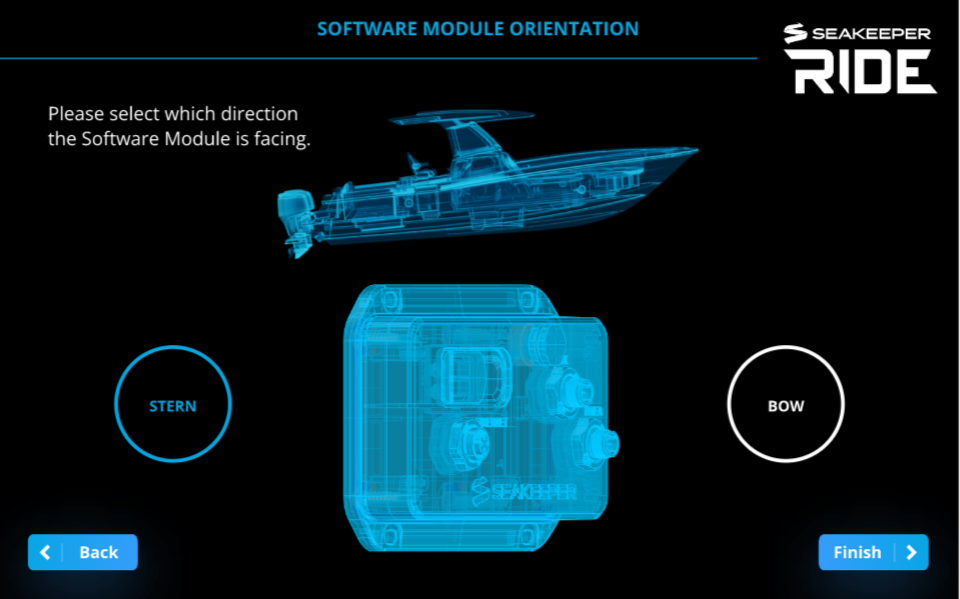
Note: If the operator is facing the Software Module and are physically facing the back of the boat, the Software Module orientation would be ‘Bow.’ If the operator is facing the Software Module and physically facing the front of the boat, the Software Module orientation would be ‘Stern.’
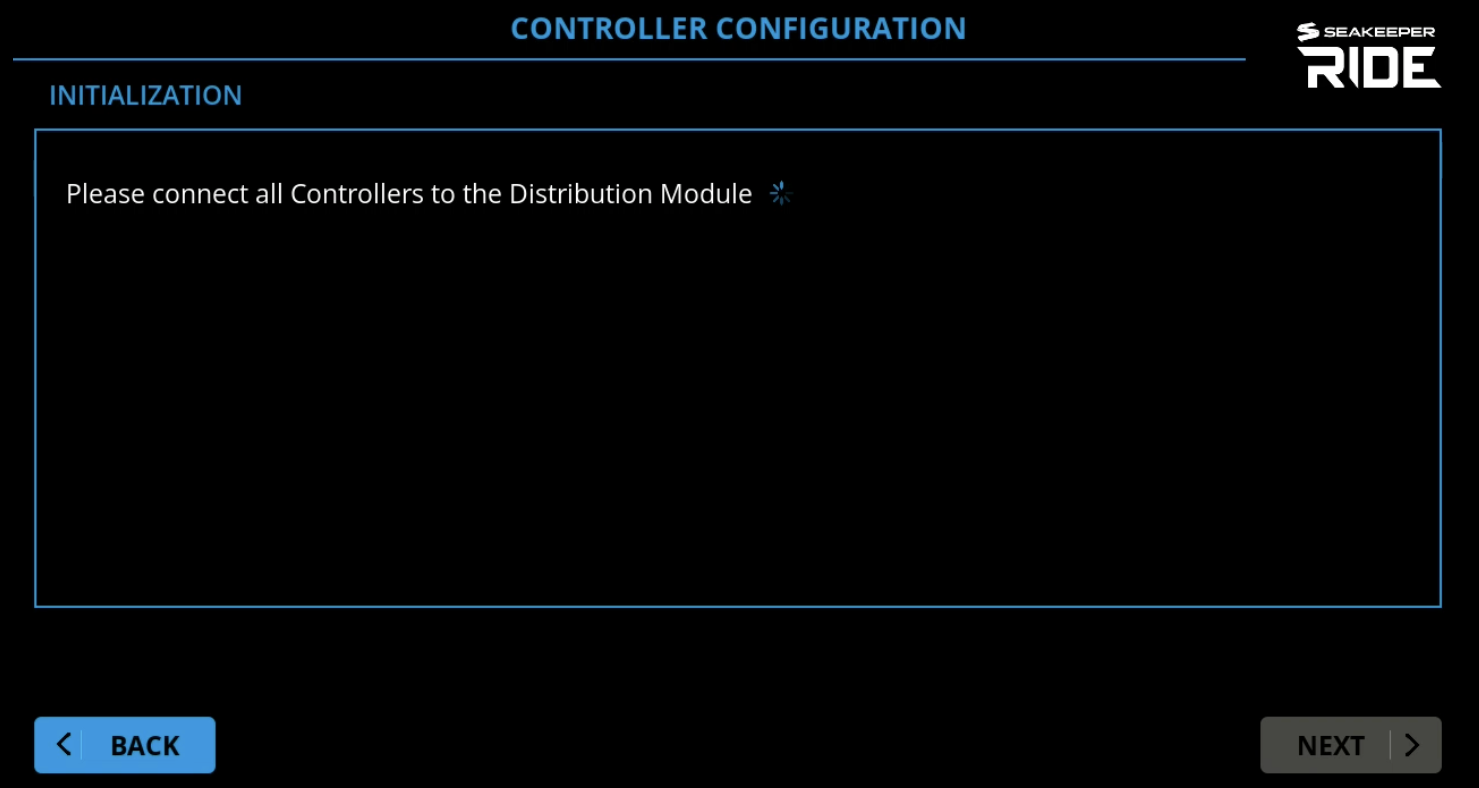
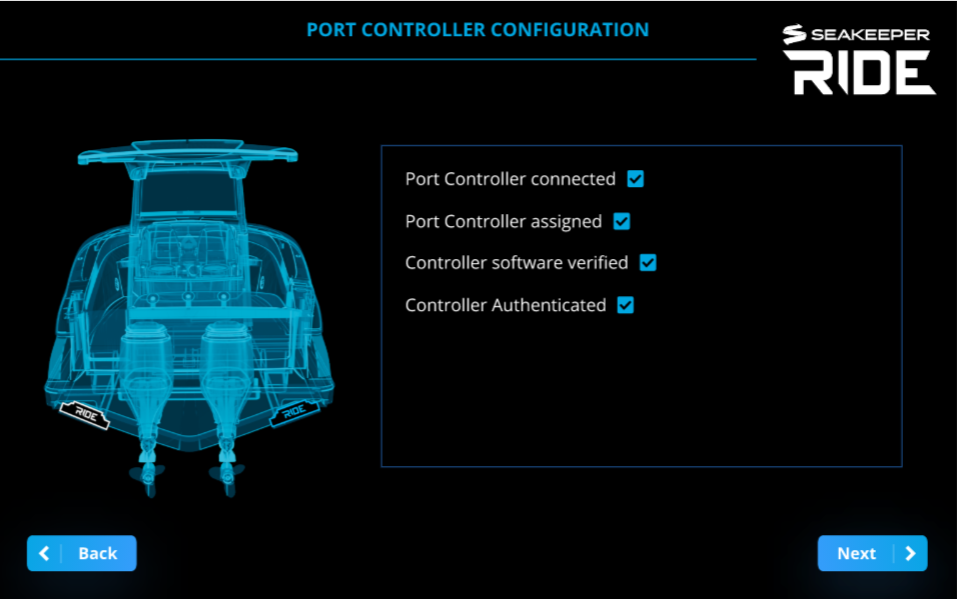
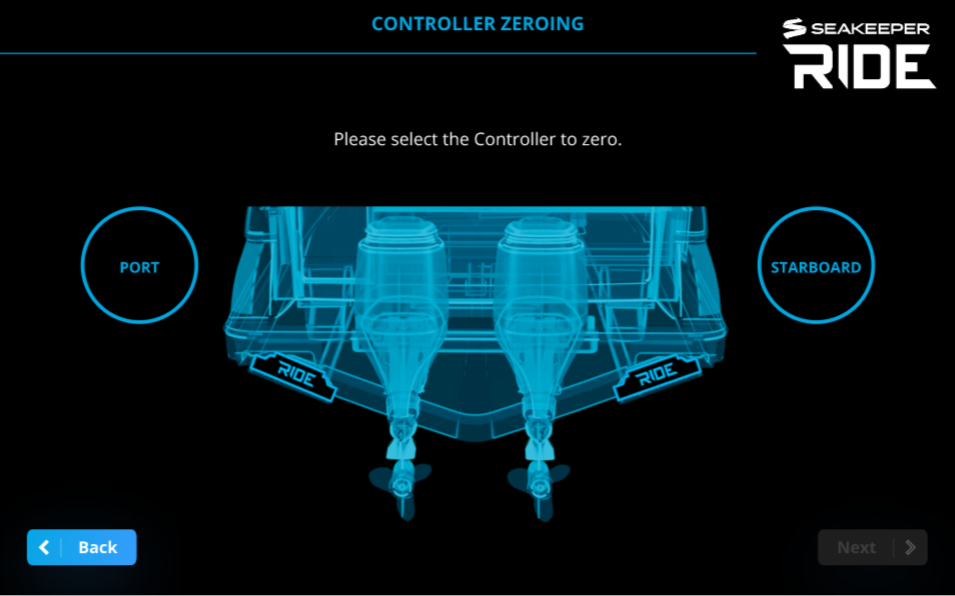
Controller Configuration
This step will assign the location, orientation and zero position for each Controller.
For Seakeeper Ride Quad systems these steps will need to be repeated for each of the four (4) Controllers. The Software Module will automatically determine the correct quantity of controllers and display information accordingly. The location of each controller to each Distribution Module is not pertinent.
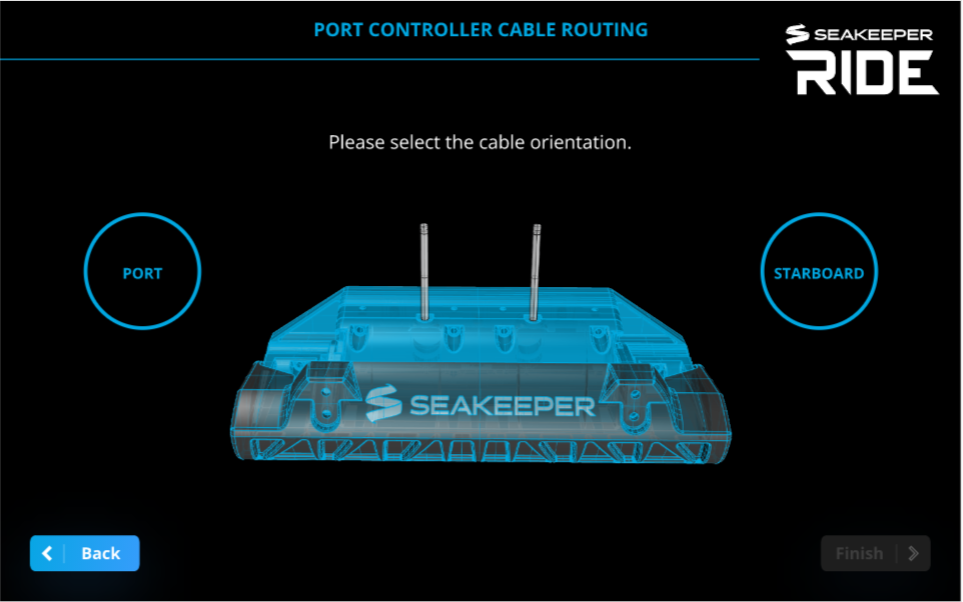
The on-screen prompts for Controller configuration will have you start with both Actuators unplugged from the Distribution Module. Plug in the Port Side Actuator cable to the Distribution Module and select the Port Controller Cable Routing.
Notes:
- Due to engineering efforts to make the Seakeeper Ride equipment more versatile for ease of installation, the Controllers must follow a Configuration procedure that tunes them for proper operation. This requires the first-time installation to determine the location of the Controller, the cable side of the Controller and the zero position of the controller. Before proceeding you will need to know which cable end belongs to which Controller (which cable end is Port side and which cable end is Starboard side). You will also need to know how the Actuator is mounted within the Controller. It can be flipped 180 degrees in order for the cable to be routed as Port or Starboard to avoid hull structure or obstacles when pulling the cable from the actuator to the Distribution Module.
- During Controller Configuration, ‘Please Connect all Controllers to the Distribution Module’ with a blue waiting wheel may show on screen and not continue even when the Controller cables are inserted. This is sometime refered to as Stuck In Init (initialization) and has multiple potential causes. See the Stuck In Init issue in the Troubleshooting Guide.
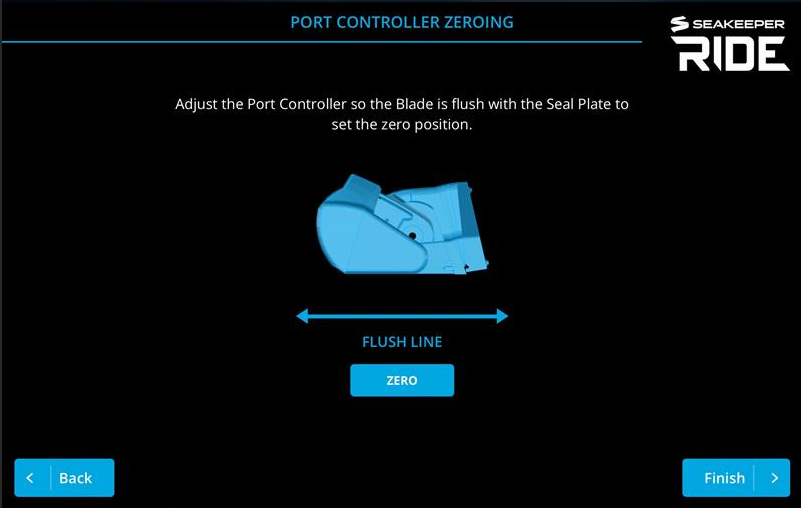
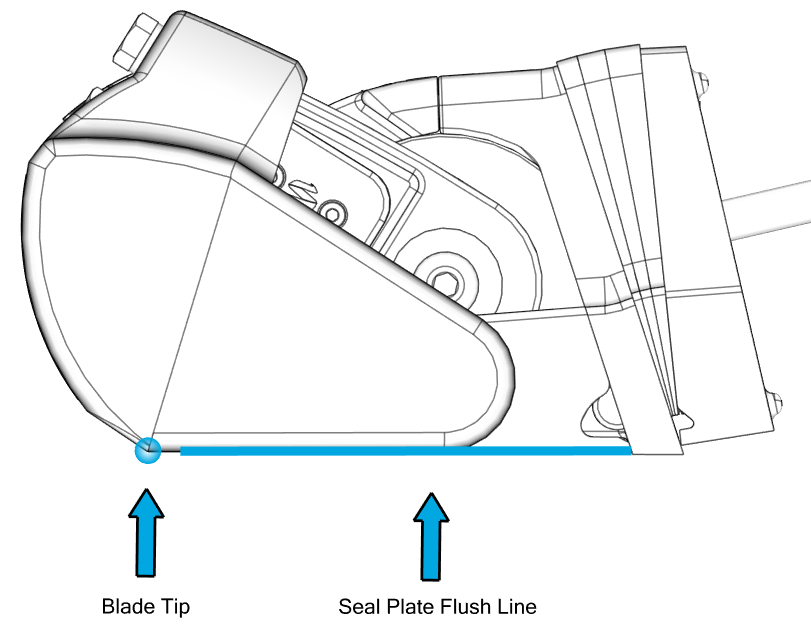
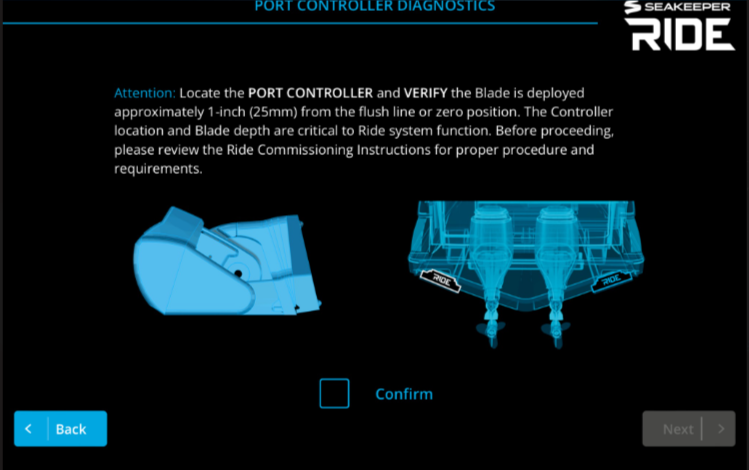
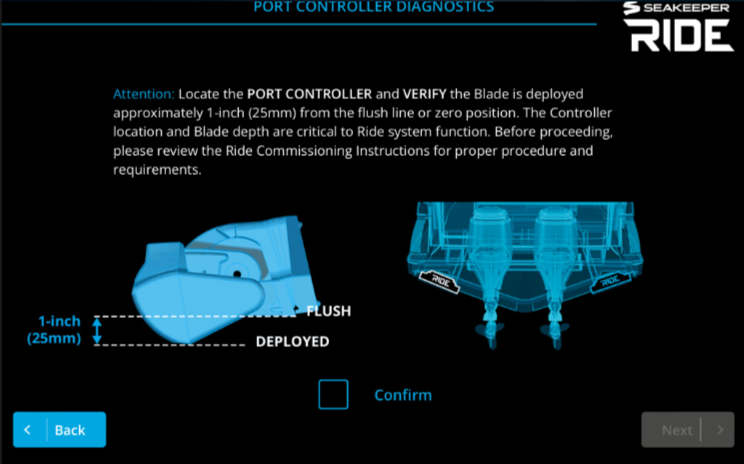
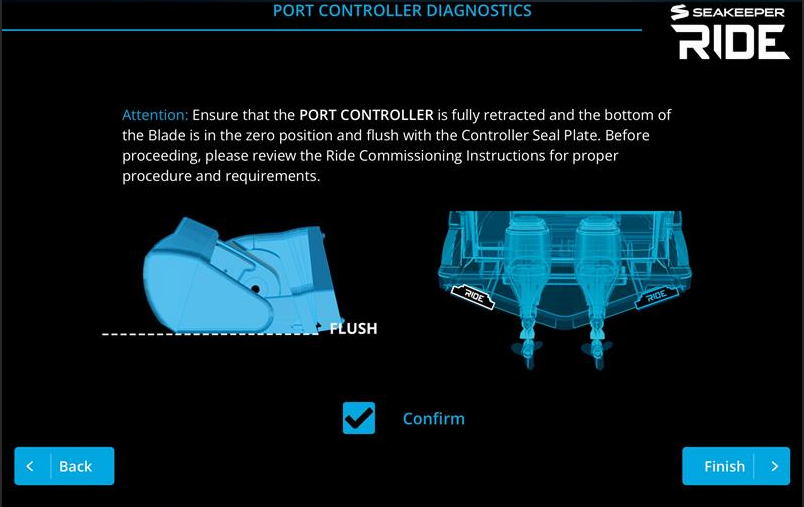
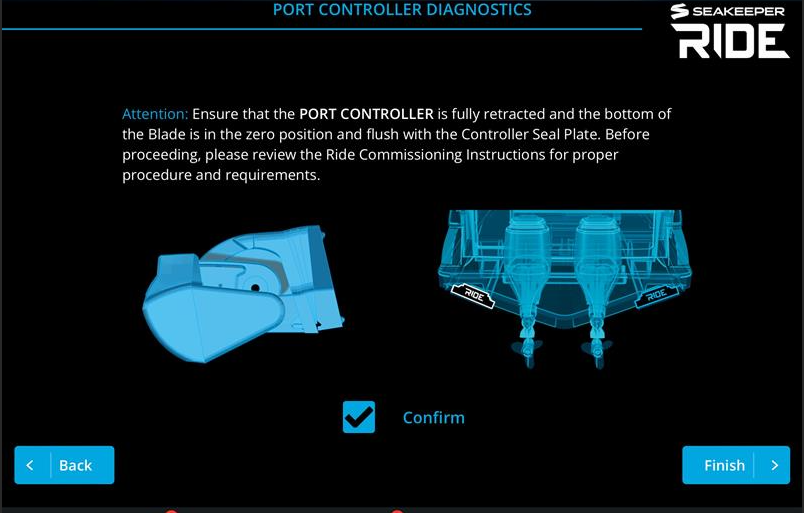
Zeroing means setting the bottom tip of the Blade flush, or in line with the Seal Plate. The Blade should not sit low where it will capture water or high which will result in diminished system response time and authority.
Plug in the Starboard Actuator so that both Cables are plugged into the Distribution Module.
Note: Follow installation wizard to configure Starboard Controller.
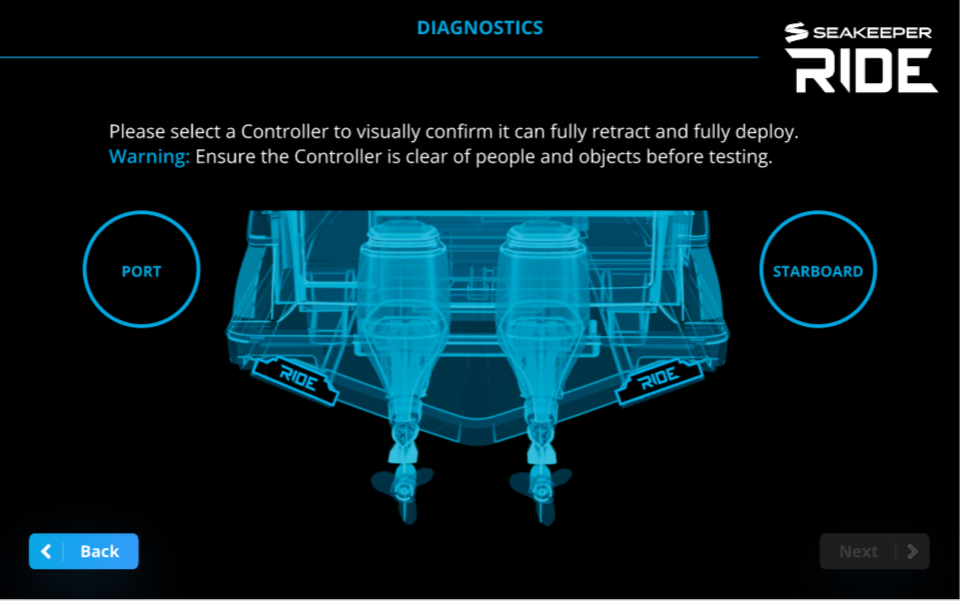
Diagnostics
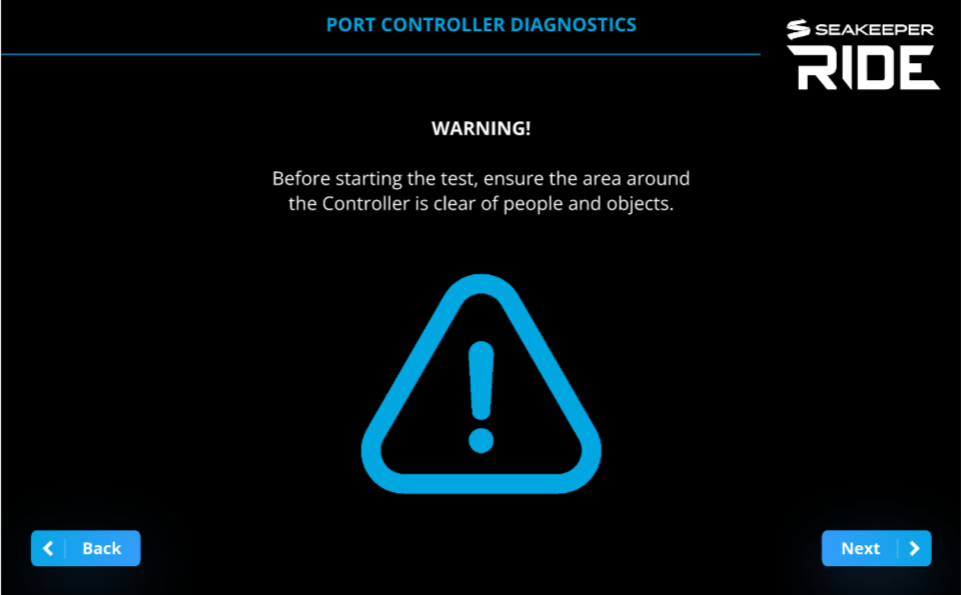
WARNING: Diagnostic’s functions do not observe vessel speed, DO NOT attempt to perform Diagnostics when vessel is moving!!
Note: Vessel must be stopped when performing Diagnostics.
Diagnostics tests the mechanical travel, direction of motion, and communication of the Seakeeper Ride system prior to sea trialing. Please pay attention to which Controller side (Port or Starboard) you are diagnosing, so the movement of the controller matches the indicated movement on the Ride App Screen
Note: Diagnostics will be completed twice to check that both Actuators are functioning correctly. If your system has a keypad, the lights will not function during Diagnostics.

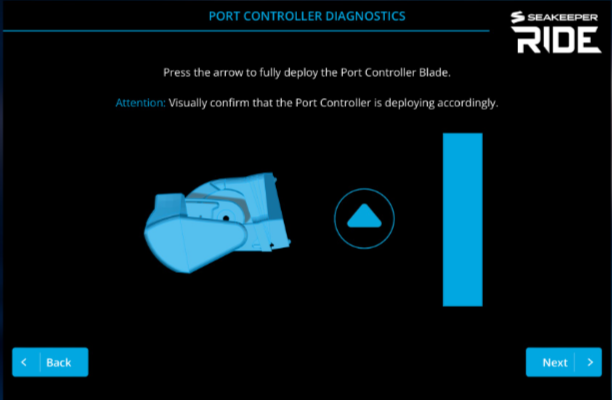
Note: In order to proceed you MUST achieve full deployment in order to select the ‘Next’ button.
Note: In order to proceed you MUST retract deployment to Zero position in order to select the ‘Next’ button.
The following screen informs the users about TCC (Trim Command Curve) and where to locate it when setting changes are needed.
Note: Refer to the TCC (Trim Command Curve) instructions here – 3.3. Trim Command Curve (TCC).
You have now fully Configured the Seakeeper Ride system, and it is ready for the water!

Note: The speed of the boat, GPS connection, and the system being in Auto or Manual mode will all influence how Seakeeper Ride behaves. Even if Seakeeper Ride is set up correctly, the Controllers may have limited range based on these factors. See the Seakeeper Ride Operation Manual 2.1. Home | Auto Mode and 2.2. Home | Manual Mode for Home Screen controls.
If the Seakeeper Ride system has already been configured previously, then please refer to the table on the following page for expected bahavior and see 2.6. Service – Seakeeper Manuals for information on the Service Menu Items.