Installation Overview
Seakeeper Ride Installation Overview
Updated 01/04/2023
This installation overview is intended to give a high-level understanding of the Seakeeper Ride mechanical installation process.

WARNING: This is NOT the full instruction manual and DOES NOT contain all the steps and details for a correct installation. Please read all Seakeeper Ride Installation documentation before beginning installation. Do not rely on this document. See the full Seakeeper Ride Mechanical Installation for complete installation steps and details. You must read and follow all instructions before installing and using the Seakeeper Ride system.
- Inventory Parts
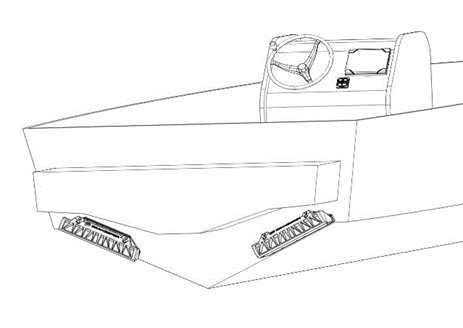
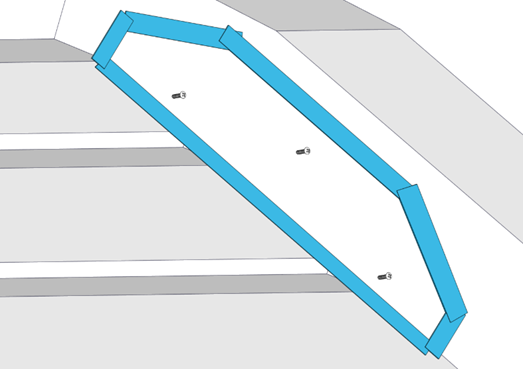
2. Determine Mounting Position
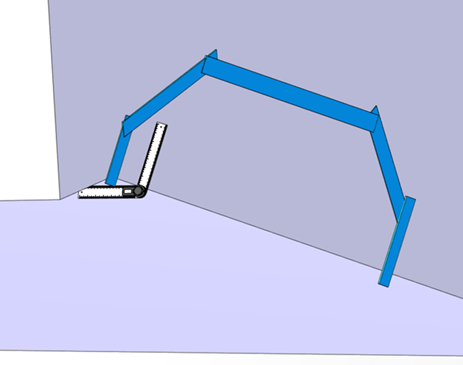
3. Measure Transom Angle and Determine Wedge Plates Needed
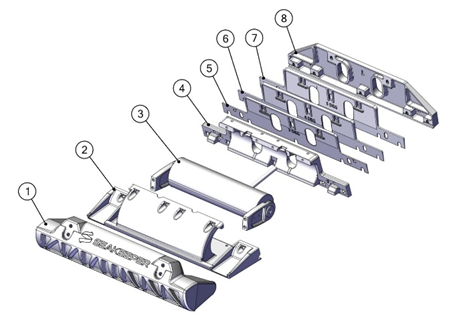
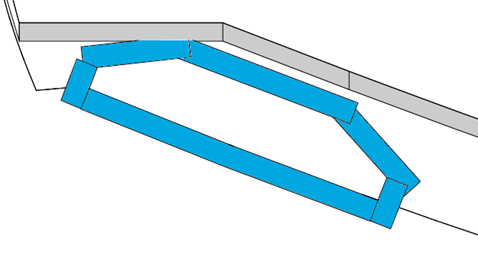
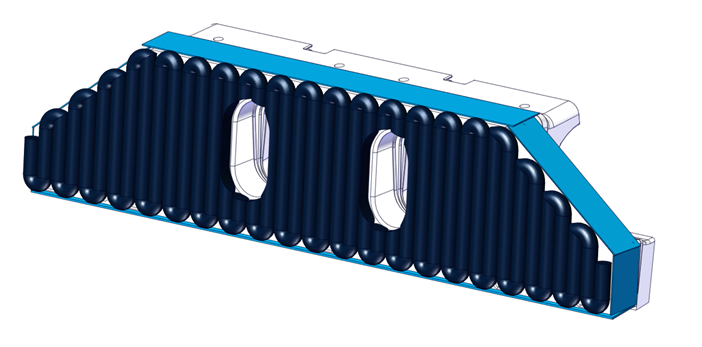
4. Assemble Wedges Between Actuator Plate and Transom Plate

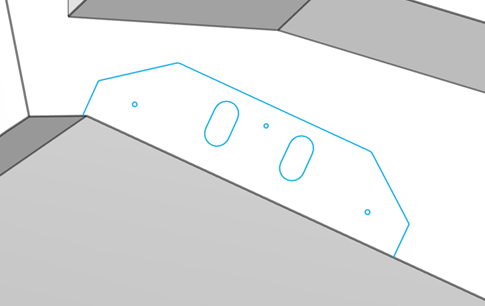
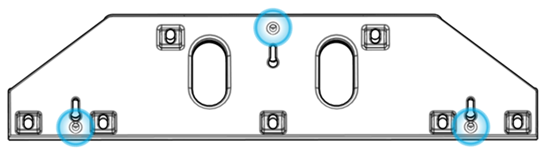
5. Trace Transom Plate, Positioning Screws, and Oval Holes Outline
6. Drill Positioning Screw Pilot Holes
7. Wipe with Acetone and Tape Off Area
8. Sand (OEM) or Grind (Refit) Gel Coat
9. Wipe with Acetone Again and Insert Positioning Screws
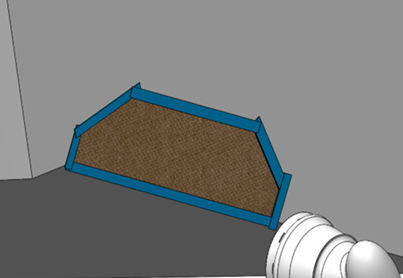
10. Test Fit

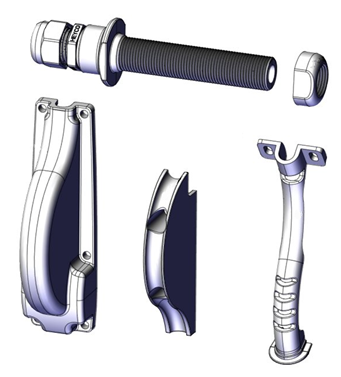
11. Drill for Cable Entry and Insert Cable Gland Tube
12. Wipe Transom Plate with Acetone, Sand Transom Plate, and Wipe Again (DO NOT SAND BUMPS)

13. Apply Approved Methyl Methacrylic Adhesive (MMA) to Transom Plate and Transom
14. Hang Wedge Pack, Confirm Position, and Tighten Positioning Screws
15. Install Actuator and Fair in Excess Glue
16. Wait (check MMA curing times)

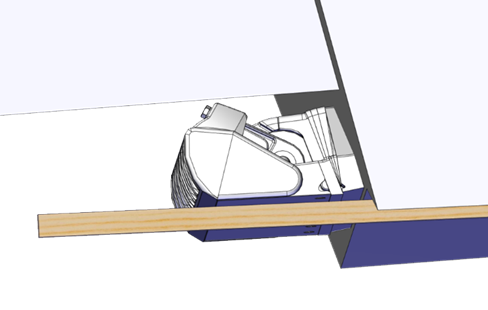
17. Install Actuator and Seal Plate
18. Install Blade

19. Secure All Cable Gland Components and Cable Guides