Mechanical Installation Manual (750-1500)
7.2 Secure Actuator Plate
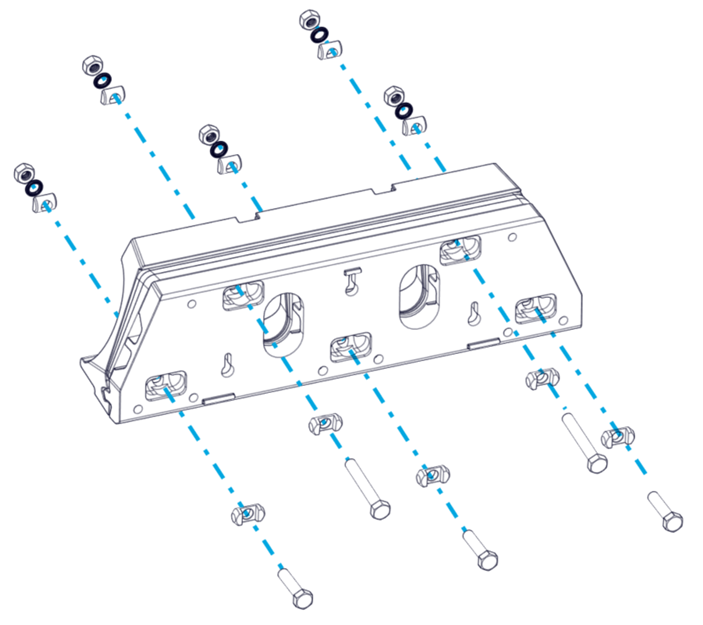
- Locate the following pieces:
- Qty five (5) M8 Cylindrical Washers (Qty six [6] for 525 Controllers and nine [9] for 750 Controllers.)
- Qty five (5), M8 Wedge Lock Washers (Qty six [6] for 525 Controllers and nine [9] for 750 Controllers.)
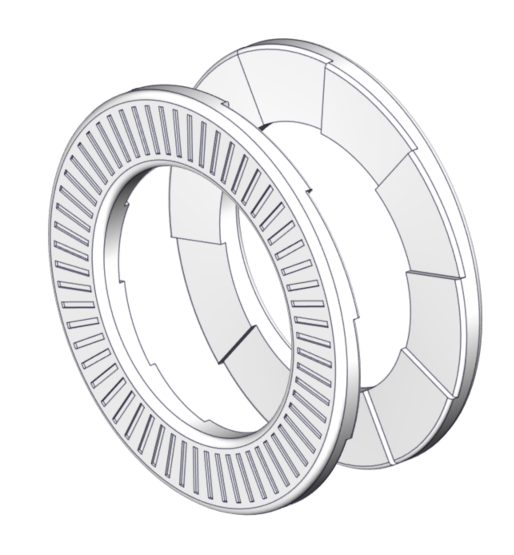
- Each washer has 2 components.
- Qty five (5), M8 Nuts (Qty six [6] for 525 Controllers and nine [9] for 750 Controllers.)
- Each washer has 2 components.
- Insert all the cylindrical washers, flat face out, onto each of the bolts within the milled pockets on the Actuator plate.
- Insert all the wedge lock washers onto each of the cylindrical washers.
- Thread all the nuts onto each of the bolts of the assembly hand tight.
- Check the bolt length is sufficient to engage all threads of the nuts.
- Tighten nuts to 130 in-lbs (14.7 N-m)
- Adhere Bolt Covers.

Note: Be sure to use the correct bolt length. Incorrect bolt length may result in insufficient thread engagement or the inability to attach the Seal Plate in later steps.
Note: Insert the bolts from the Transom Plate side NOT the Actuator Plate side. Incorrect bolt direction will result in inability to adjust the Wedge Pack angle after installation and likely cause interference when placing the Wedge Pack on the transom.
Note: All variables to be torqued to in-lbs NOT ft-lbs.
Repeat this process for all Controllers to create the Wedge Pack Assemblies before moving on.