Seakeeper 5 Operation Manual (90960-1)
3.0 System Operation
3.1 ConnectBox and Display Screens Overview
Introduction
The Seakeeper 5 requires the ConnectBox and connection to a compatible MFD. The compatible MFD will show the same Seakeeper Application outlined in this section.
When 12 VDC power is applied to the Seakeeper, the ConnectBox will illuminate, and the Seakeeper Application on the MFD will initialize. If the Seakeeper App does not appear on the MFD, please refer to the appropriate Technical Bulletin to troubleshoot, at www.seakeeper.com/technical-library/ and filter for the Seakeeper 5:
- TB-90478 – Garmin and Seakeeper Compatibility
- TB-90479 – Raymarine and Seakeeper Compatibility
- TB-90480 – NAVICO (Simrad/Lowrance/B&G) and Seakeeper Compatibility
- TB-90598 – Furuno and Seakeeper Compatibility
ConnectBox and Home Screen
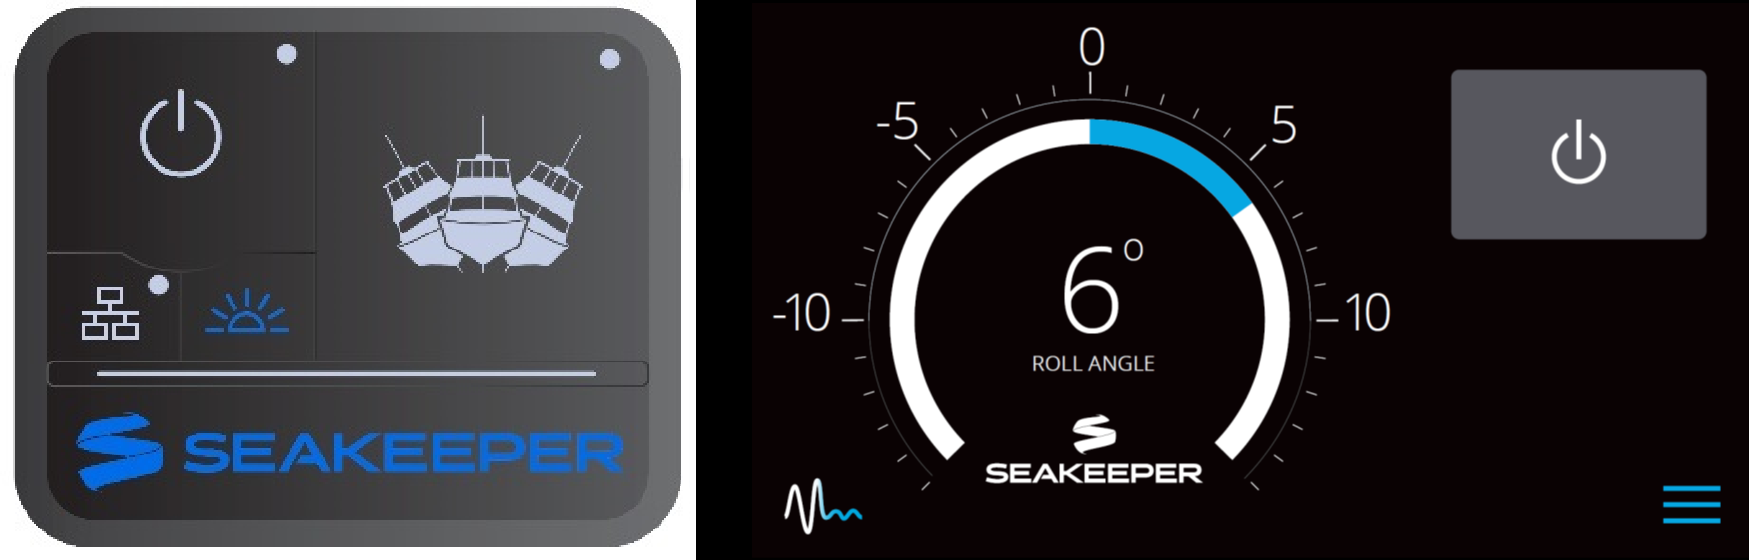
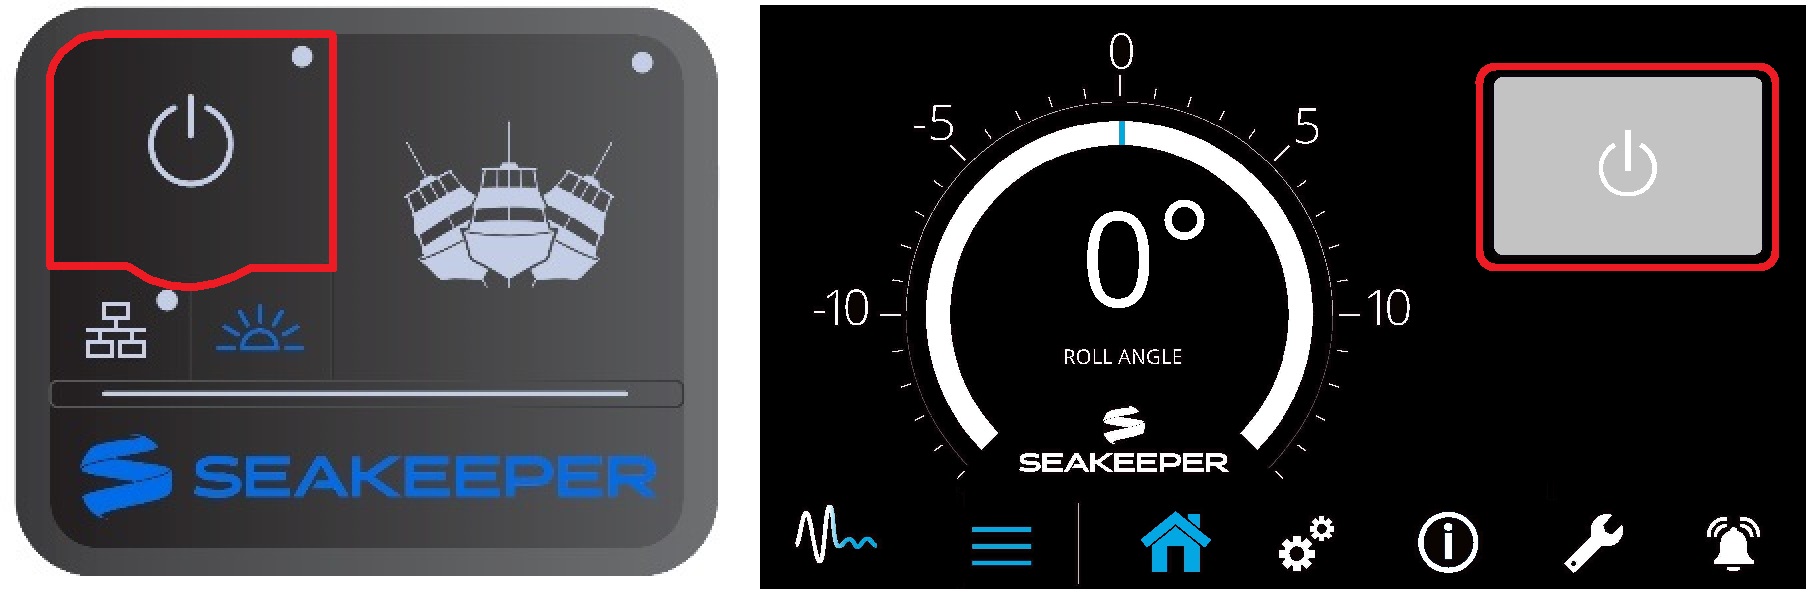
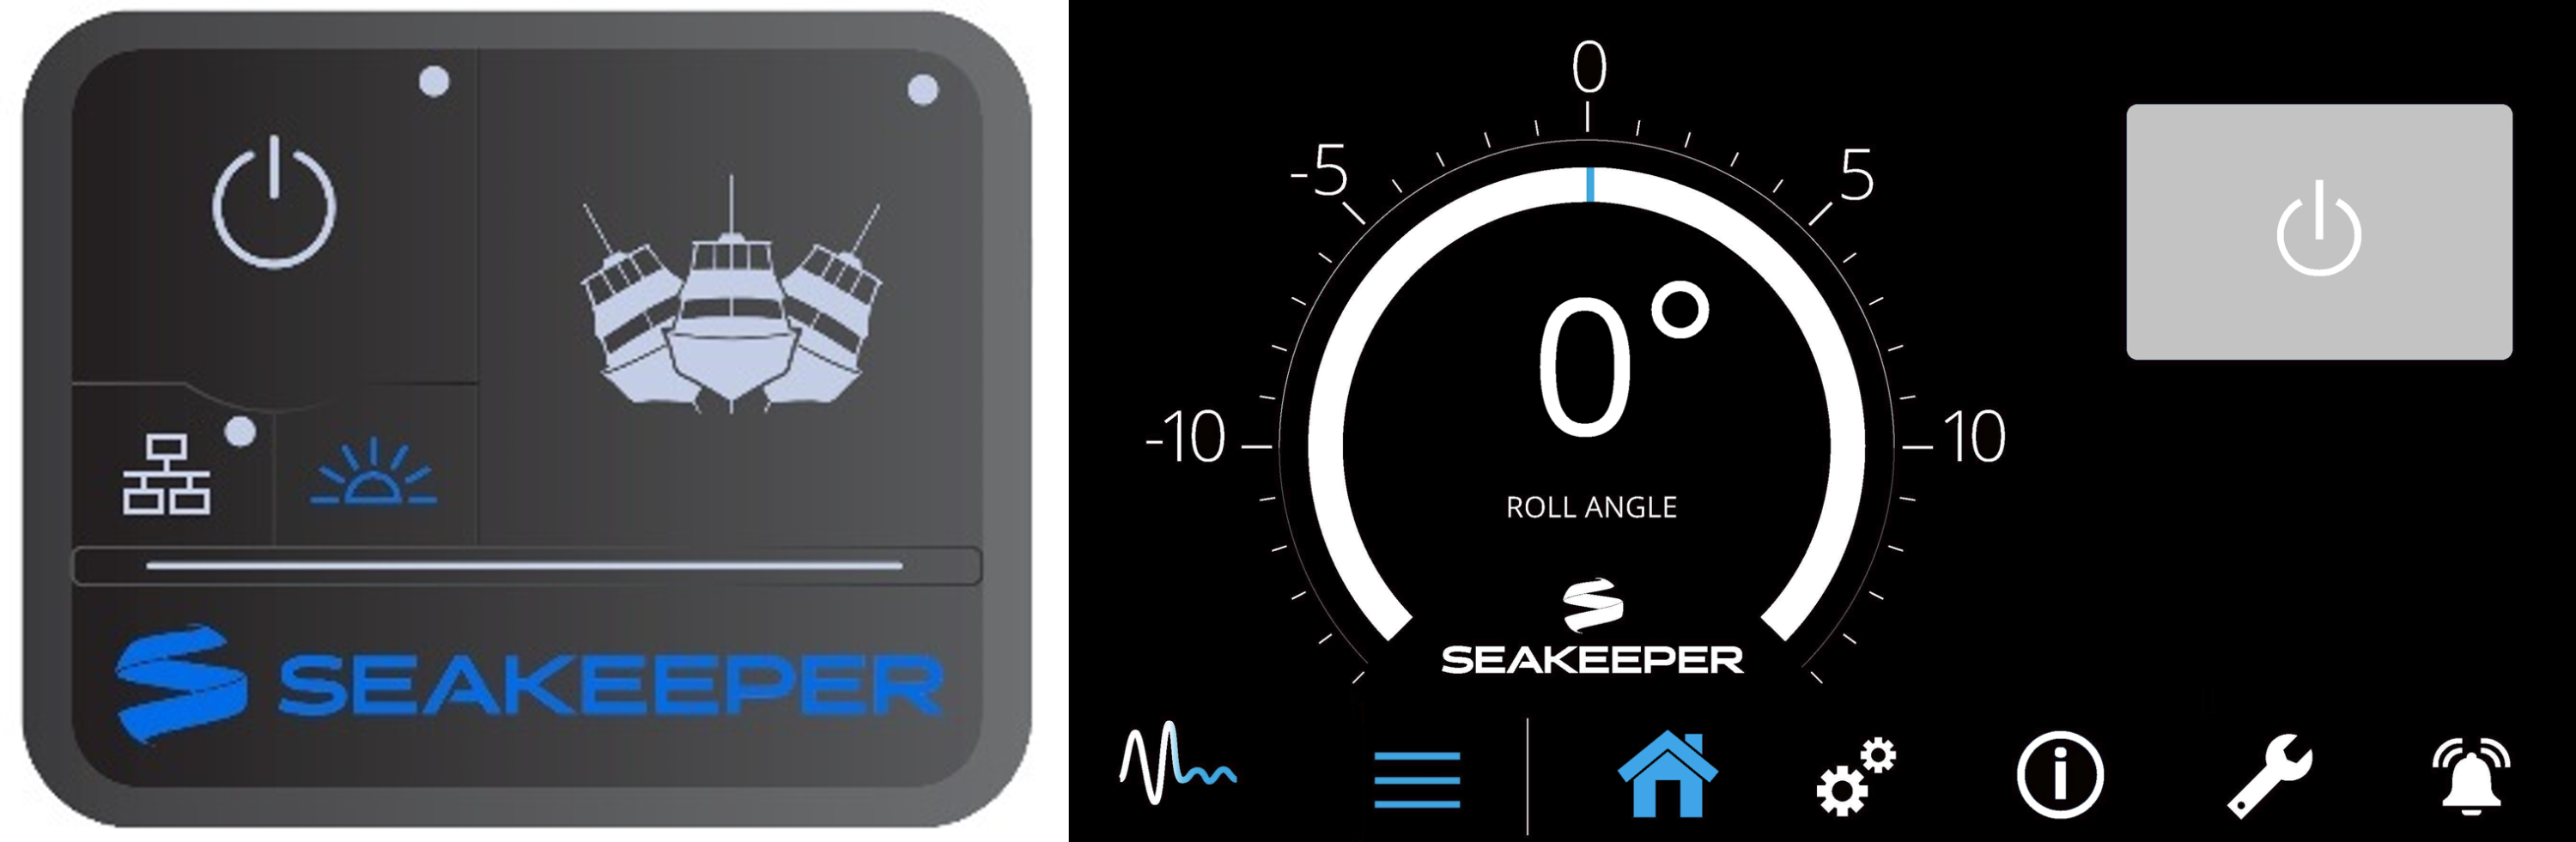
- After the Seakeeper ConnectBox and Application have initialized, the ConnectBox and Application Home Screen will be displayed as shown below.
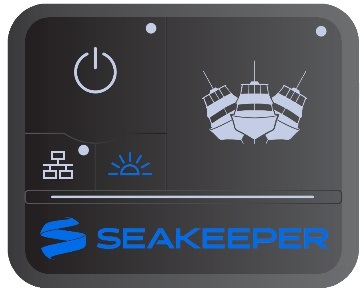
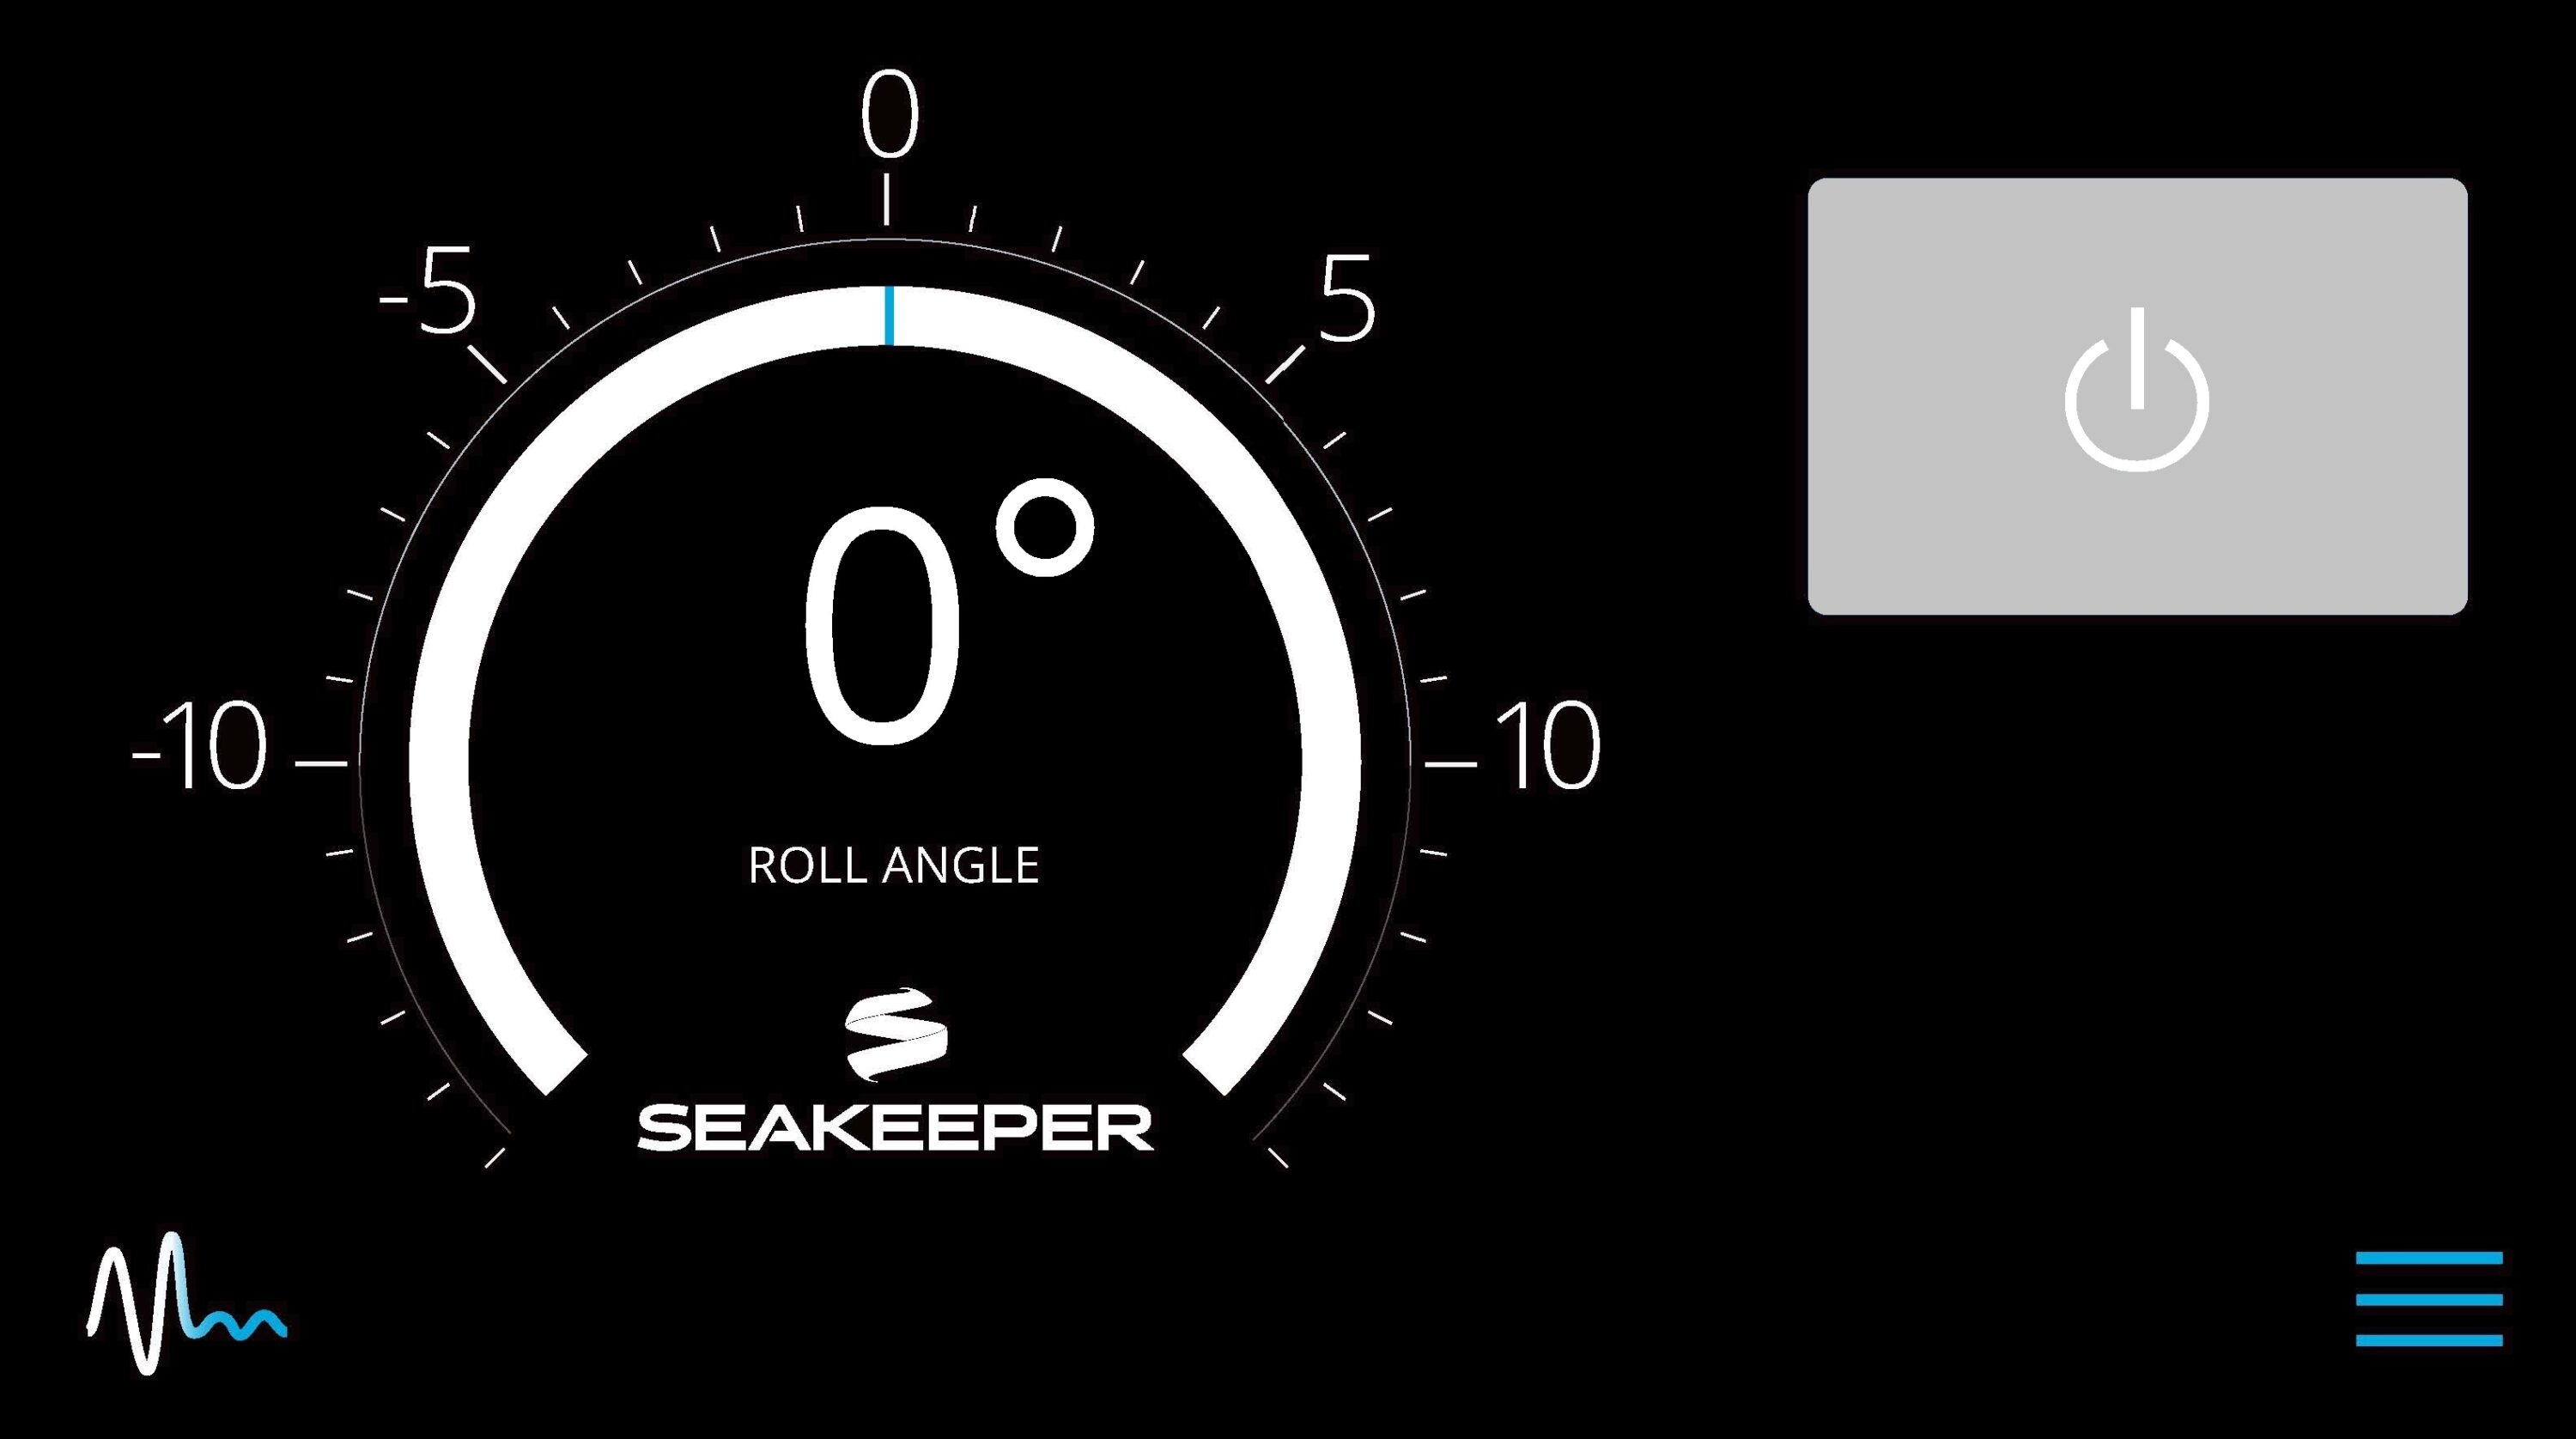
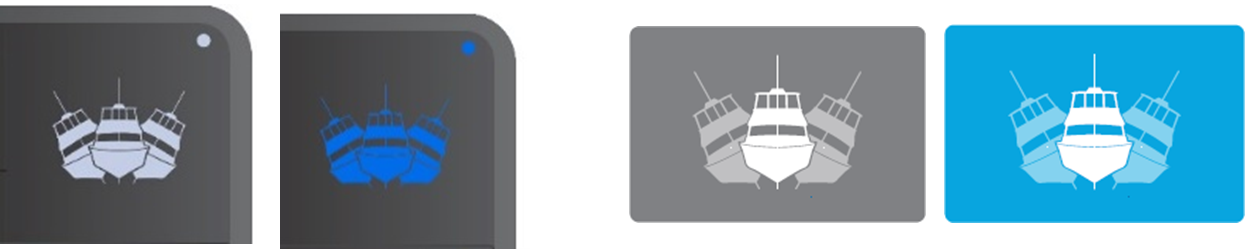
- The Seakeeper can be controlled either by the ConnectBox (shown in the images on the left) or by the Application on the MFD (shown in the images on the right). Seakeeper POWER button: when pressed, the button will change from grey (Seakeeper Off) to blue (Seakeeper On).

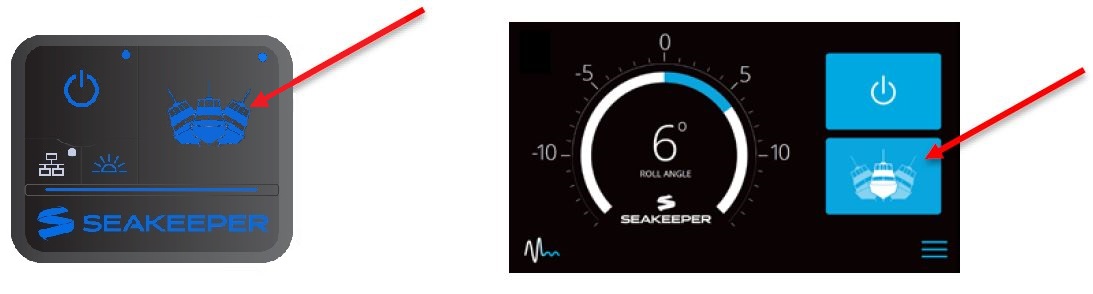
- Seakeeper STABILIZE button: when pressed, the button will change from grey (Stabilize Off) to blue (Stabilize On).
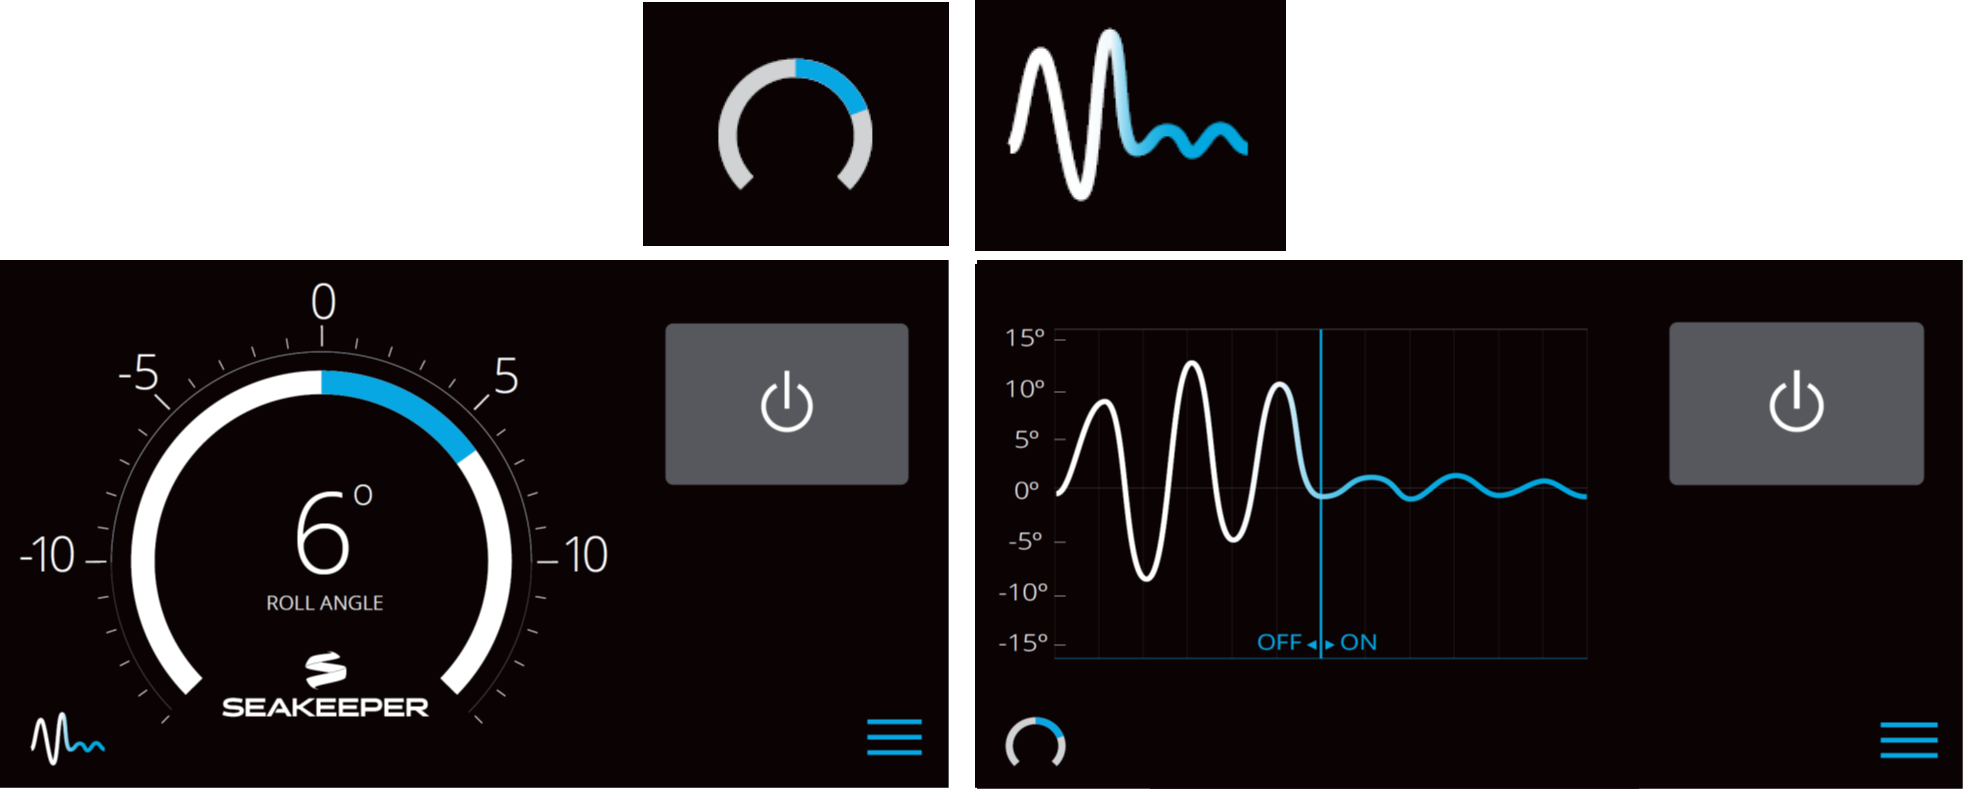
- On the MFD application Home Screen view, these buttons can be pressed to toggle between the Roll Angle Gauge and the Roll Angle Graph, as shown below.
- When the MENU button is pressed,
 the Menu Bar will appear or disappear at the bottom of the screen.
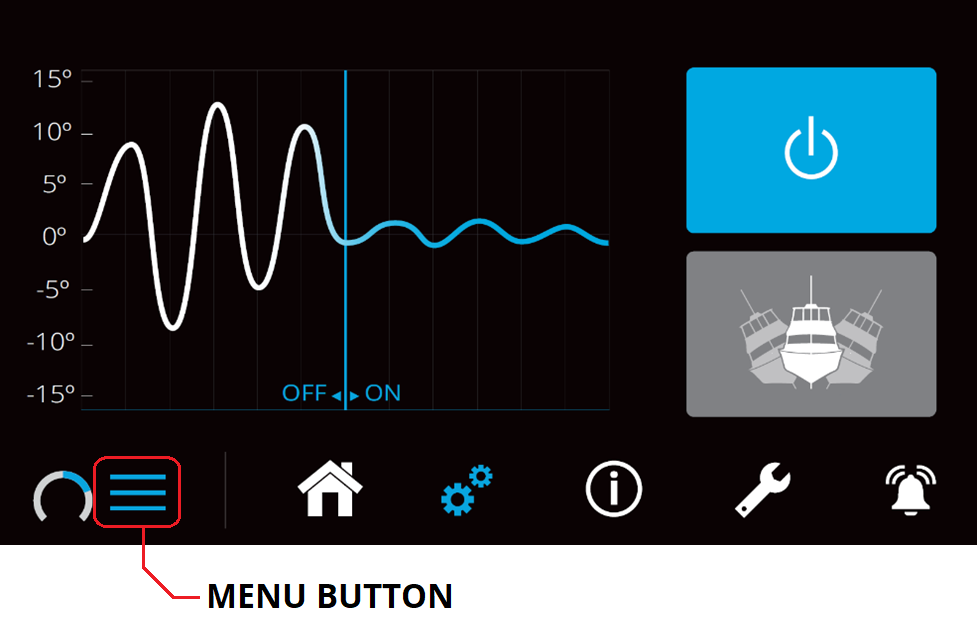
- The Menu Bar is used to navigate between pages. From left to right, the available pages are Home, Settings, Information, Service, and Alarm History. The selected page is highlighted in blue on the Menu Bar.

Settings Page
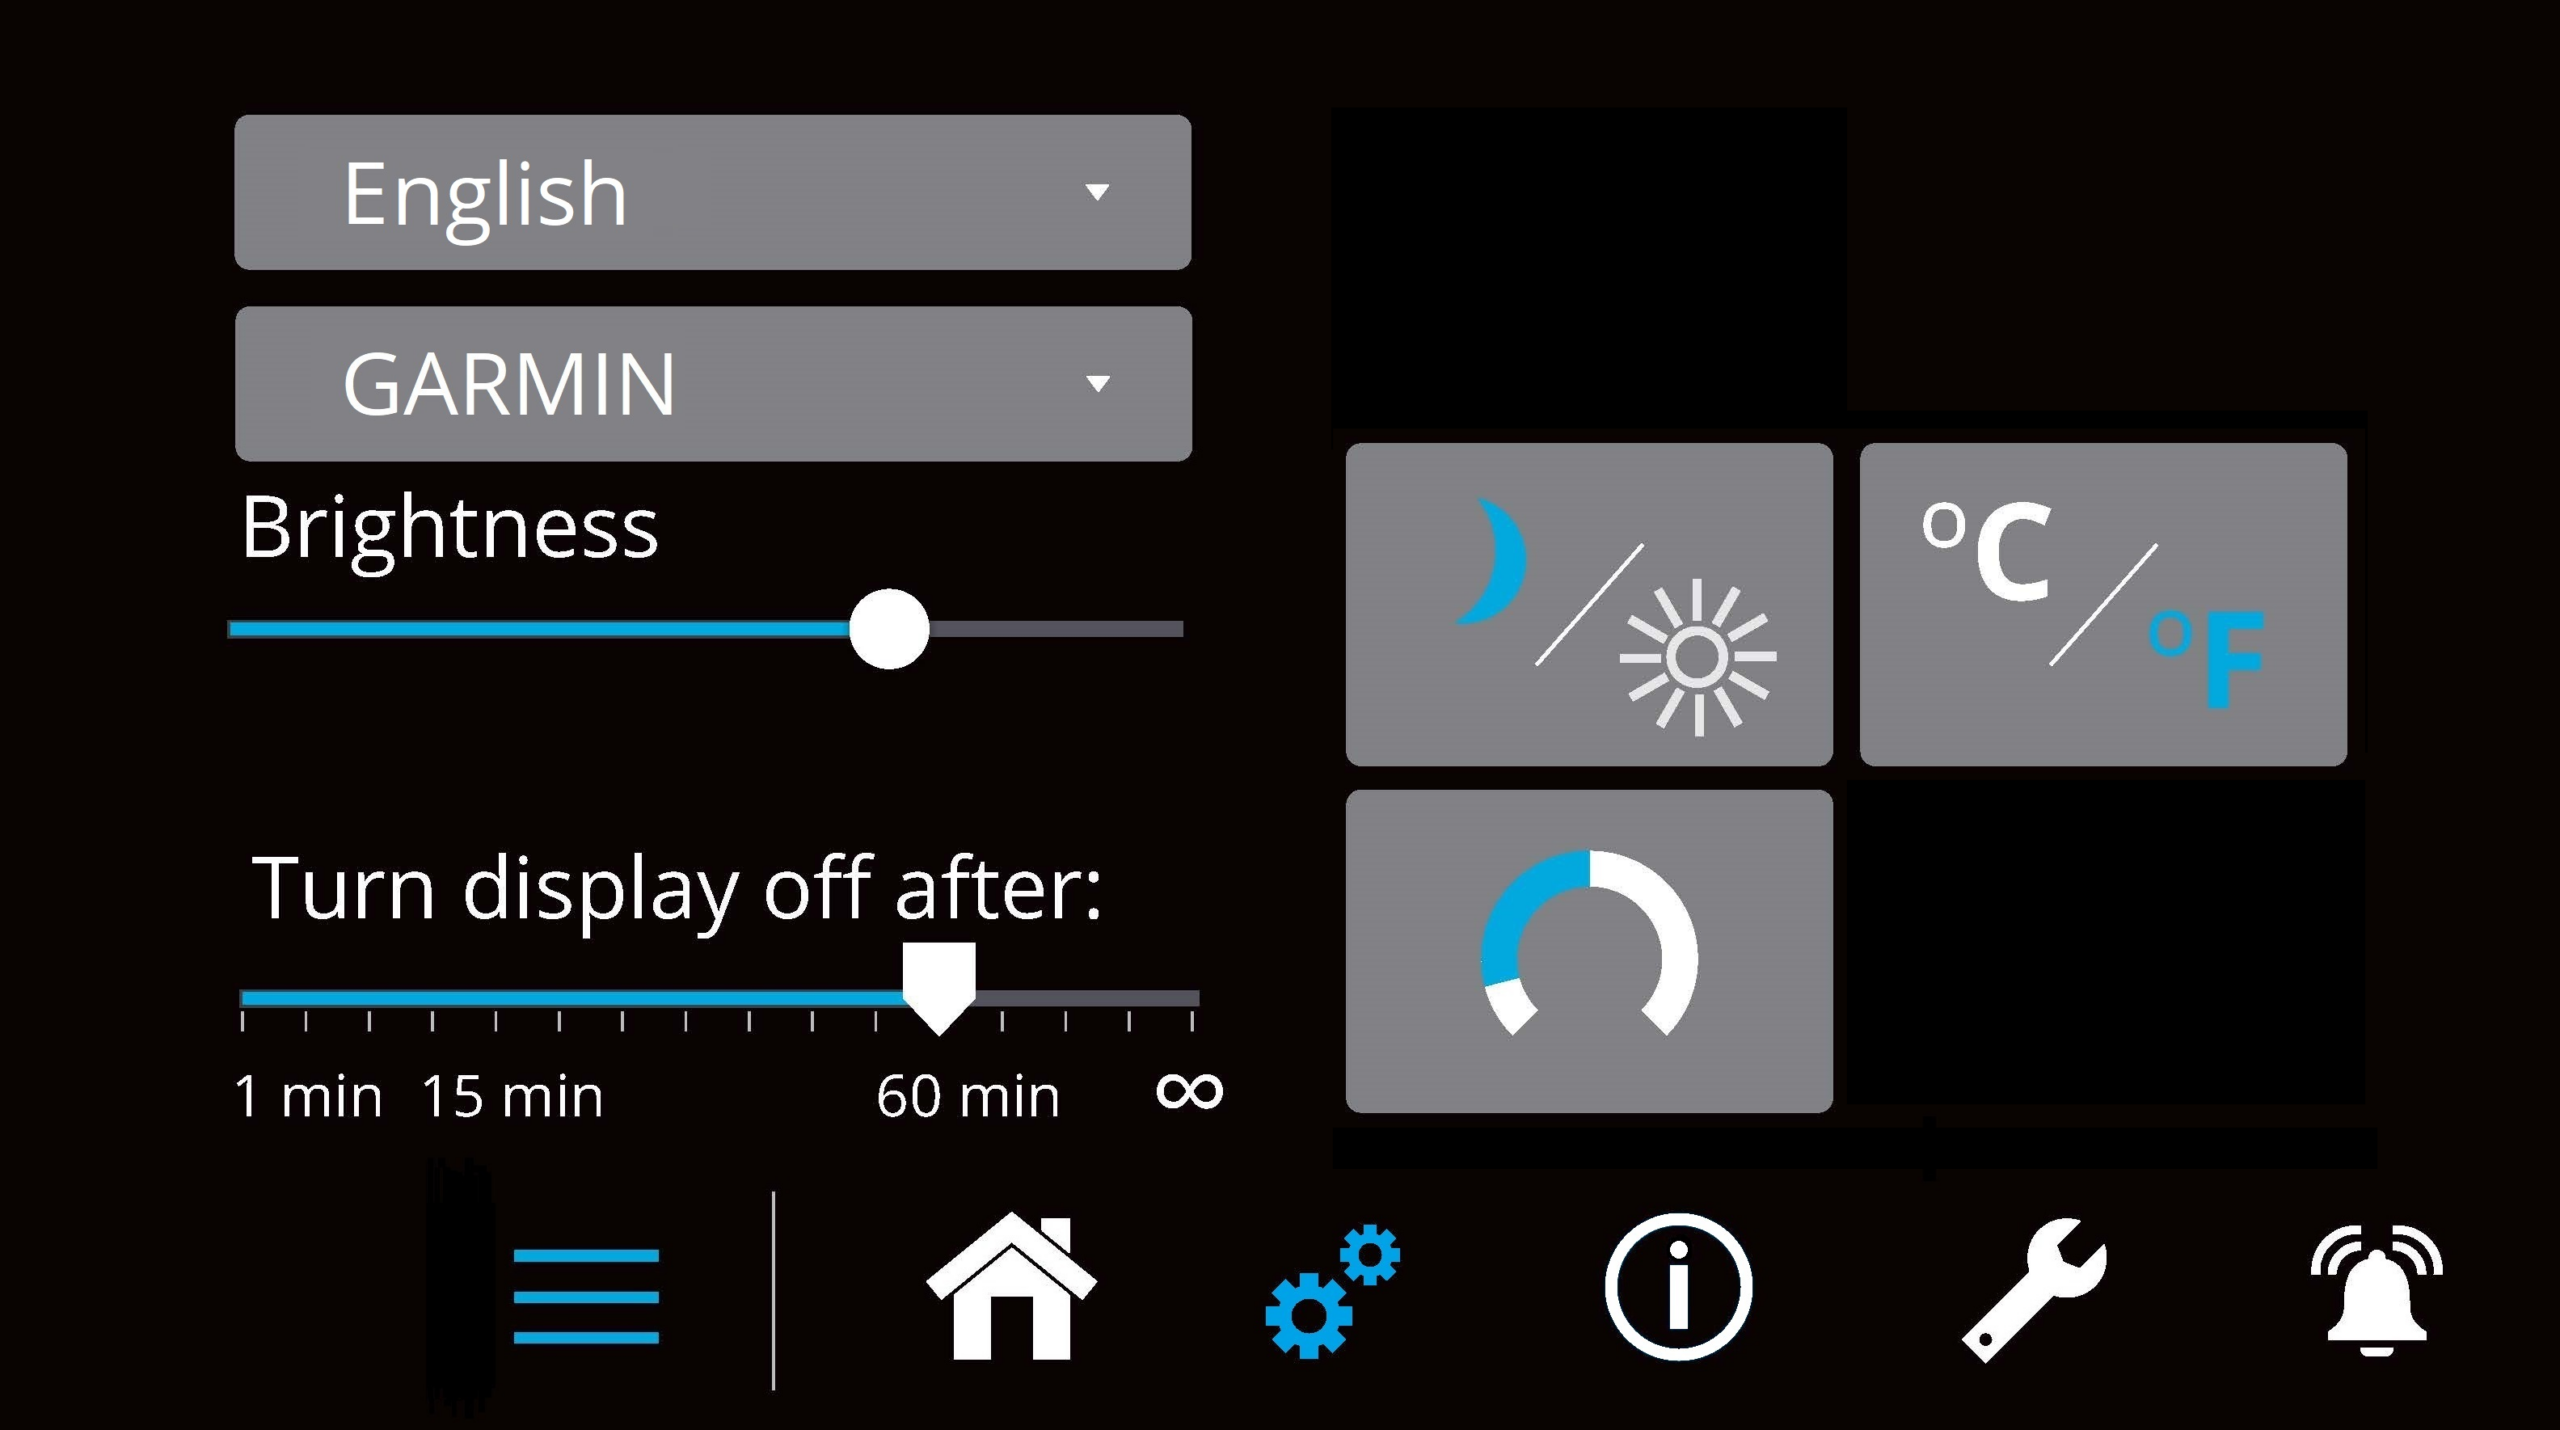
The Settings Page allows the user to adjust their display preferences. It can be accessed by pressing the gears  in the menu bar.
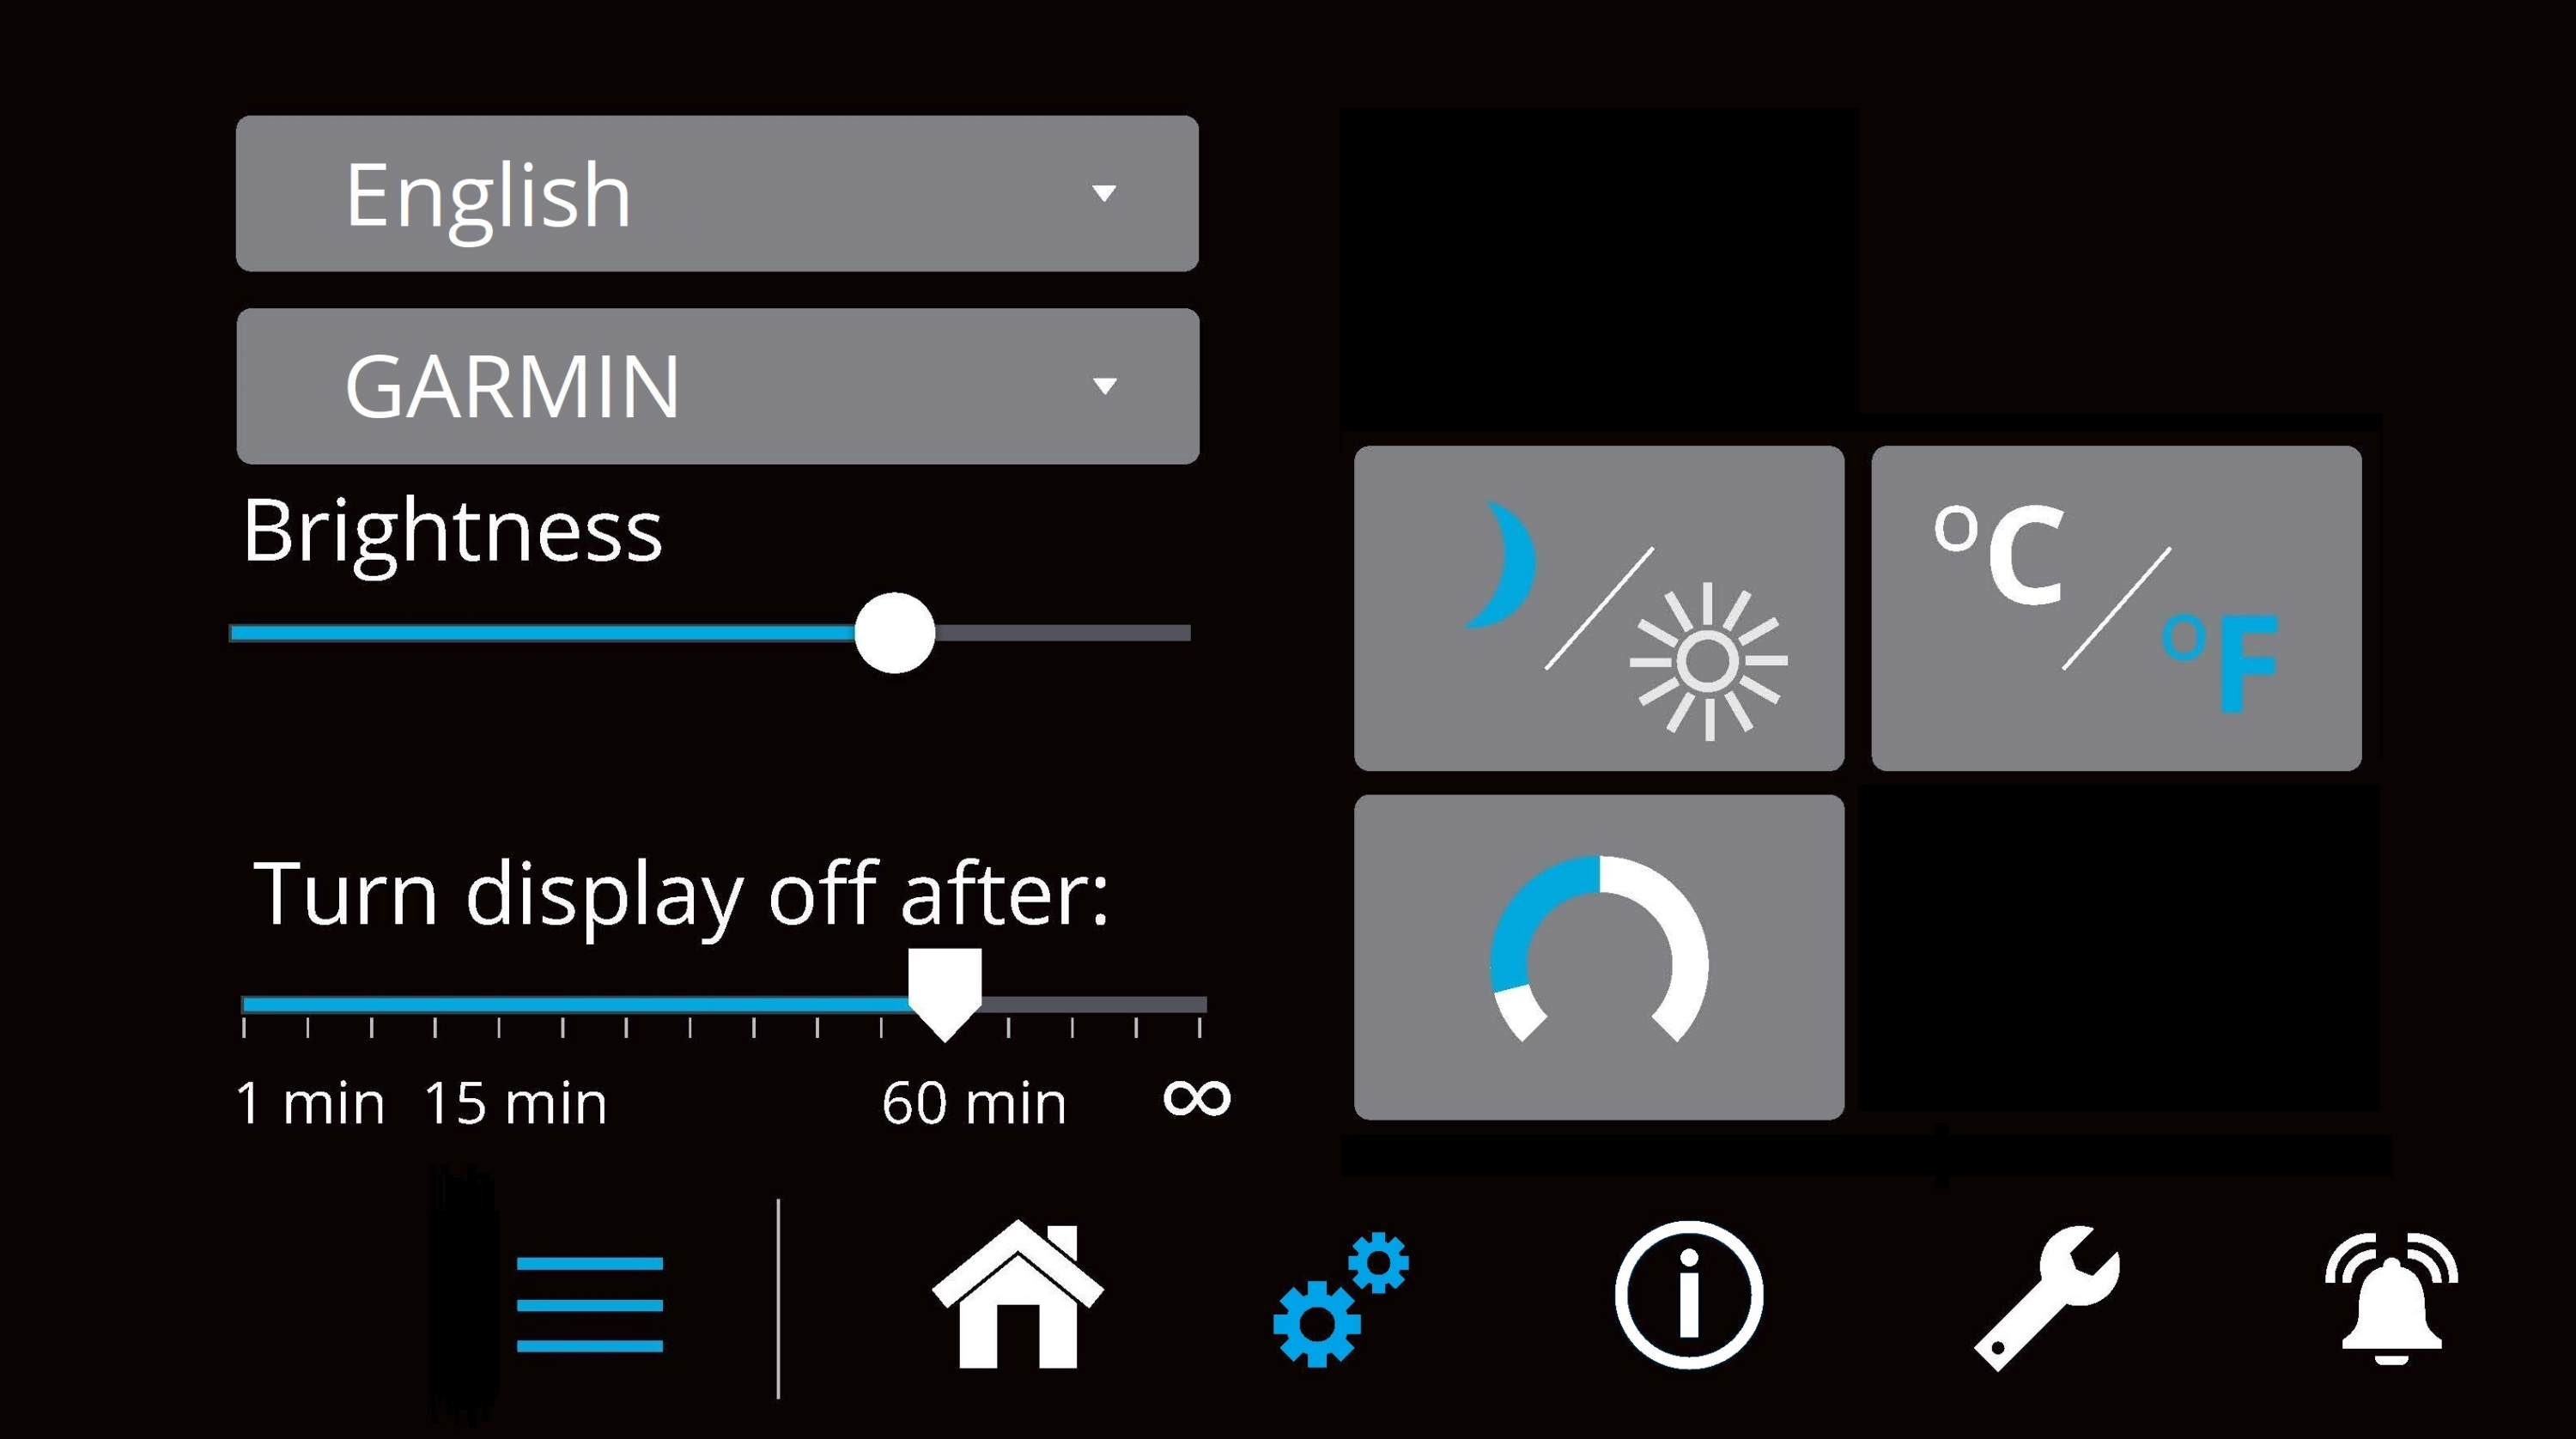
- To increase or decrease the display brightness, slide the white dot left to decrease and right to increase on the brightness bar, pictured below on the Settings Page.

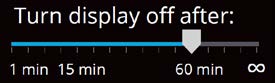
- Adjust the sleep timer from 1 minute to 60 minutes, or set it to on all the time using the sleep time slider. Touching the Seakeeper screen icon will wake the display up after it has gone to sleep.
- Change the sign of the roll angle displayed in the roll angle gauge so the gauge matches the boat’s motion. This will depend on installation orientation and will only need to be adjusted once. If the Seakeeper is facing the bow of the vessel, the Roll Angle Gauge should show blue on the left (pictured left). If the Seakeeper is facing the stern of the vessel, you should select the Roll Angle Gauge with the blue on the right (pictured right). A positive roll angle should be displayed when the vessel rolls to starboard.
- Switch between day and night modes. The selected mode is highlighted in blue. To switch between day and night modes, press the button.

- Change the temperature units displayed on the Service Page between degrees Celsius and degrees Fahrenheit. The selected units are colored blue; to switch between Celsius and Fahrenheit, press the button.

- The language on the Seakeeper application can be changed using the Settings Page. By clicking ENGLISH, a drop-down menu appears, allowing the desired language to be selected.
Information Page
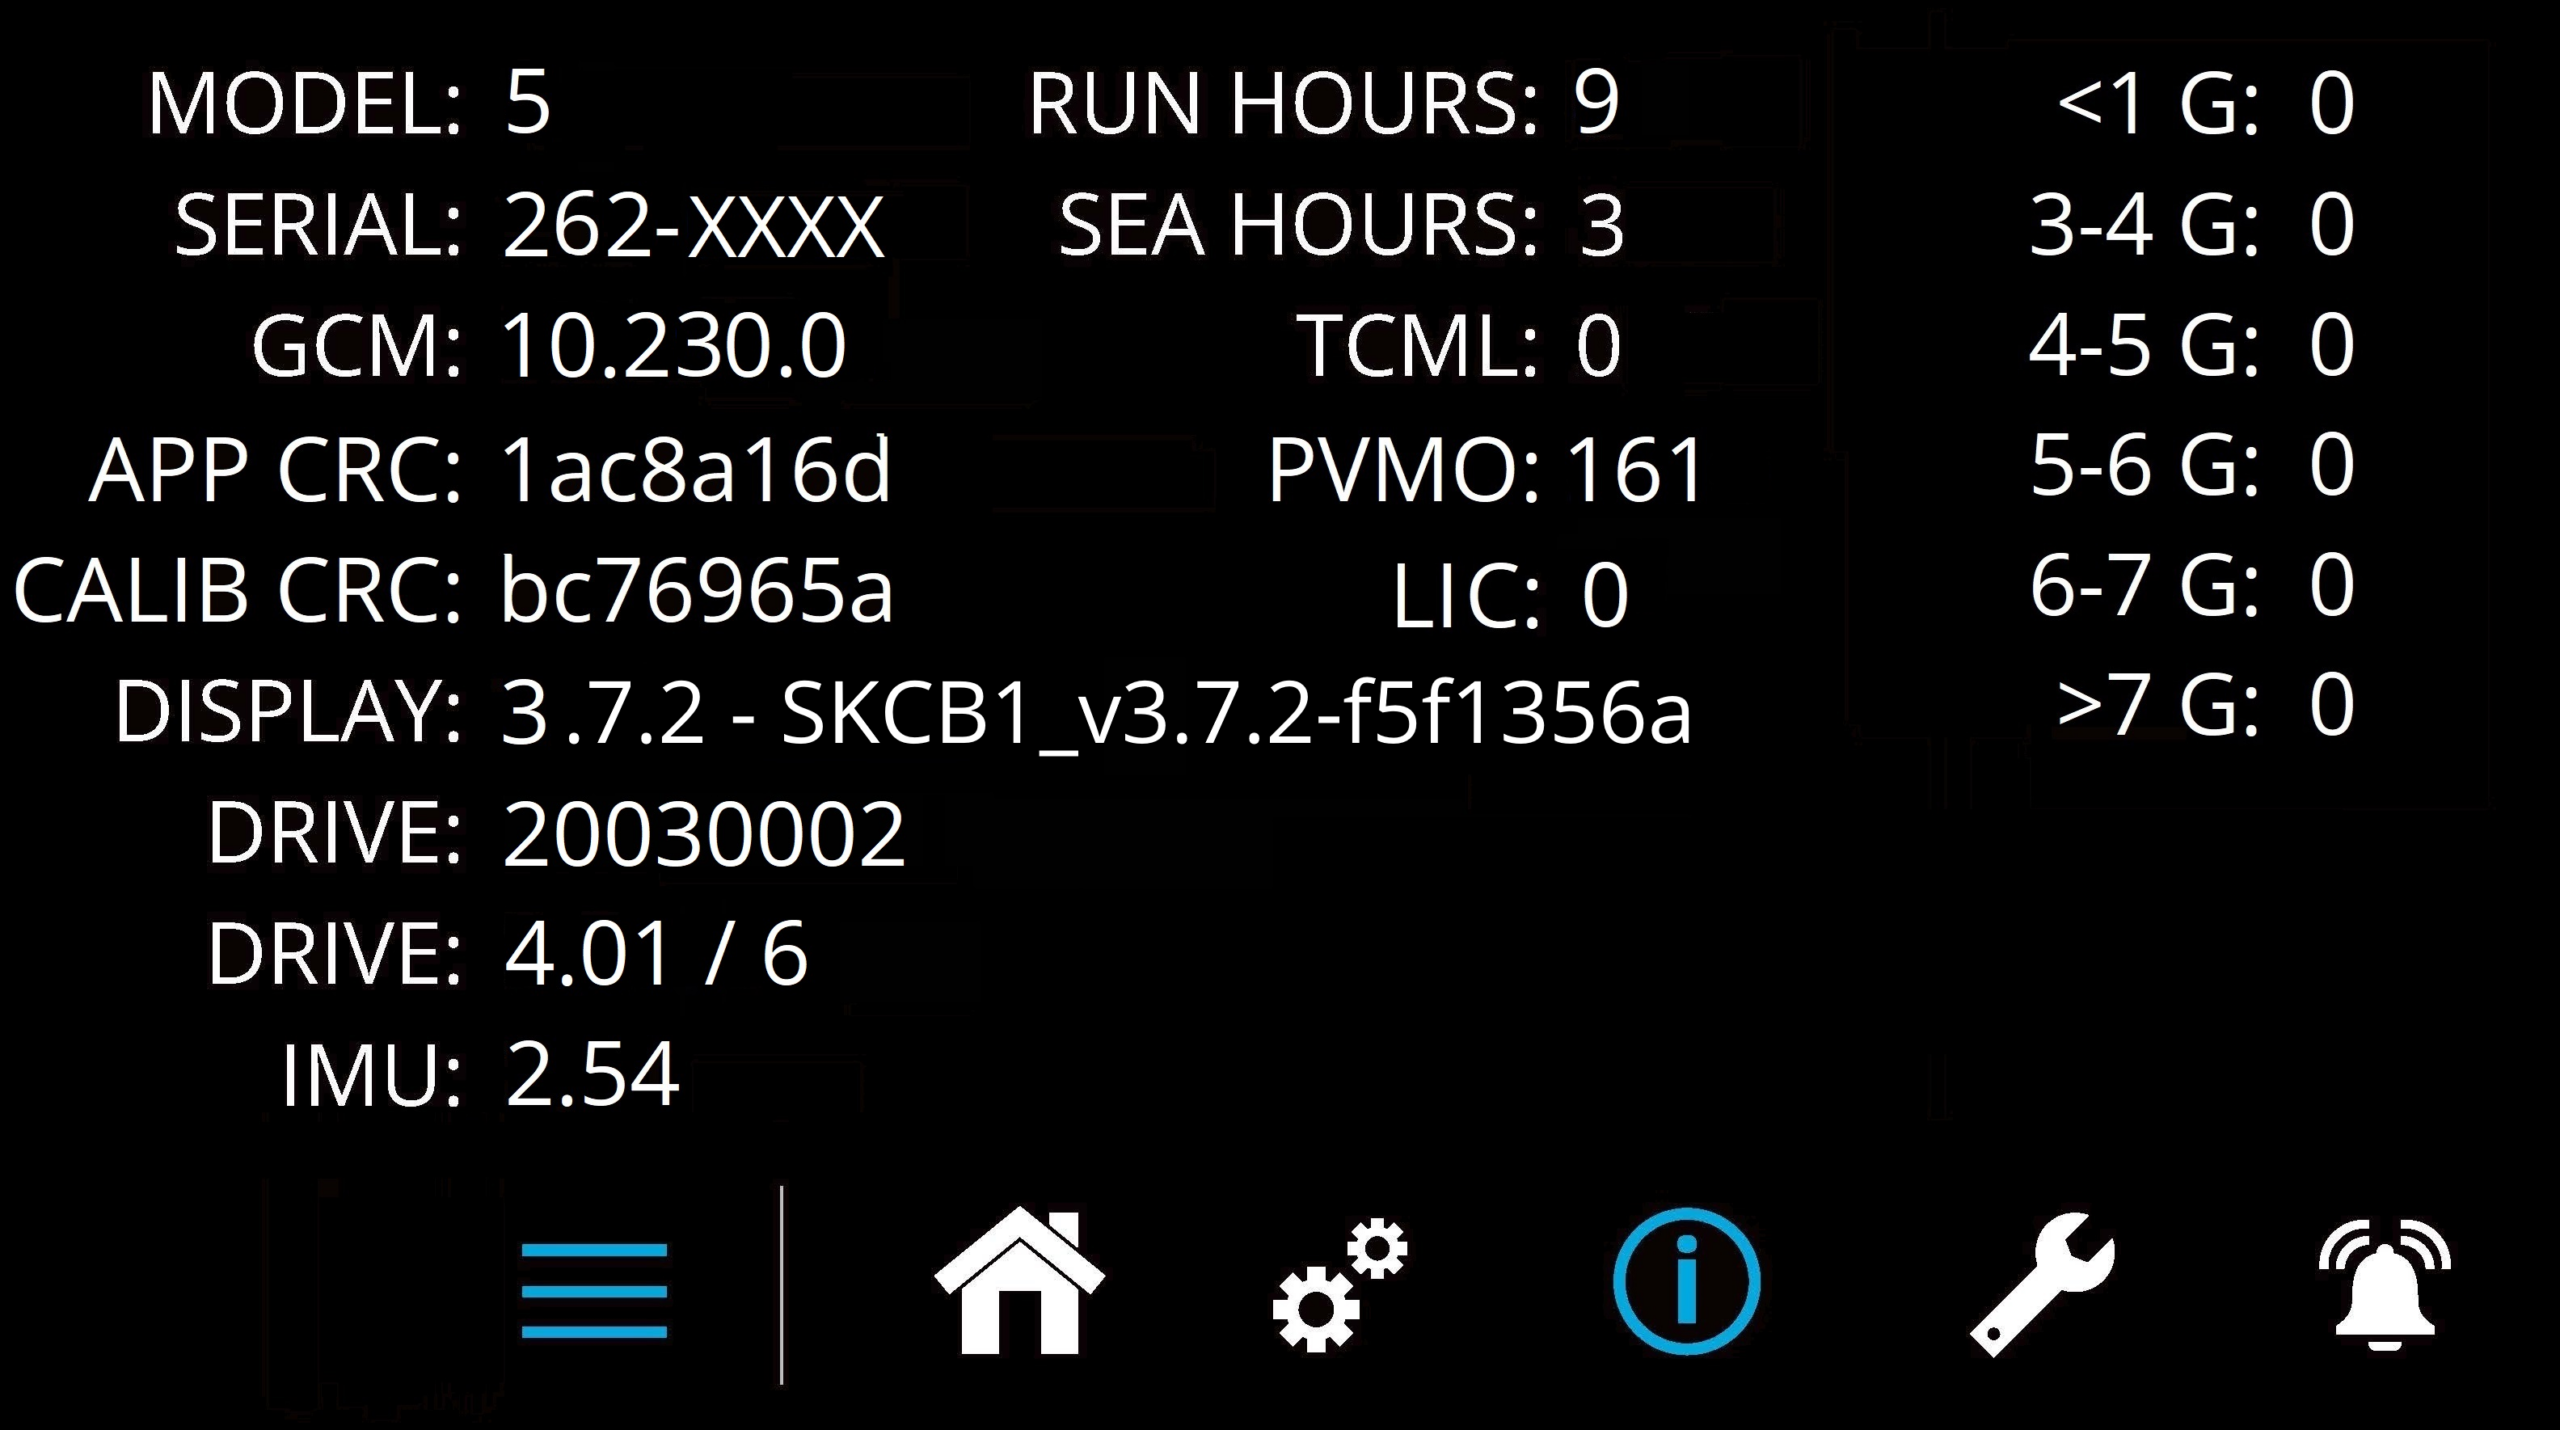
- The Information Page
 displays the Seakeeper model, serial number, software versions, run hours, sea hours, and other information. The image below is an example and may not match the information details of the installed Seakeeper.
Service Page
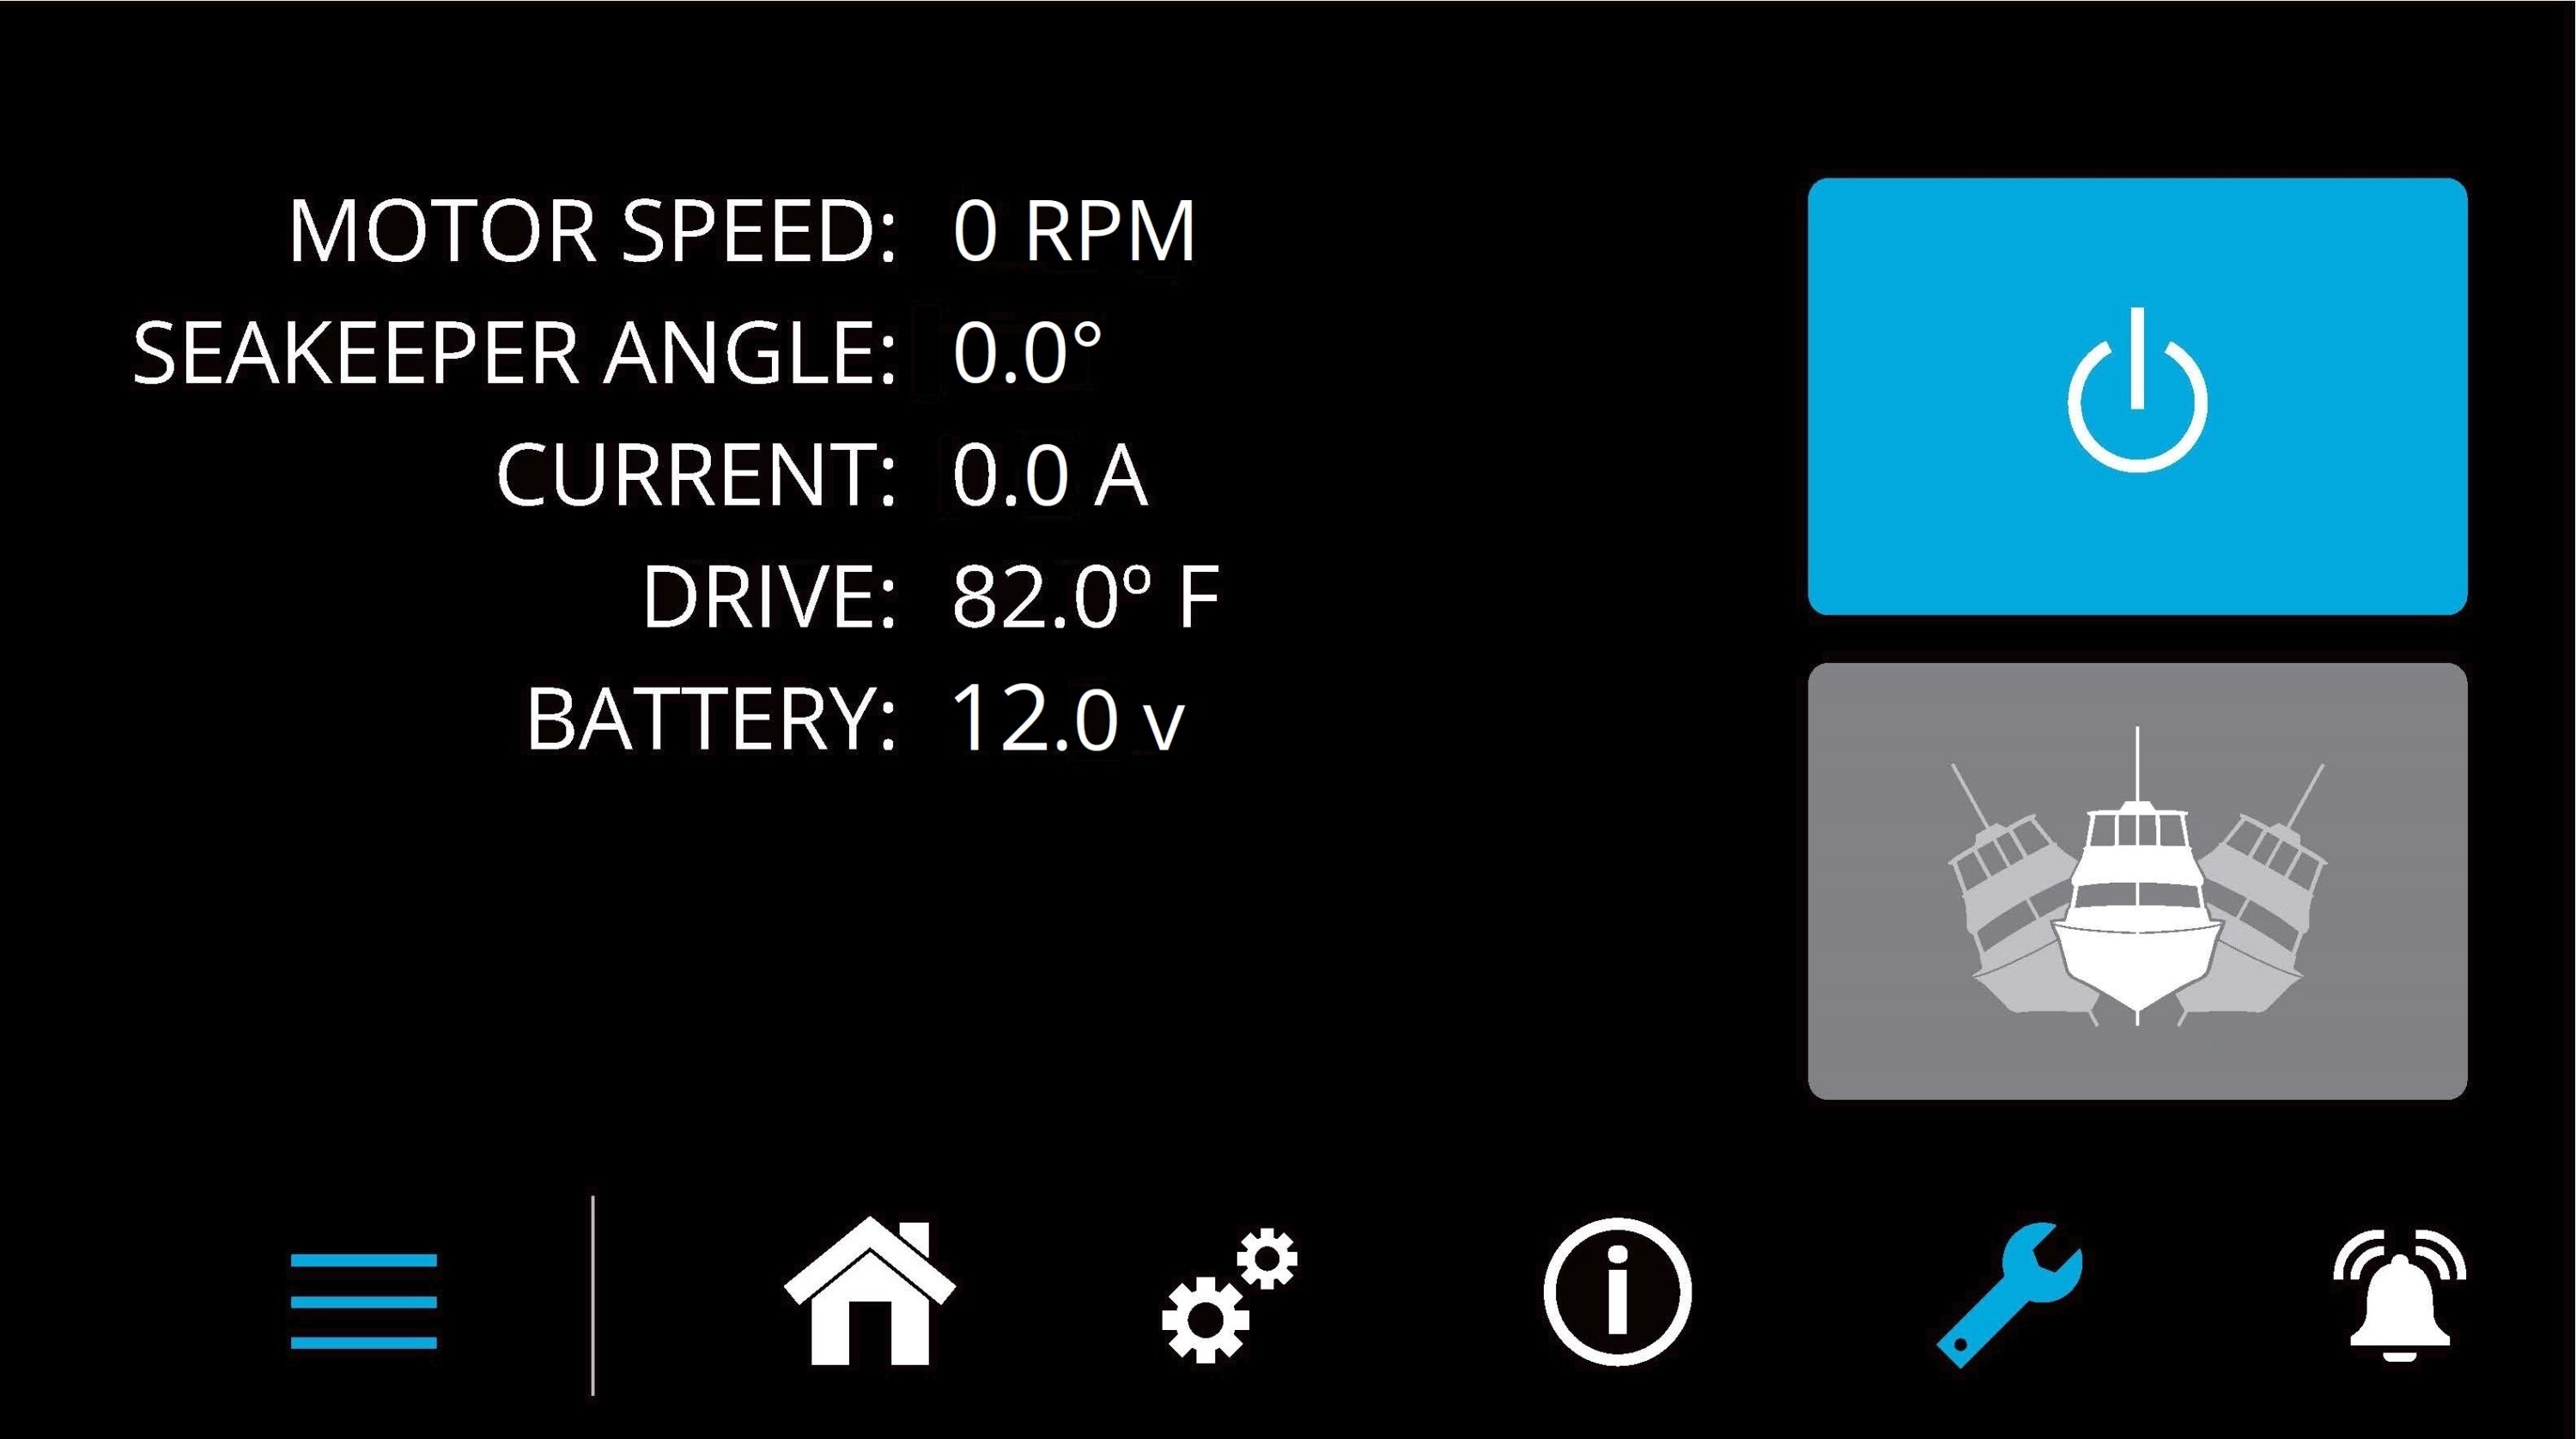
- The Service Page
 displays Seakeeper operating information.
Alarm History Page
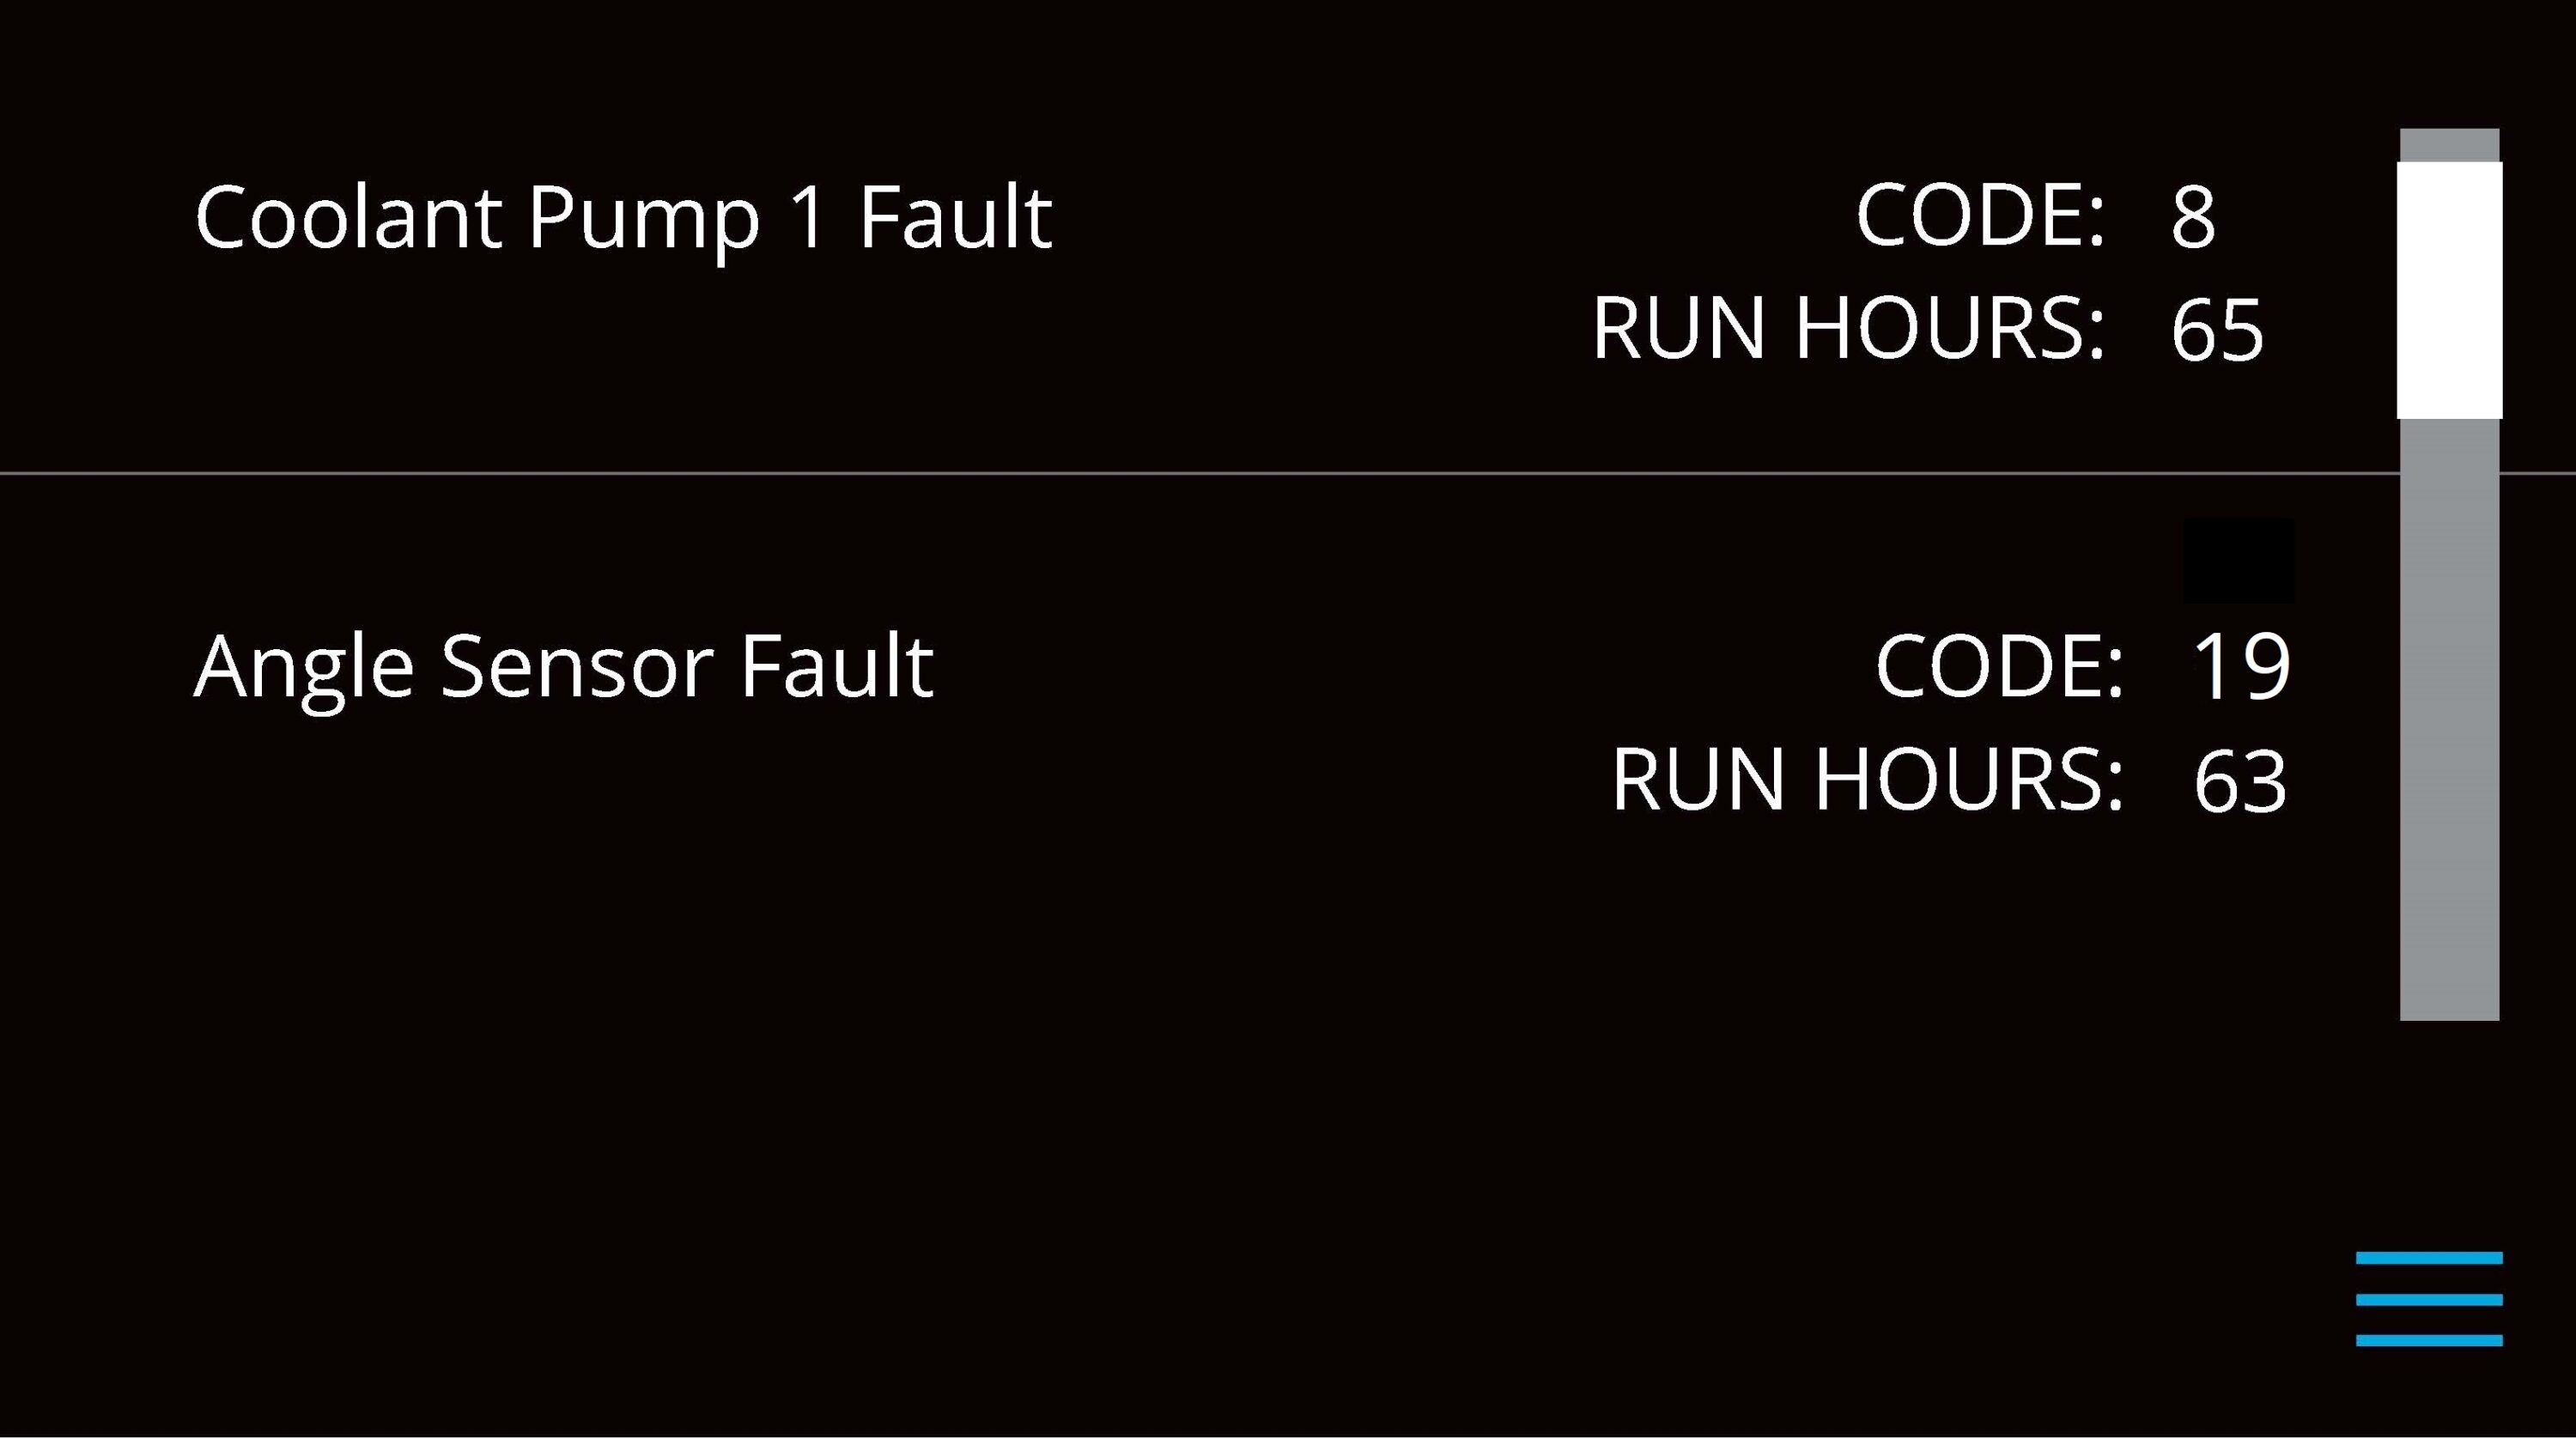
- The Alarm History Page
 shows alarms and warnings that have occurred in the past, along with their associated run hours. The scroll bar on the right is used to move up and down through the list.
3.2 Operating Instructions
3.2.1 Start Up
- Make sure AC and DC power are available.
- Turn on the boat’s DC circuit breaker that supplies control power to the Seakeeper.
- Turn on the boat’s AC circuit breaker that supplies power to the Motor Drive Box.
- Energize the 12 VDC Seawater Pump power supply at the customer-supplied circuit breaker (unless a fuse is supplied as overcurrent protection).
- When the high DC power is turned on, the ConnectBox and MFD application will initialize as seen below. The Seakeeper 5 can be powered on and controlled by either the Seakeeper application or the ConnectBox.
- With the system energized, check the Seakeeper display for any ALARMS. If there are any ALARMS present. Alarms must be addressed to proceed.
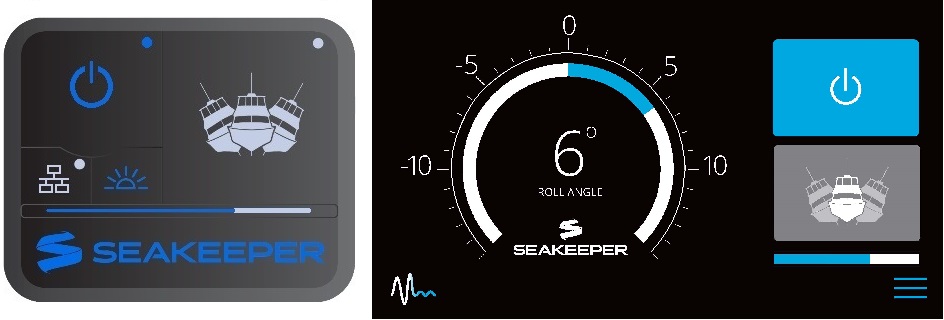
- To turn the Seakeeper on, press the POWER button; the button will turn blue. The progress bar will appear and indicate how soon the Seakeeper will be available for stabilization. The progress bar indicates the flywheel’s speed as it accelerates to its rated operating RPM.
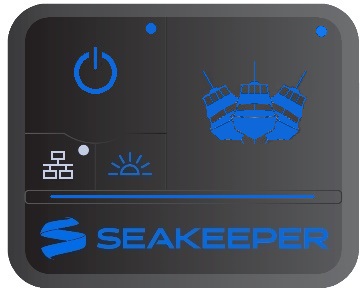
- When the Seakeeper is initialized and up to Stabilization RPM, the STABILIZE button will appear on the application, or if using the ConnectBox, the STABILIZE button will illuminate blue and pulsate. At this point, the Seakeeper is available for stabilization by pressing the STABILIZE button.
- The progress bar indicating flywheel spool-up will disappear from the display screen once the STABILIZE button is pressed (it turns blue) and the ConnectBox fully illuminates. At this point, the Seakeeper has reached its rated operating RPM, and maximum stabilization is available. If the STABILIZE button has not been pressed (it is grey), pressing it will turn it blue and enable stabilization. The seawater pump will cycle on and off based on the Seakeeper 5’s operating temperature.

3.3.2 Stabilization
Boat operators are advised that the Seakeeper’s sole function is to dampen a boat’s cyclic roll motions. The Seakeeper is not, and is not intended to be, a substitute for adequate hull stability about the pitch, roll, and yaw axes, and the Seakeeper is not designed to prevent any instability due to improper boat operation, including, without limitation, any aggressive maneuvers at high speed. During aggressive maneuvers at high speed, the Seakeeper outputs a constant pitch moment, which can create a small bow-down or bow-up trim change.
To stabilize the vessel after the Seakeeper is On and the flywheel is above the minimum stabilization RPM:
- Press the Stabilize button on the MFD application or at the ConnectBox. The button will turn blue, indicating that the Seakeeper is stabilizing the roll motion..

If it is necessary to shut off power to the flywheel motor and slow the flywheel for any reason, press the Seakeeper On/Off button; the button will turn grey, and the Stabilize button will disappear, indicating the command has been accepted. It takes approximately 4+ hours for the speed to slow down to 0 RPM.
If it is necessary to stop Seakeeper motion for any reason, press the Stabilize button. The Stabilize button will turn grey, indicating that the Seakeeper is locked. Never attempt to work on the Seakeeper until the flywheel has stopped spinning. In the event that the brake system has automatically locked the Seakeeper due to an alarm or failure, no attempt should be made to bypass the alarm or automatic lock.
3.3.3 Normal Shutdown
The Seakeeper should be stopped when pulling into port, and stabilization is no longer required. This maximizes life by allowing the Seakeeper to start the coast down cycle before cooling is shut off. Once the vessel is secured, the AC and DC breakers may be switched off. The Seakeeper will continue to spool down to 0 RPM.
- Press the Seakeeper On/Off button. The On/Off button will turn grey. The Seakeeper will discontinue stabilization, and the flywheel will start coasting.
- Once the vessel is secured in the slip and the crew has shut down the generator and engines, switch the AC and DC breakers that control the Seakeeper Off. The flywheel will continue to spool down to 0 RPM. This can take 4+ hours at full speed. When the flywheel has stopped spinning, 0 RPM will appear on the screen.
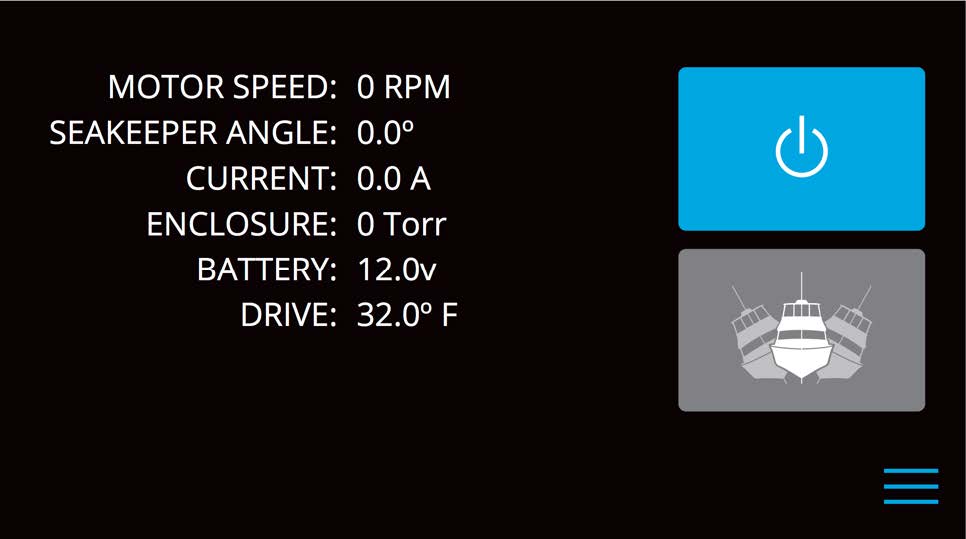
The circuit breakers should be left on as long as possible while the Seakeeper is spinning to remove heat from the Seakeeper. During normal operation, the Seakeeper should be stopped when pulling into port, and stabilization is no longer required. This maximizes long-term life as it allows the Seakeeper to start the coast down cycle before cooling is shut off. Once the vessel is secured in the slip and the crew has shut down the generator and engines, the AC and DC breakers that control the Seakeeper should be switched to the Off position. The Seakeeper will continue to spool down to 0 RPM. No cooling is required during this time. Note: The Seakeeper will take approximately 4+ hours to coast down to 0 RPM from full speed. The Display will indicate 0 RPM when the flywheel has stopped.
Note: The seawater pump may run for up to 5 minutes after the Seakeeper is switched off and is coasting (with DC Seawater Pump power applied).